
Etchings
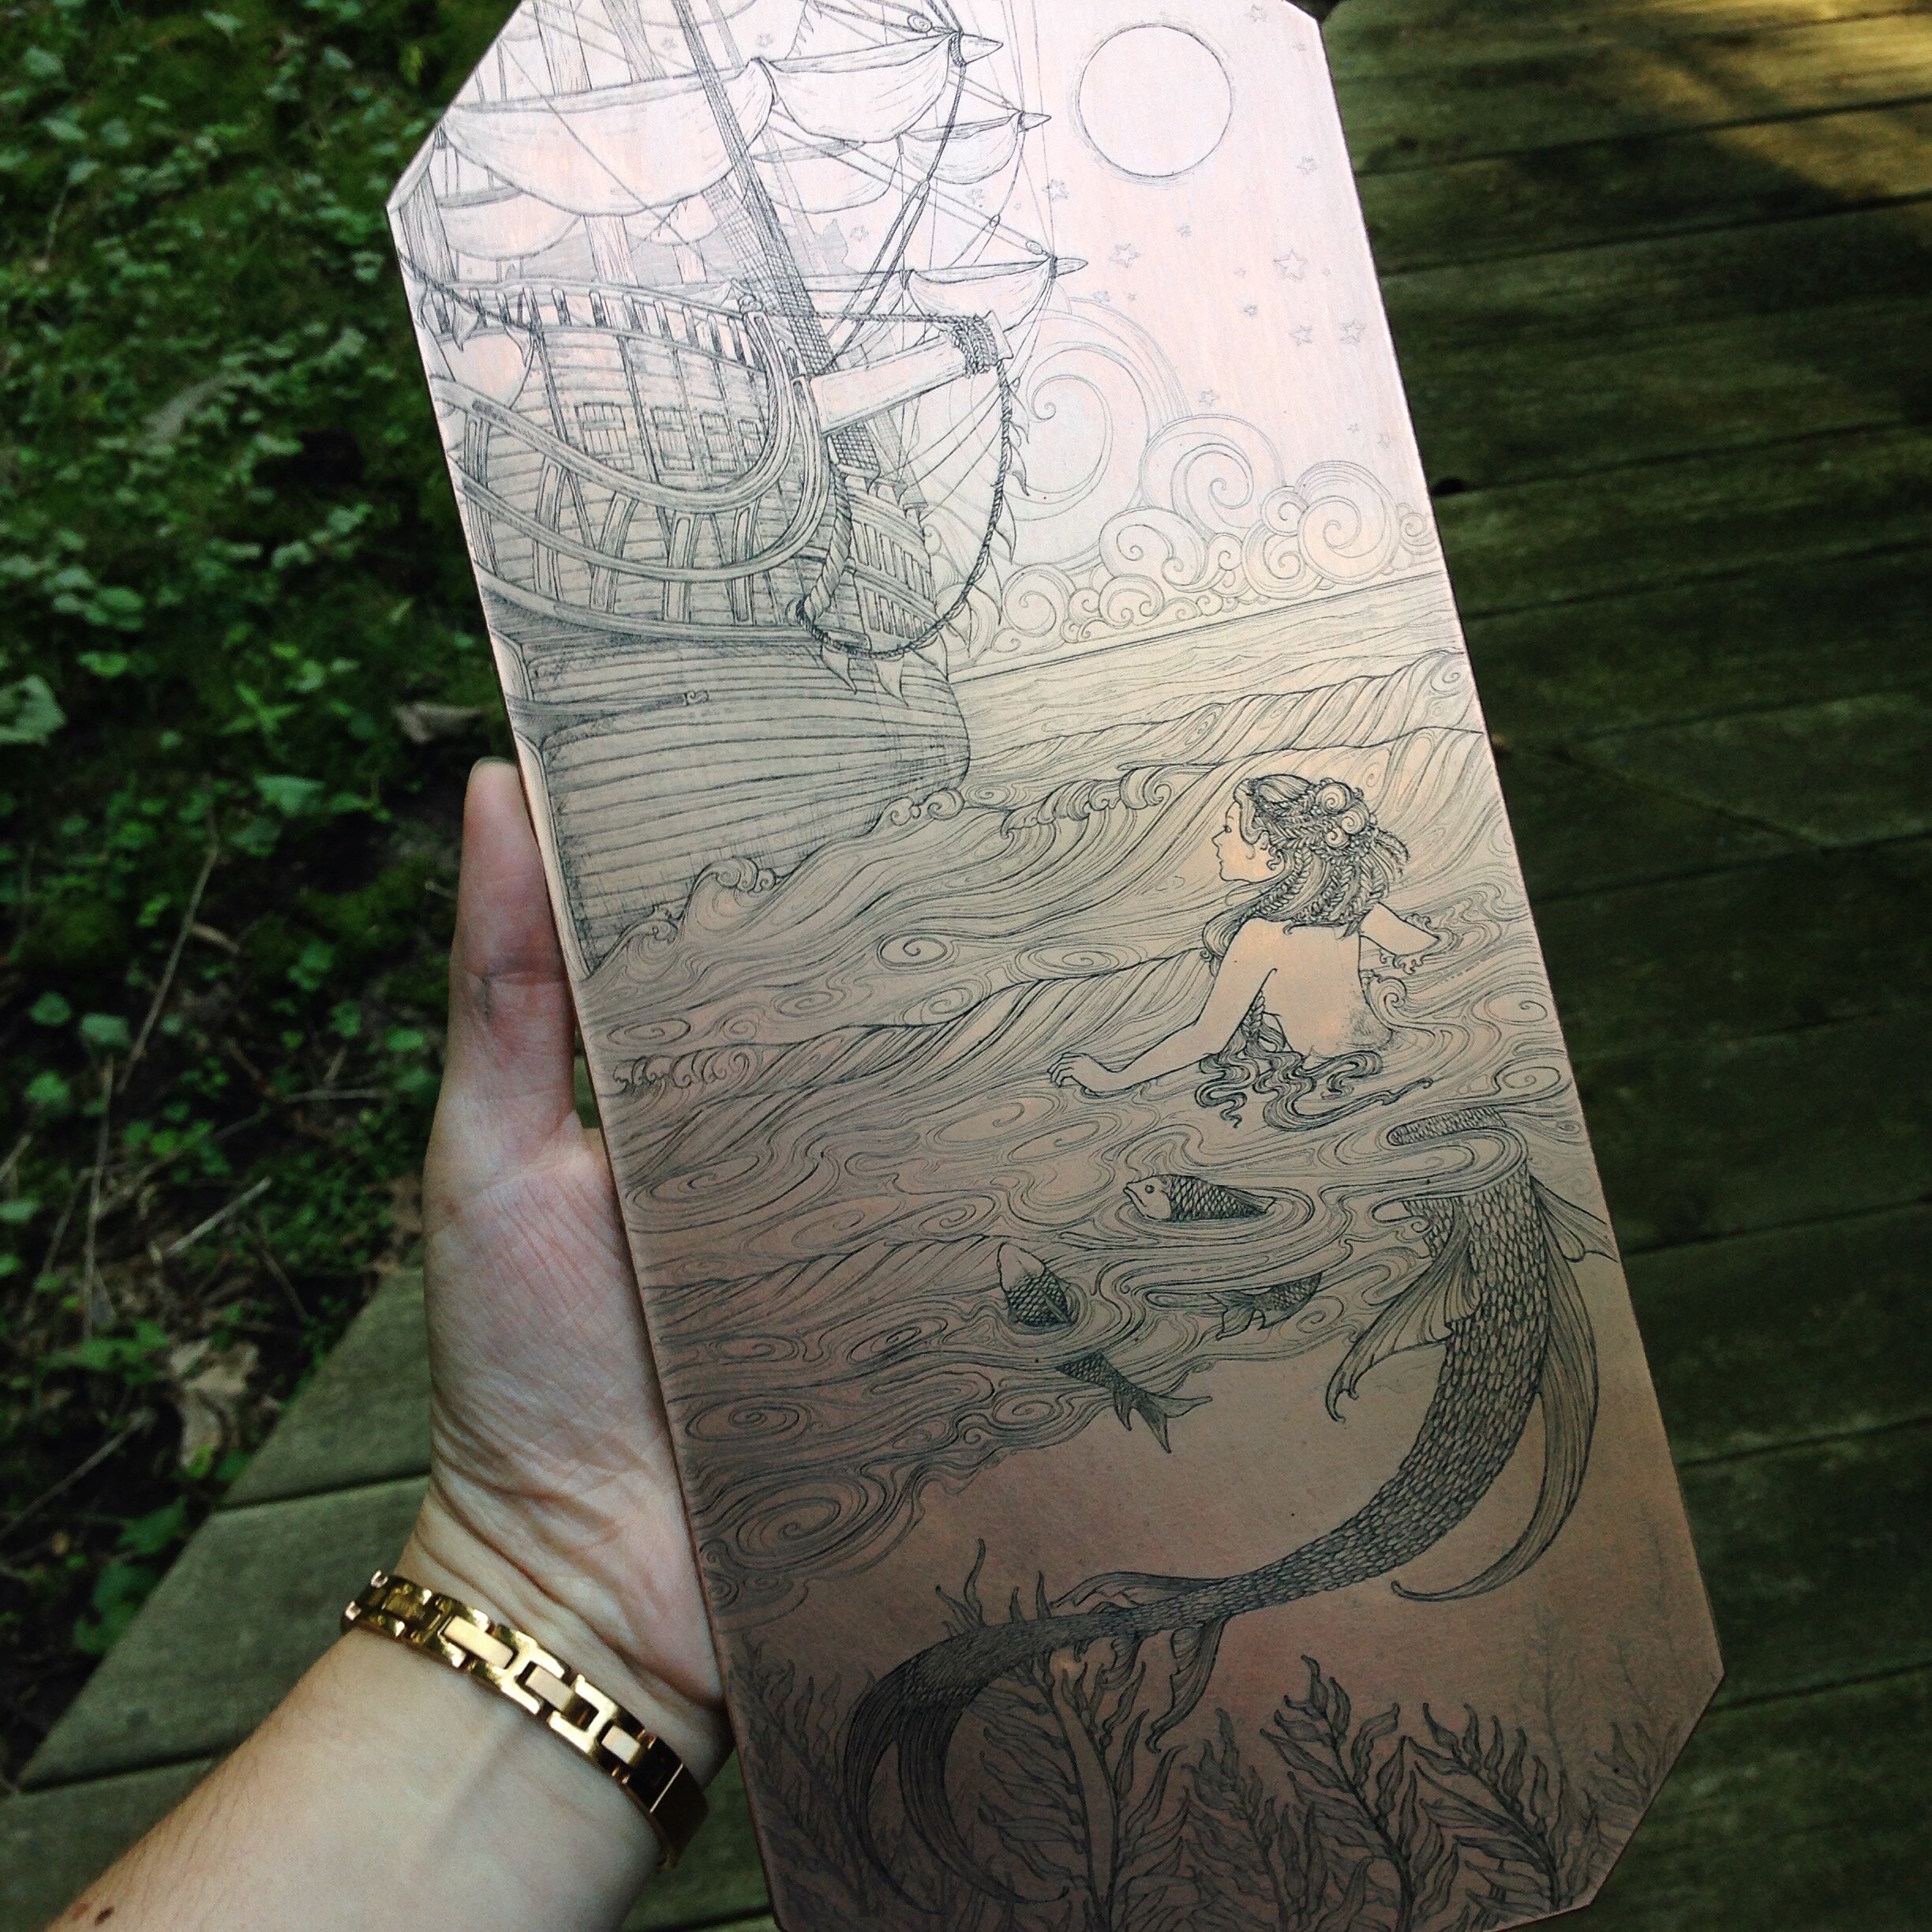
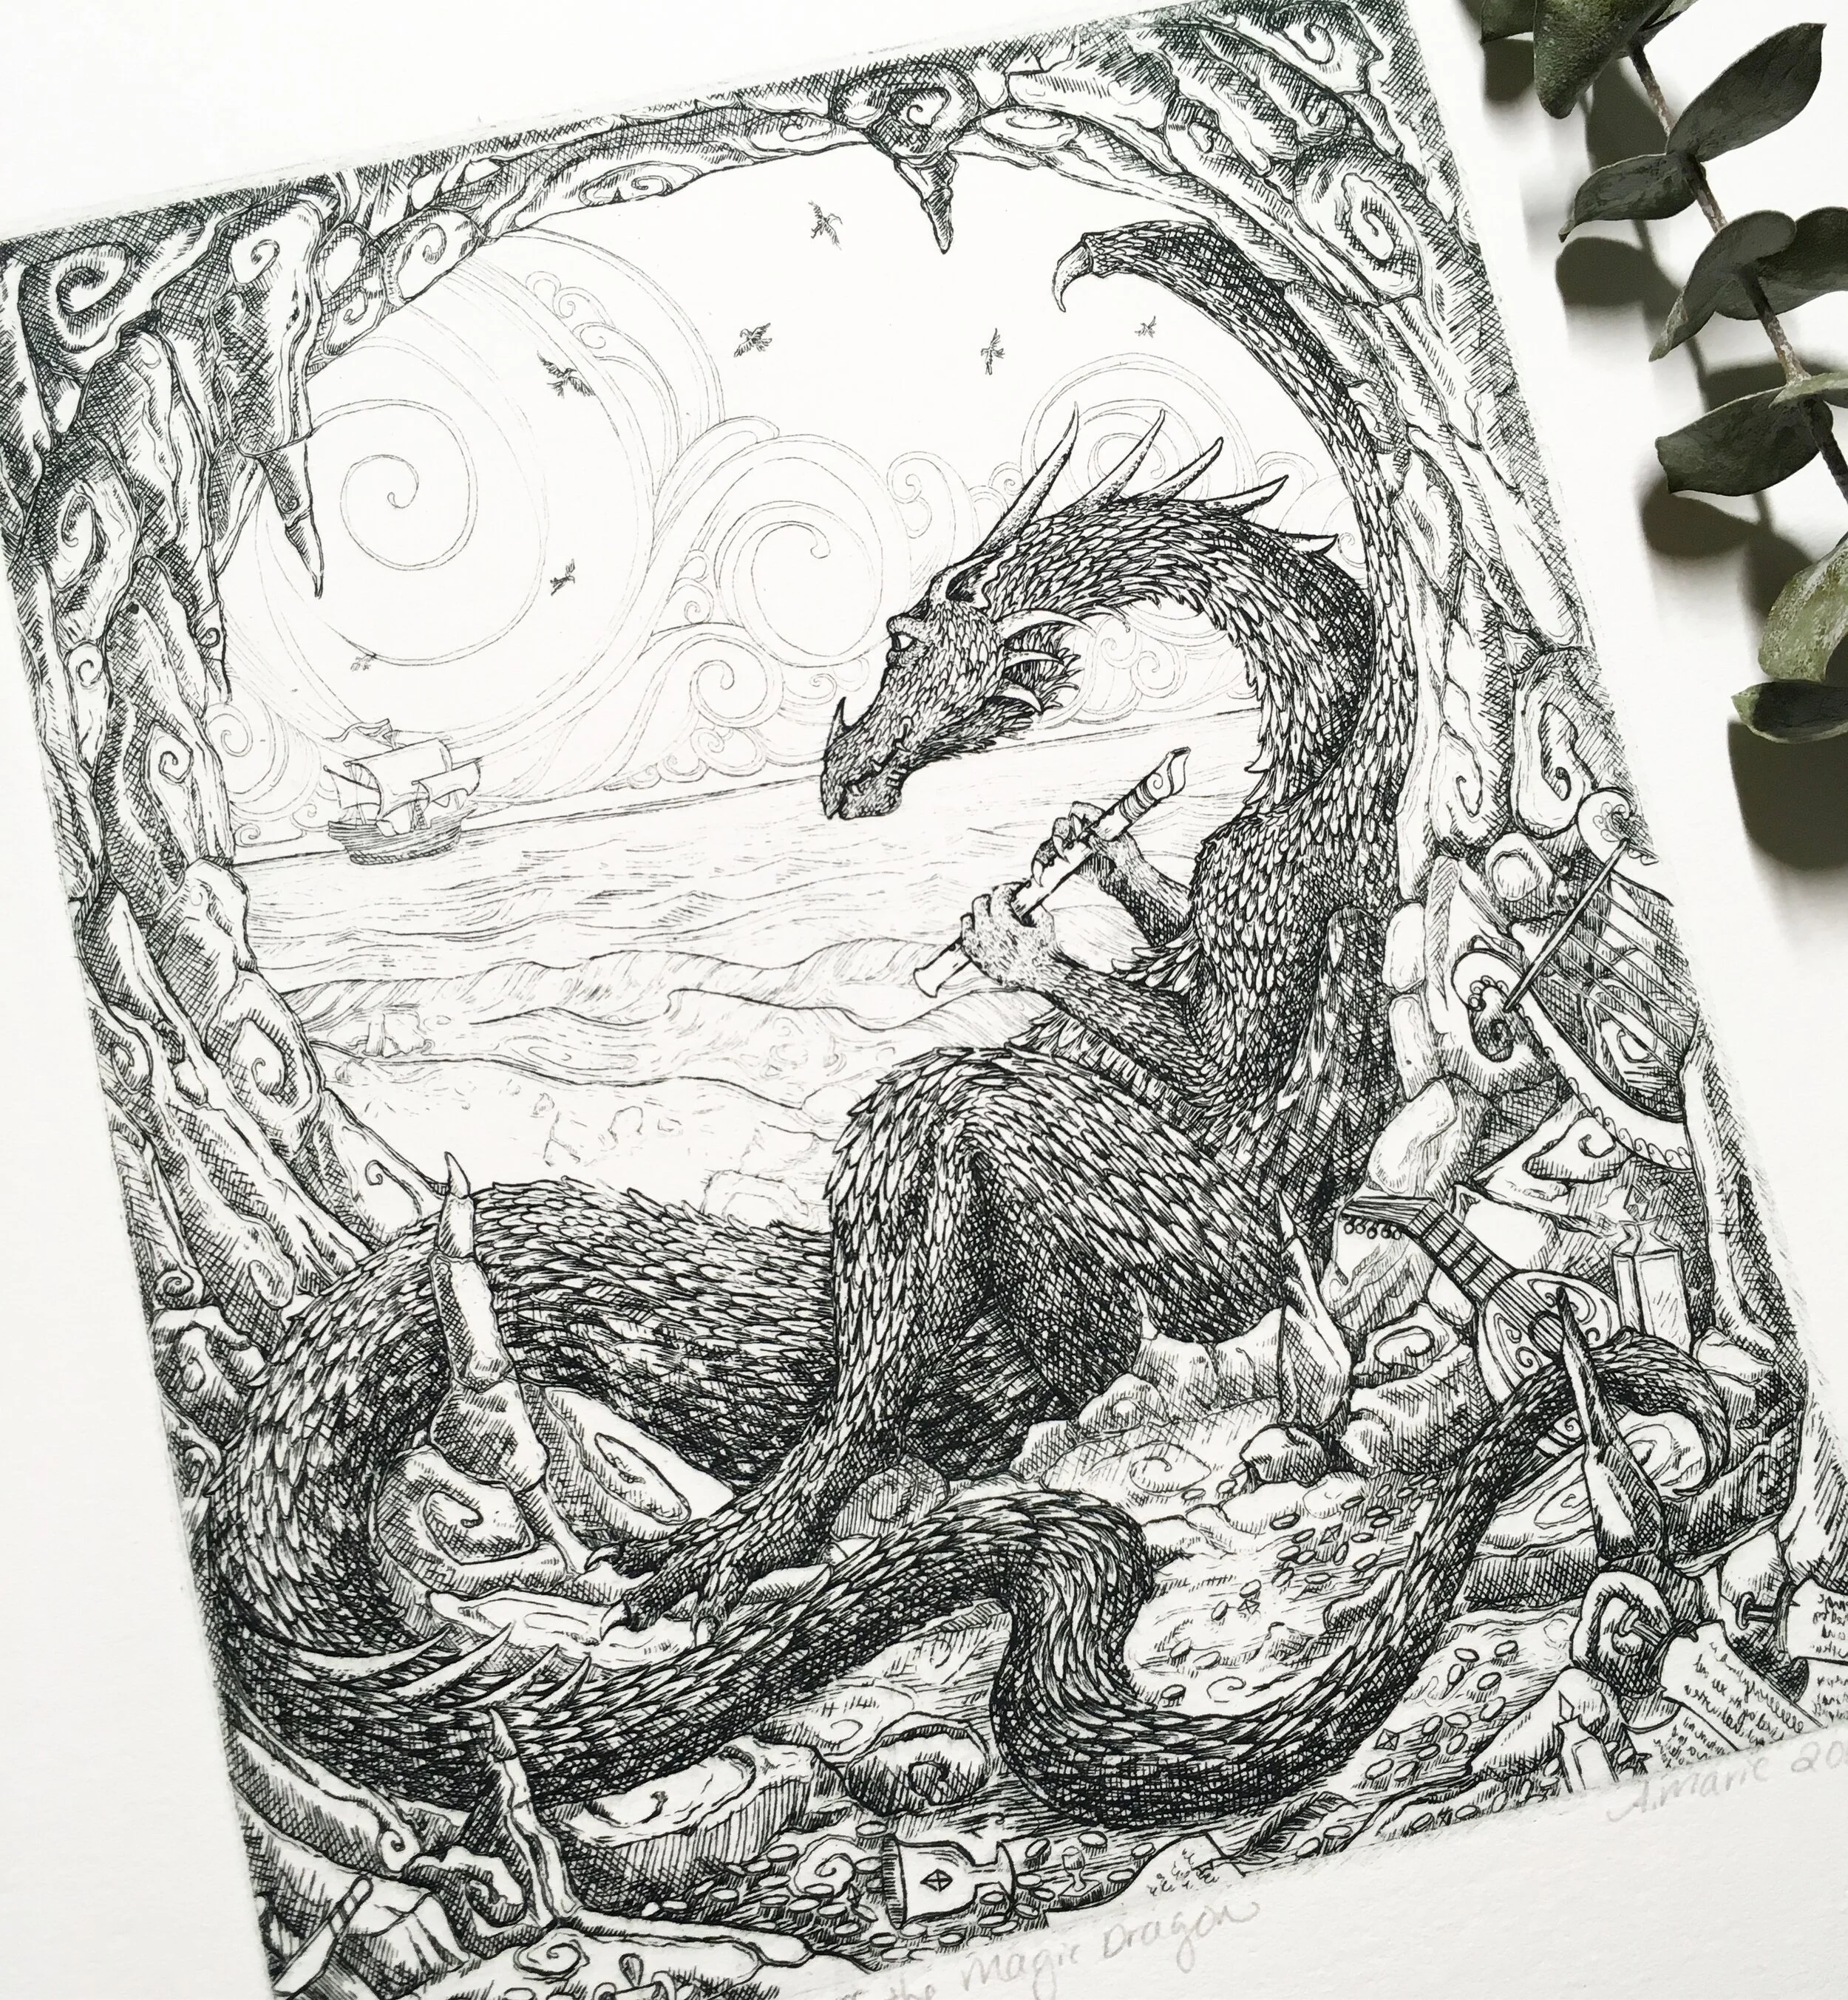
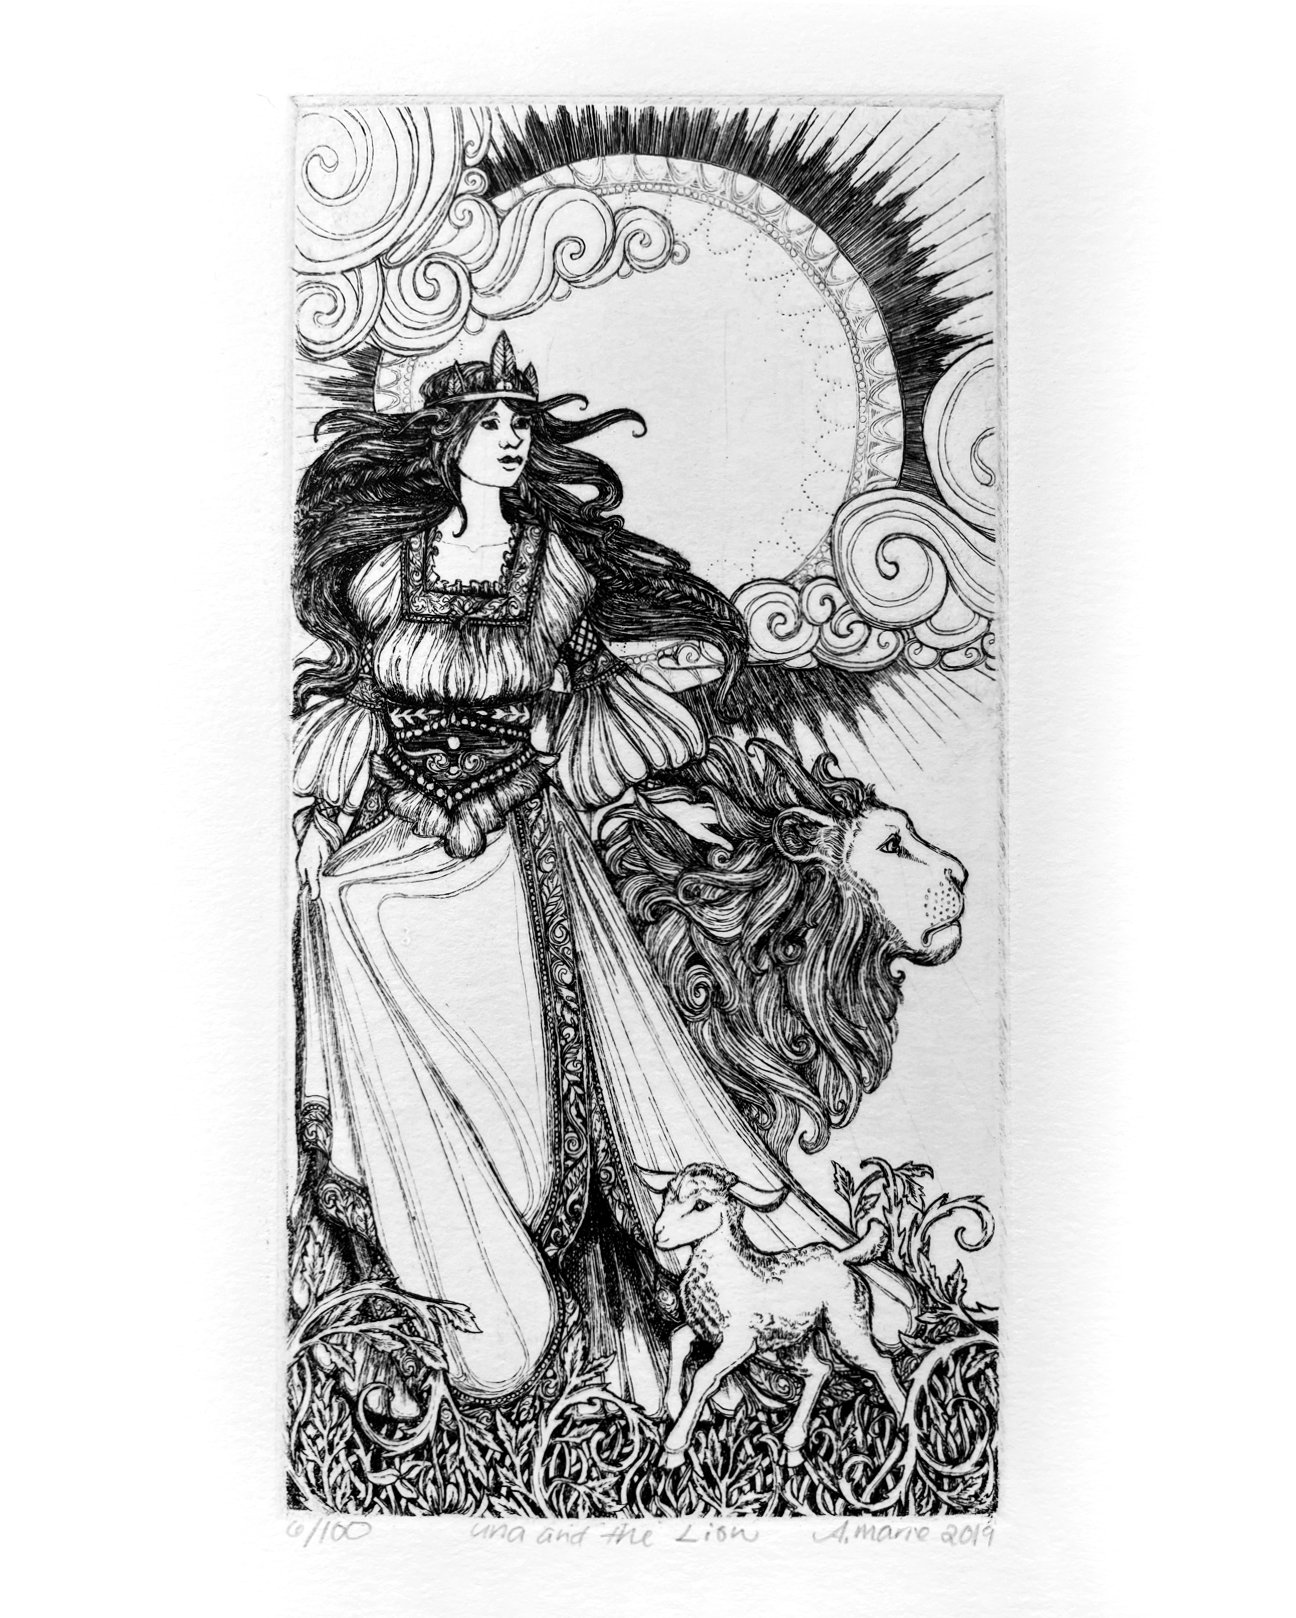
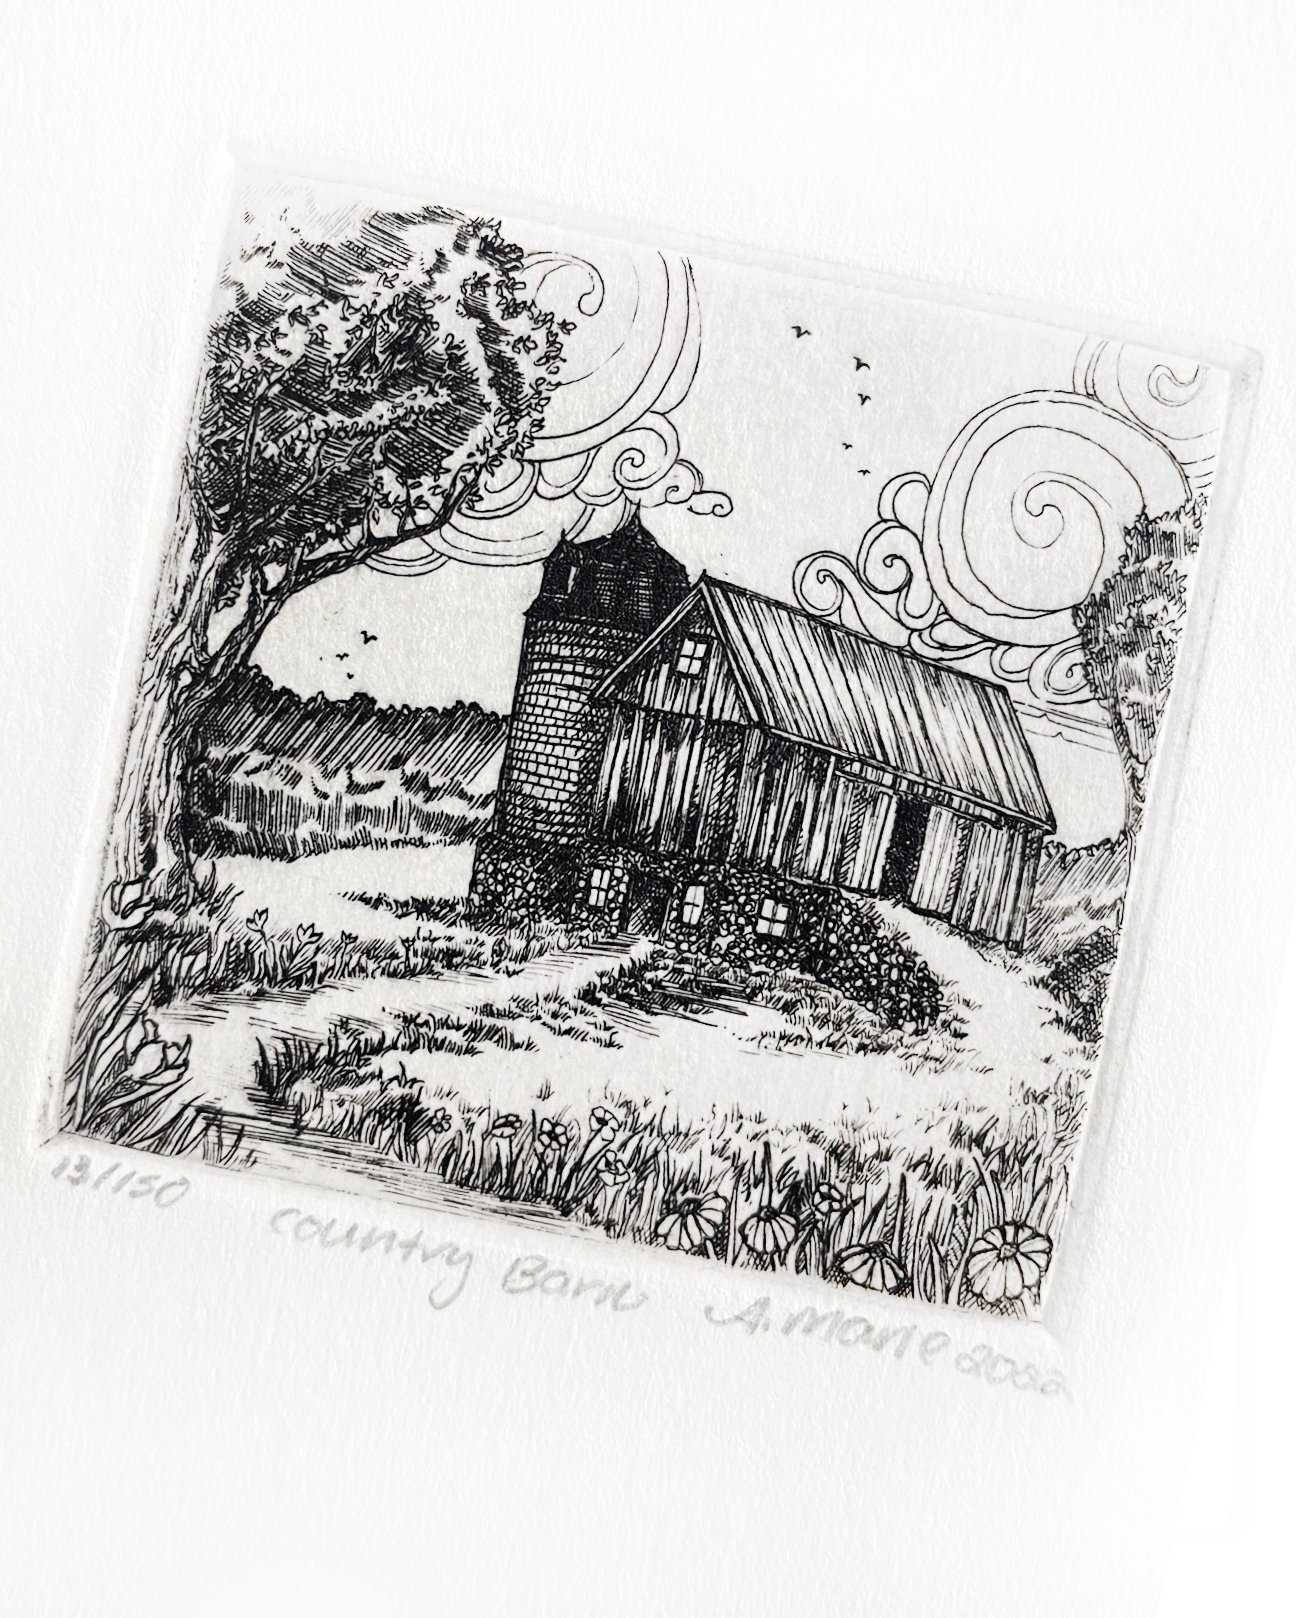
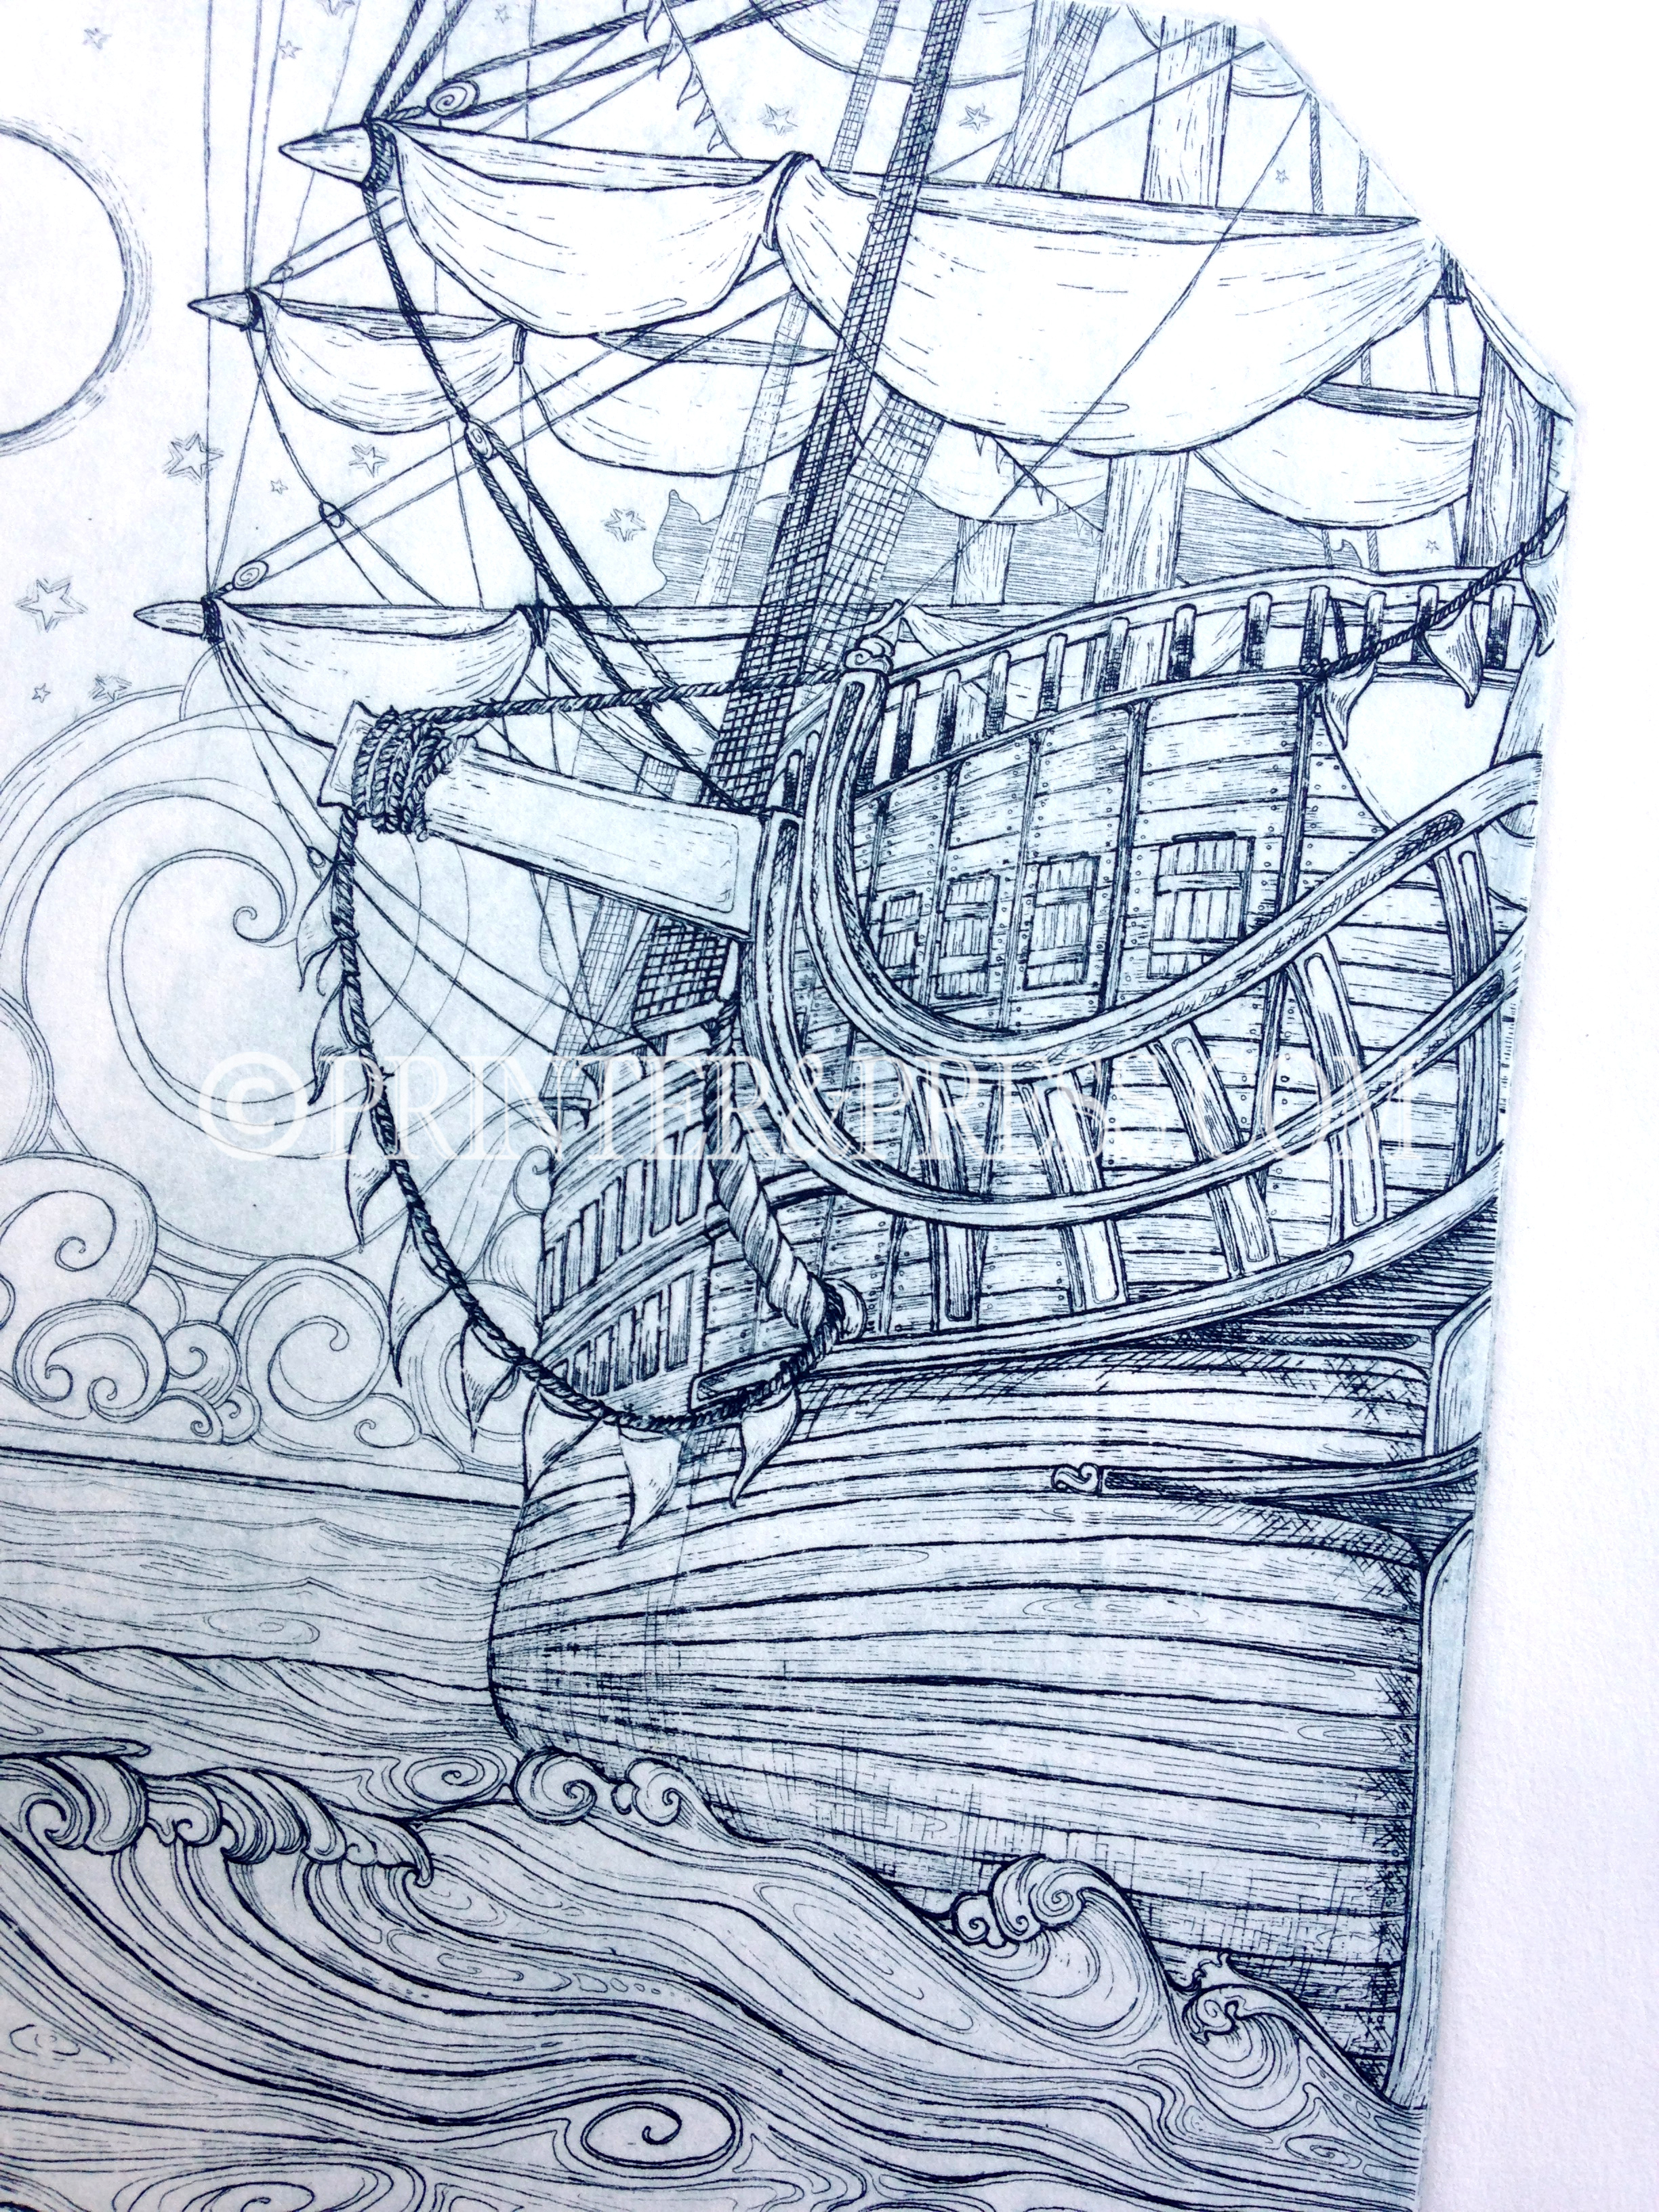
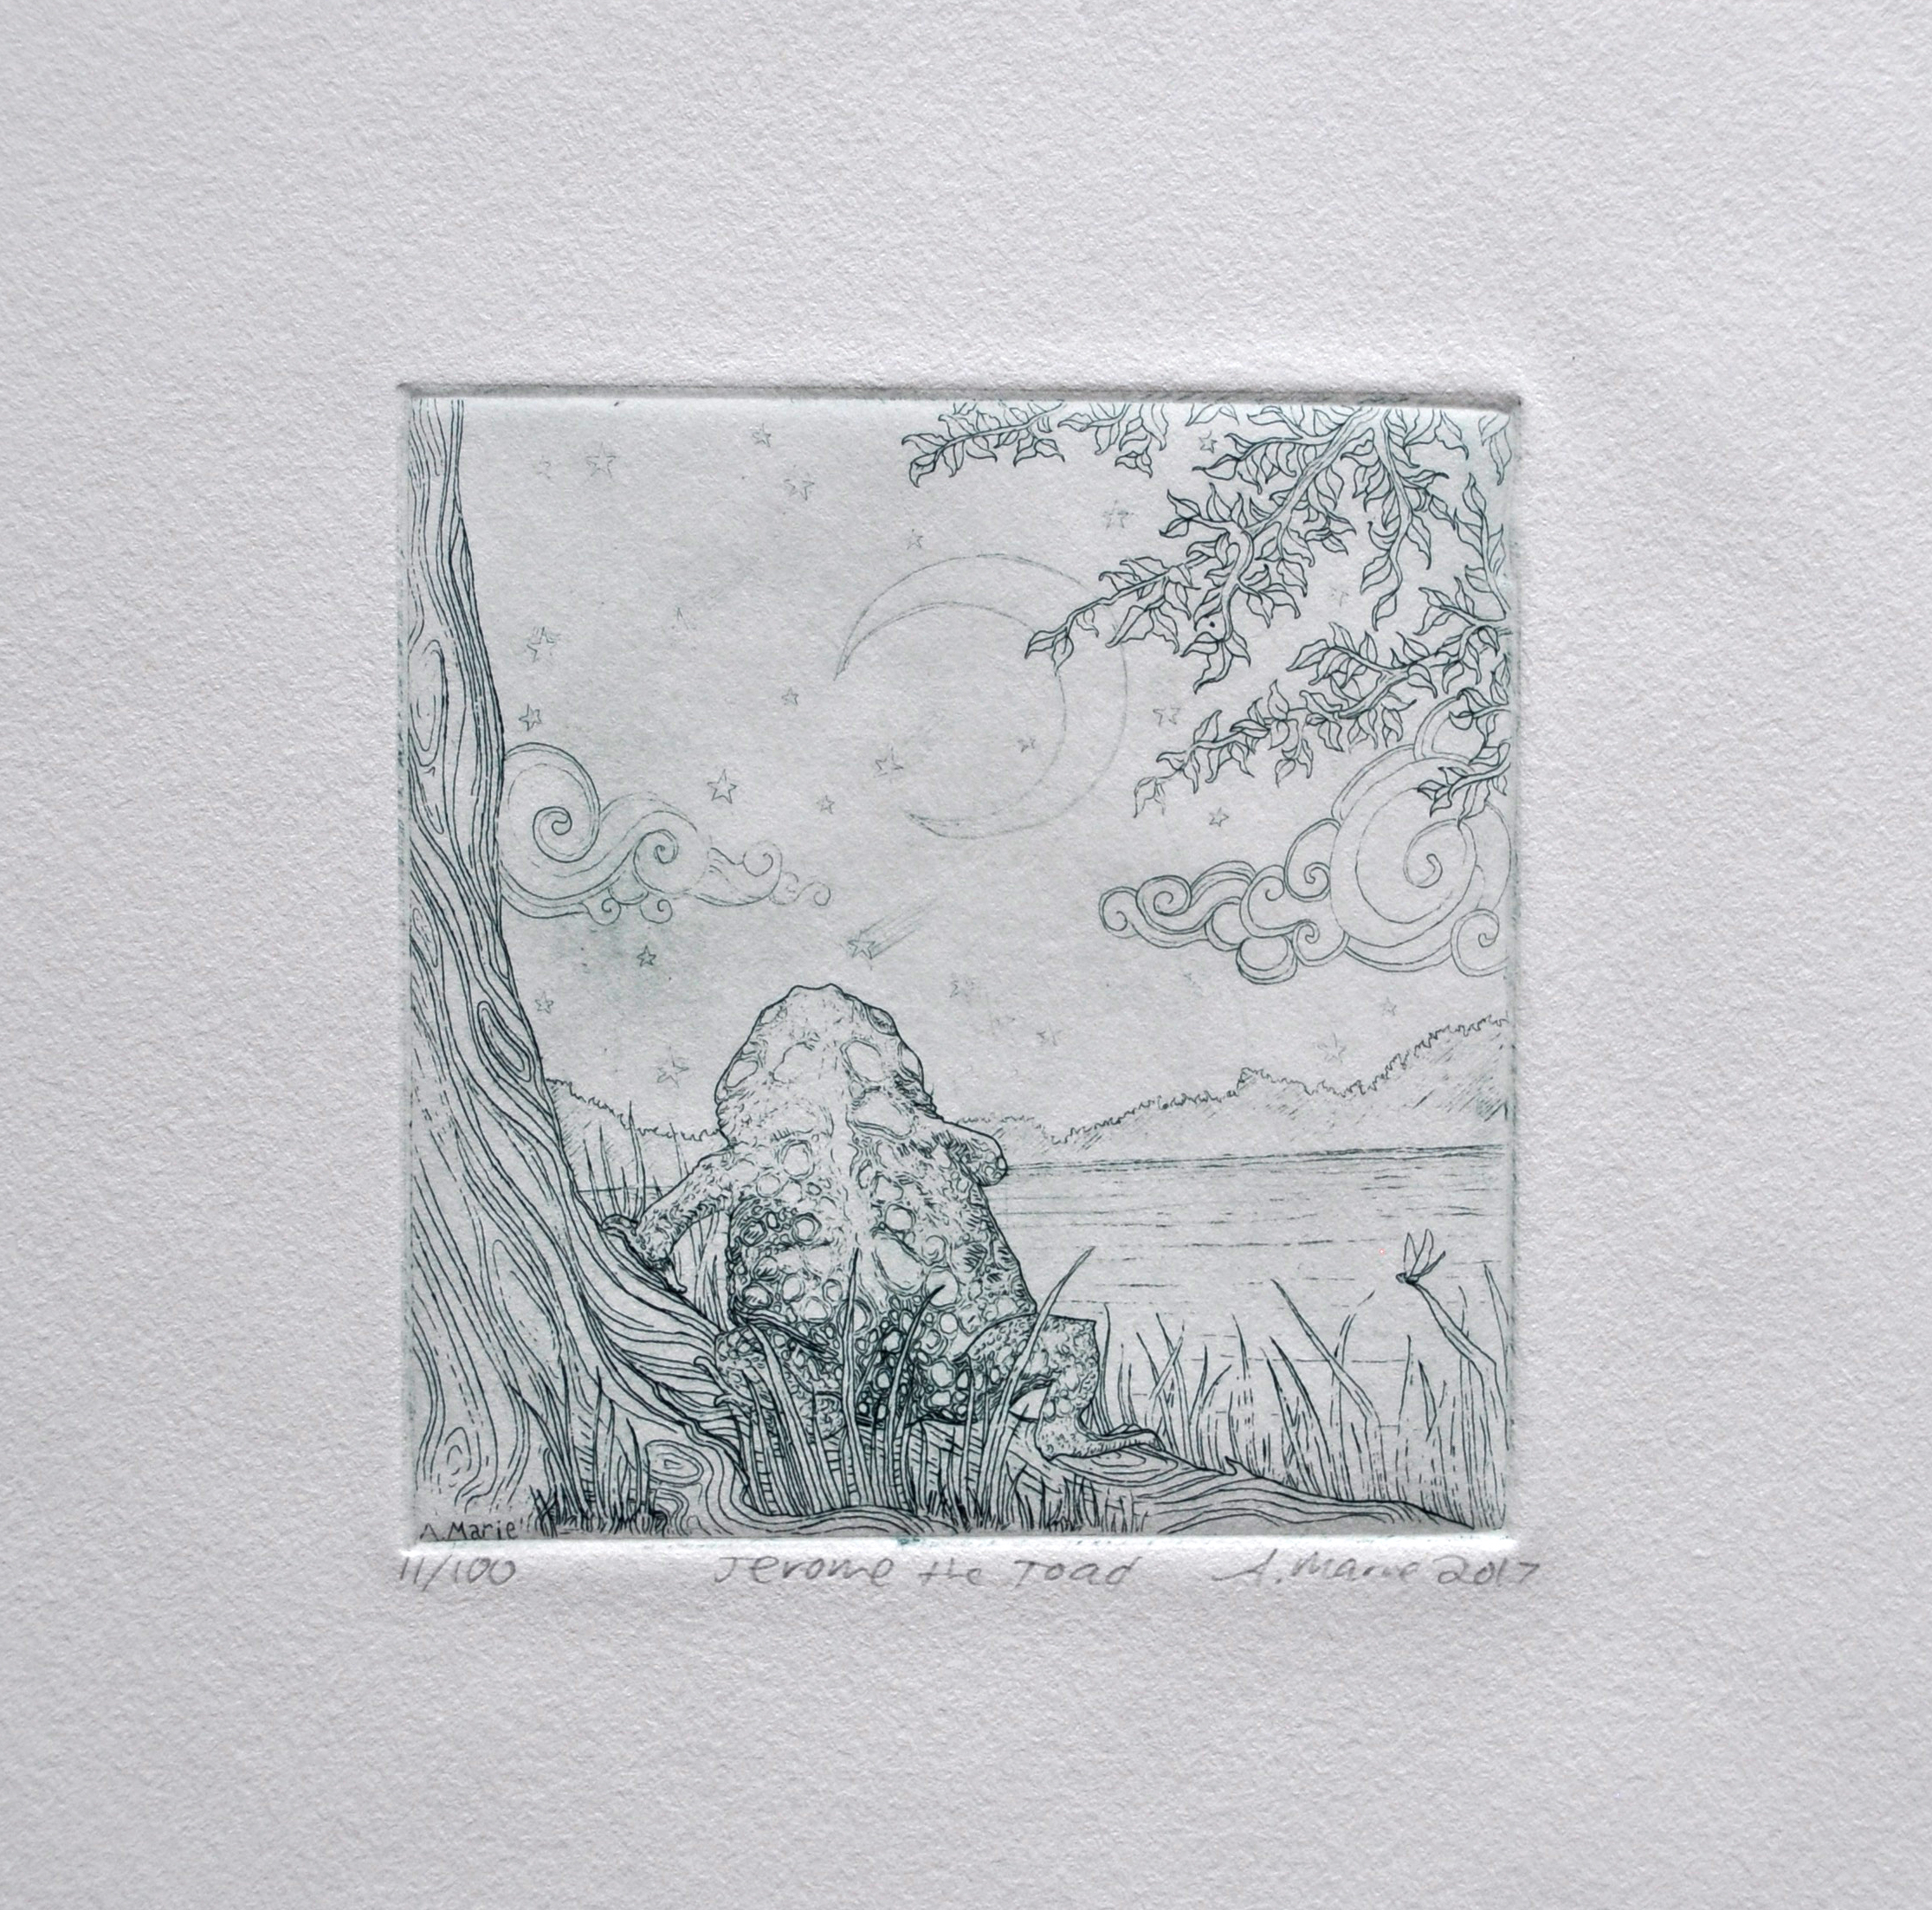
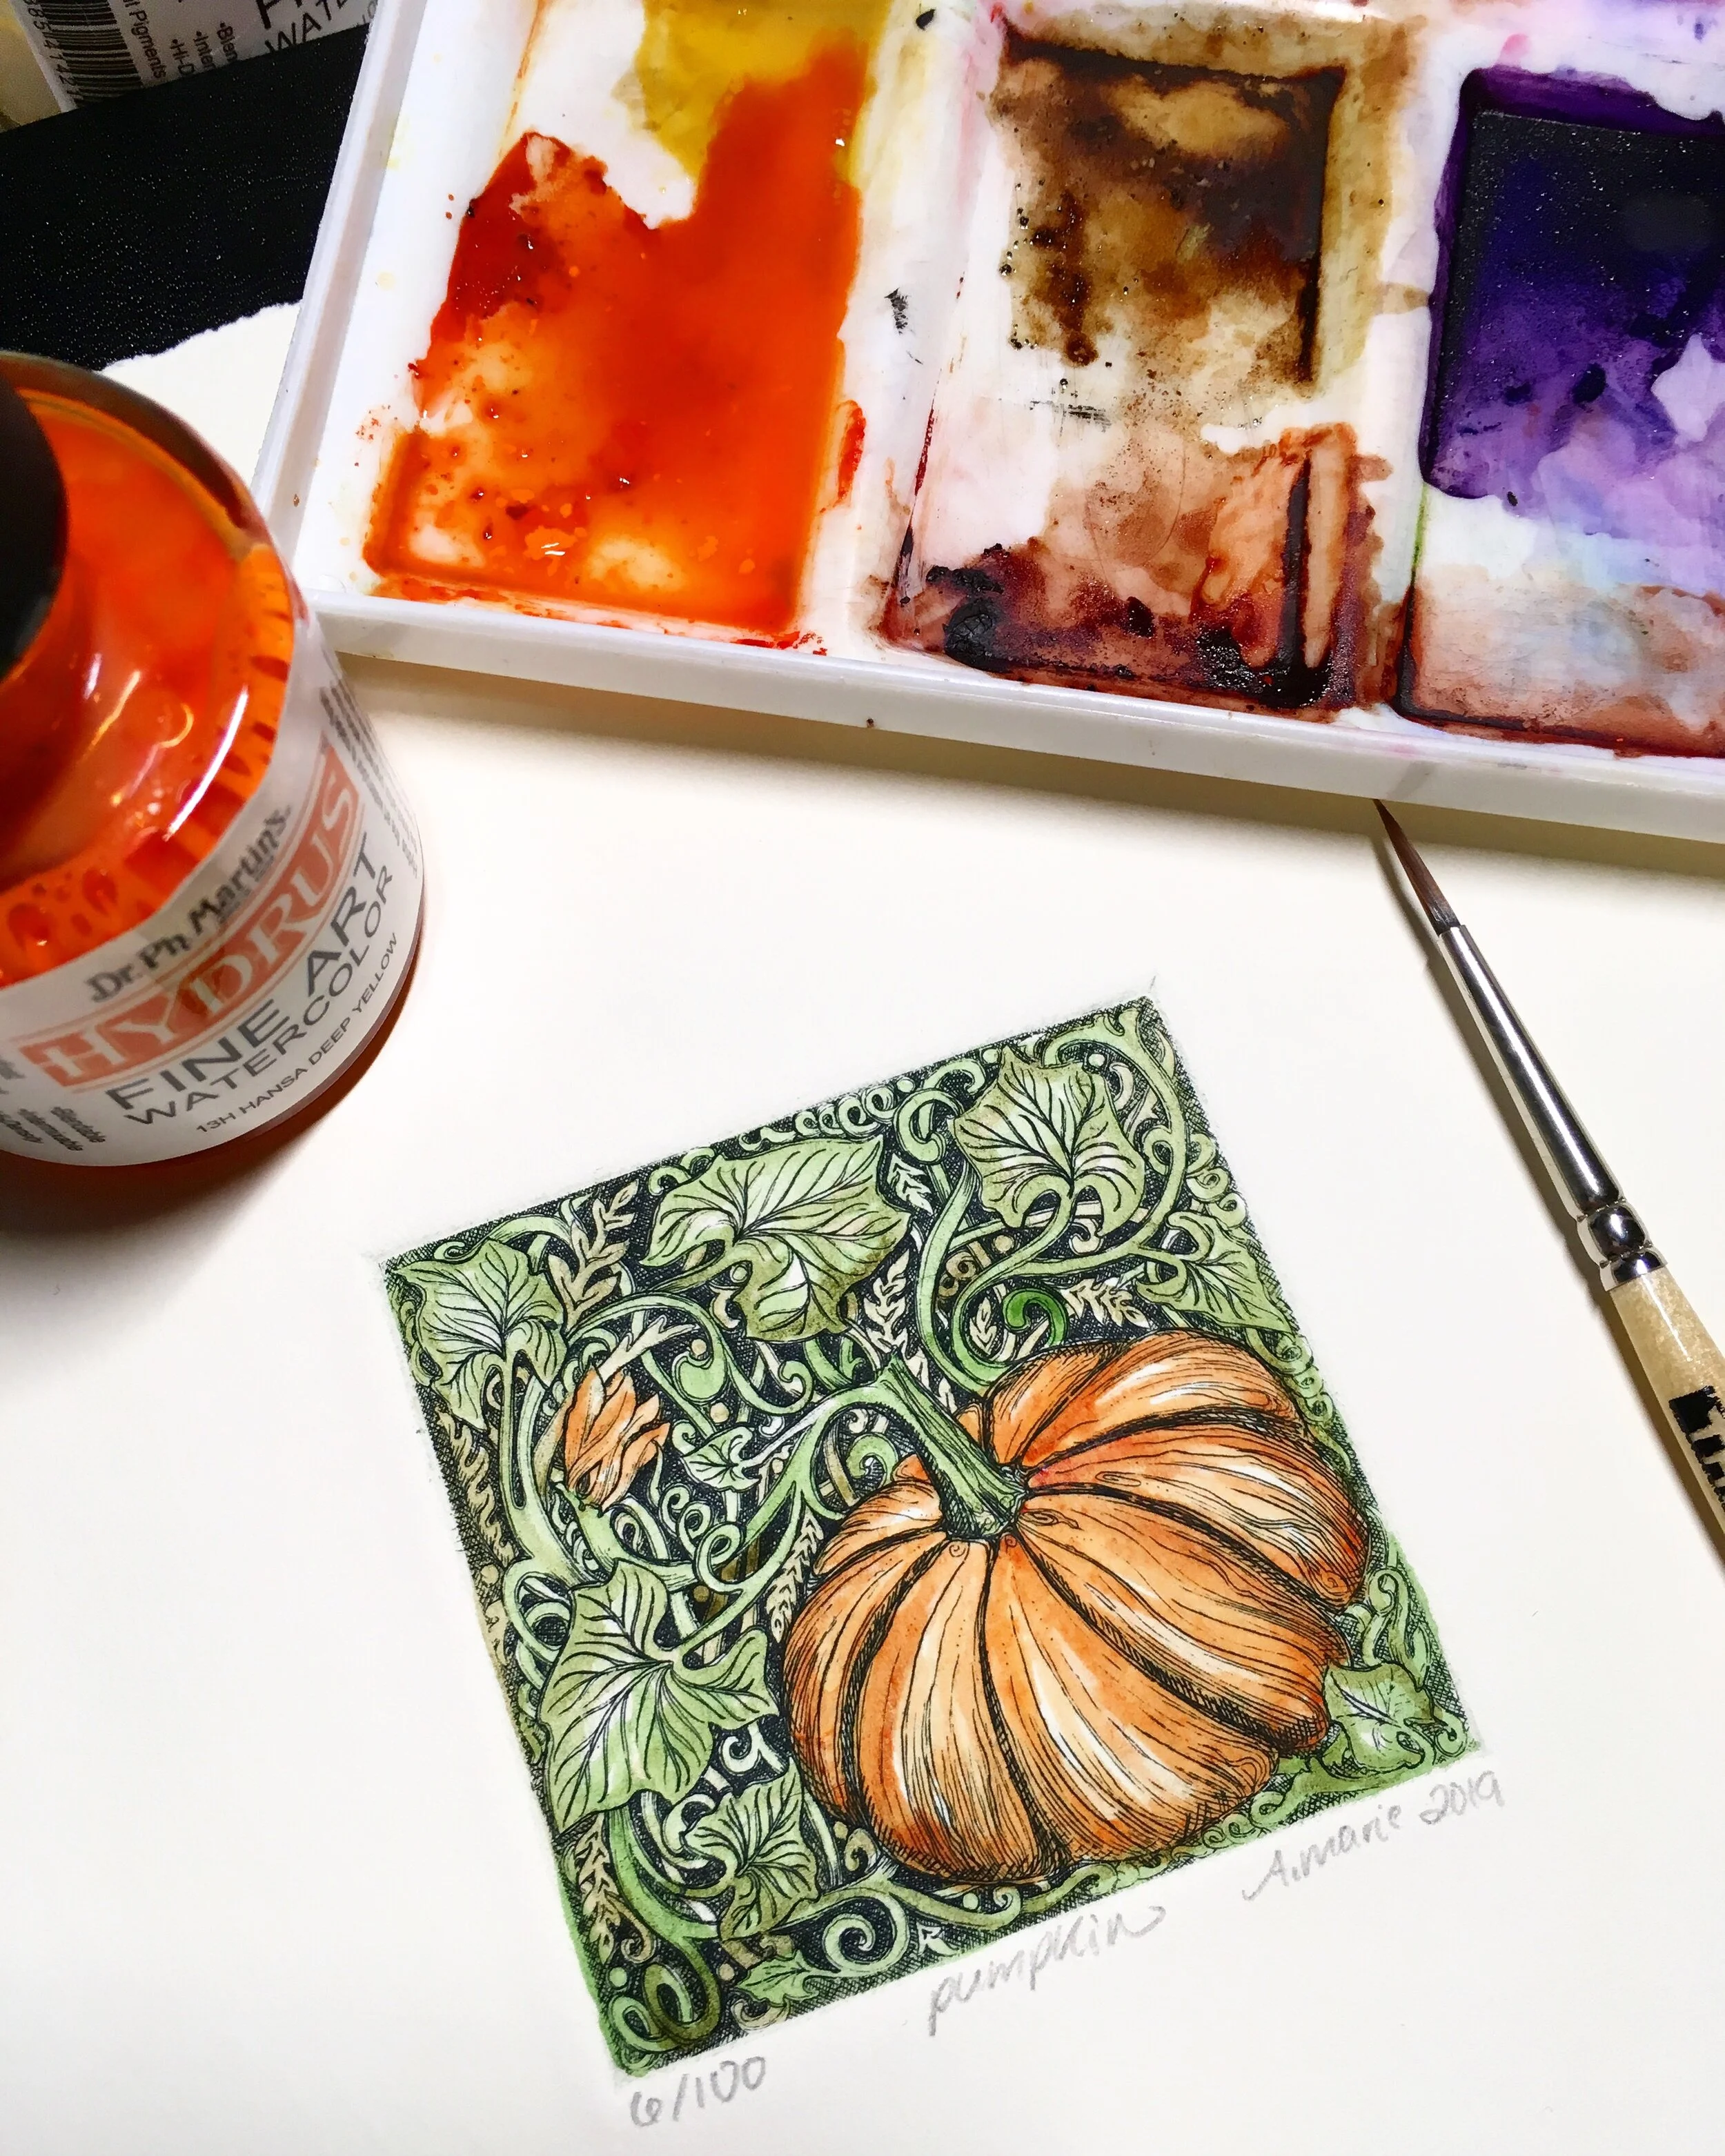
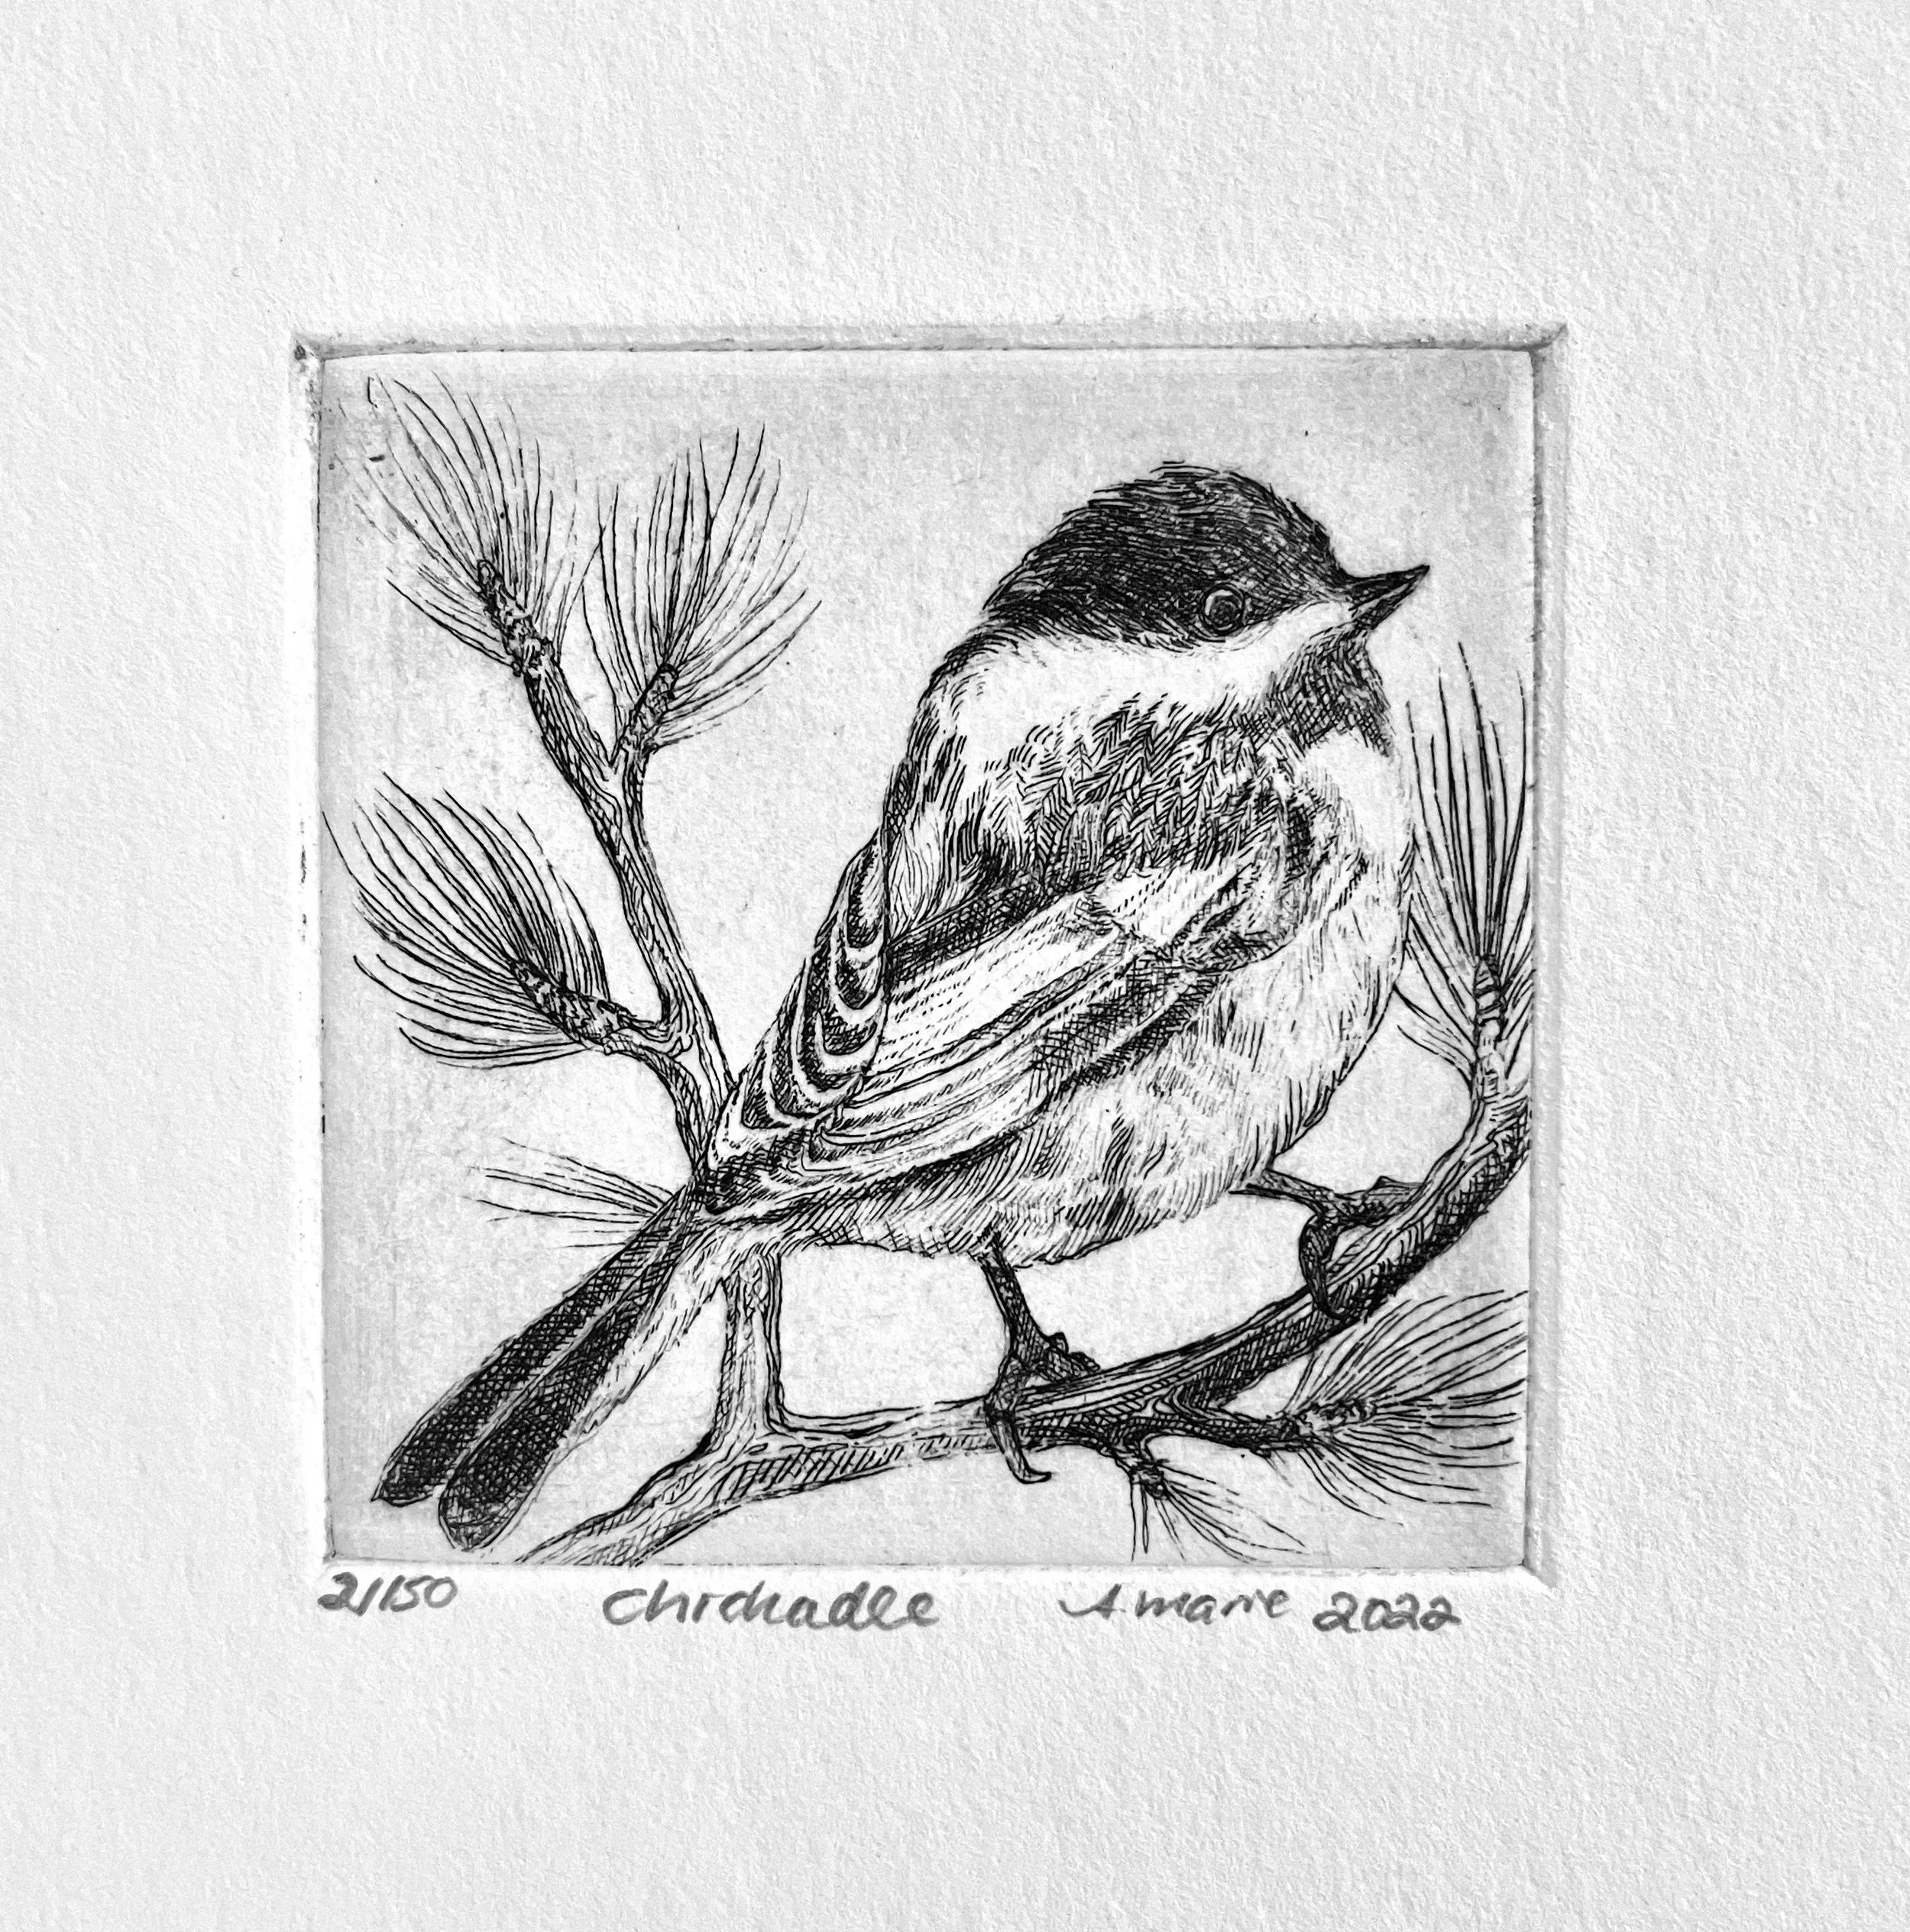
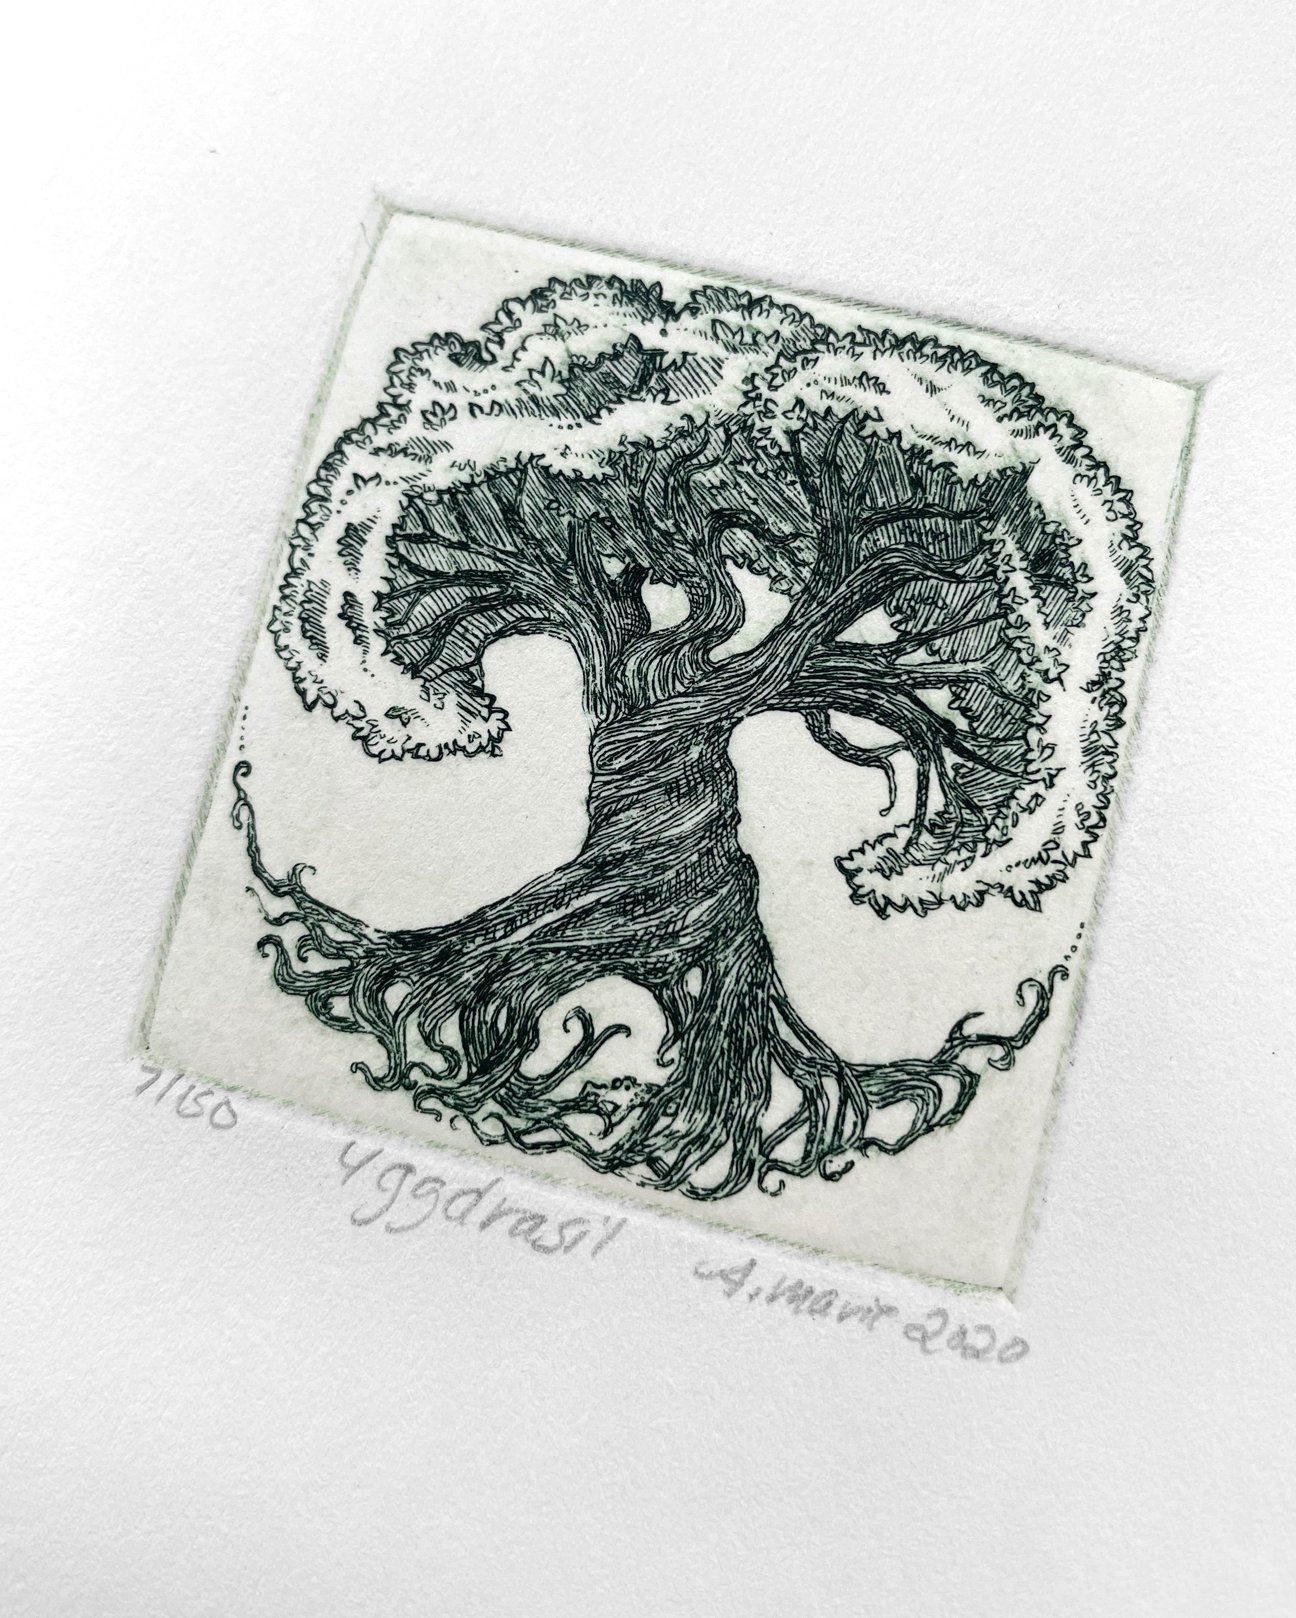
I took my first printmaking class in my final year at the College for Creative Studies and fell in love with this intricate and complicated process. Etching has given my artwork the look I had been searching for that fit my style perfectly. While pen and ink is still integral to my process, being able to supplement with etching as well has helped me create illustrations I am very proud of. I discovered that intaglio etching is something I have to never give up on.
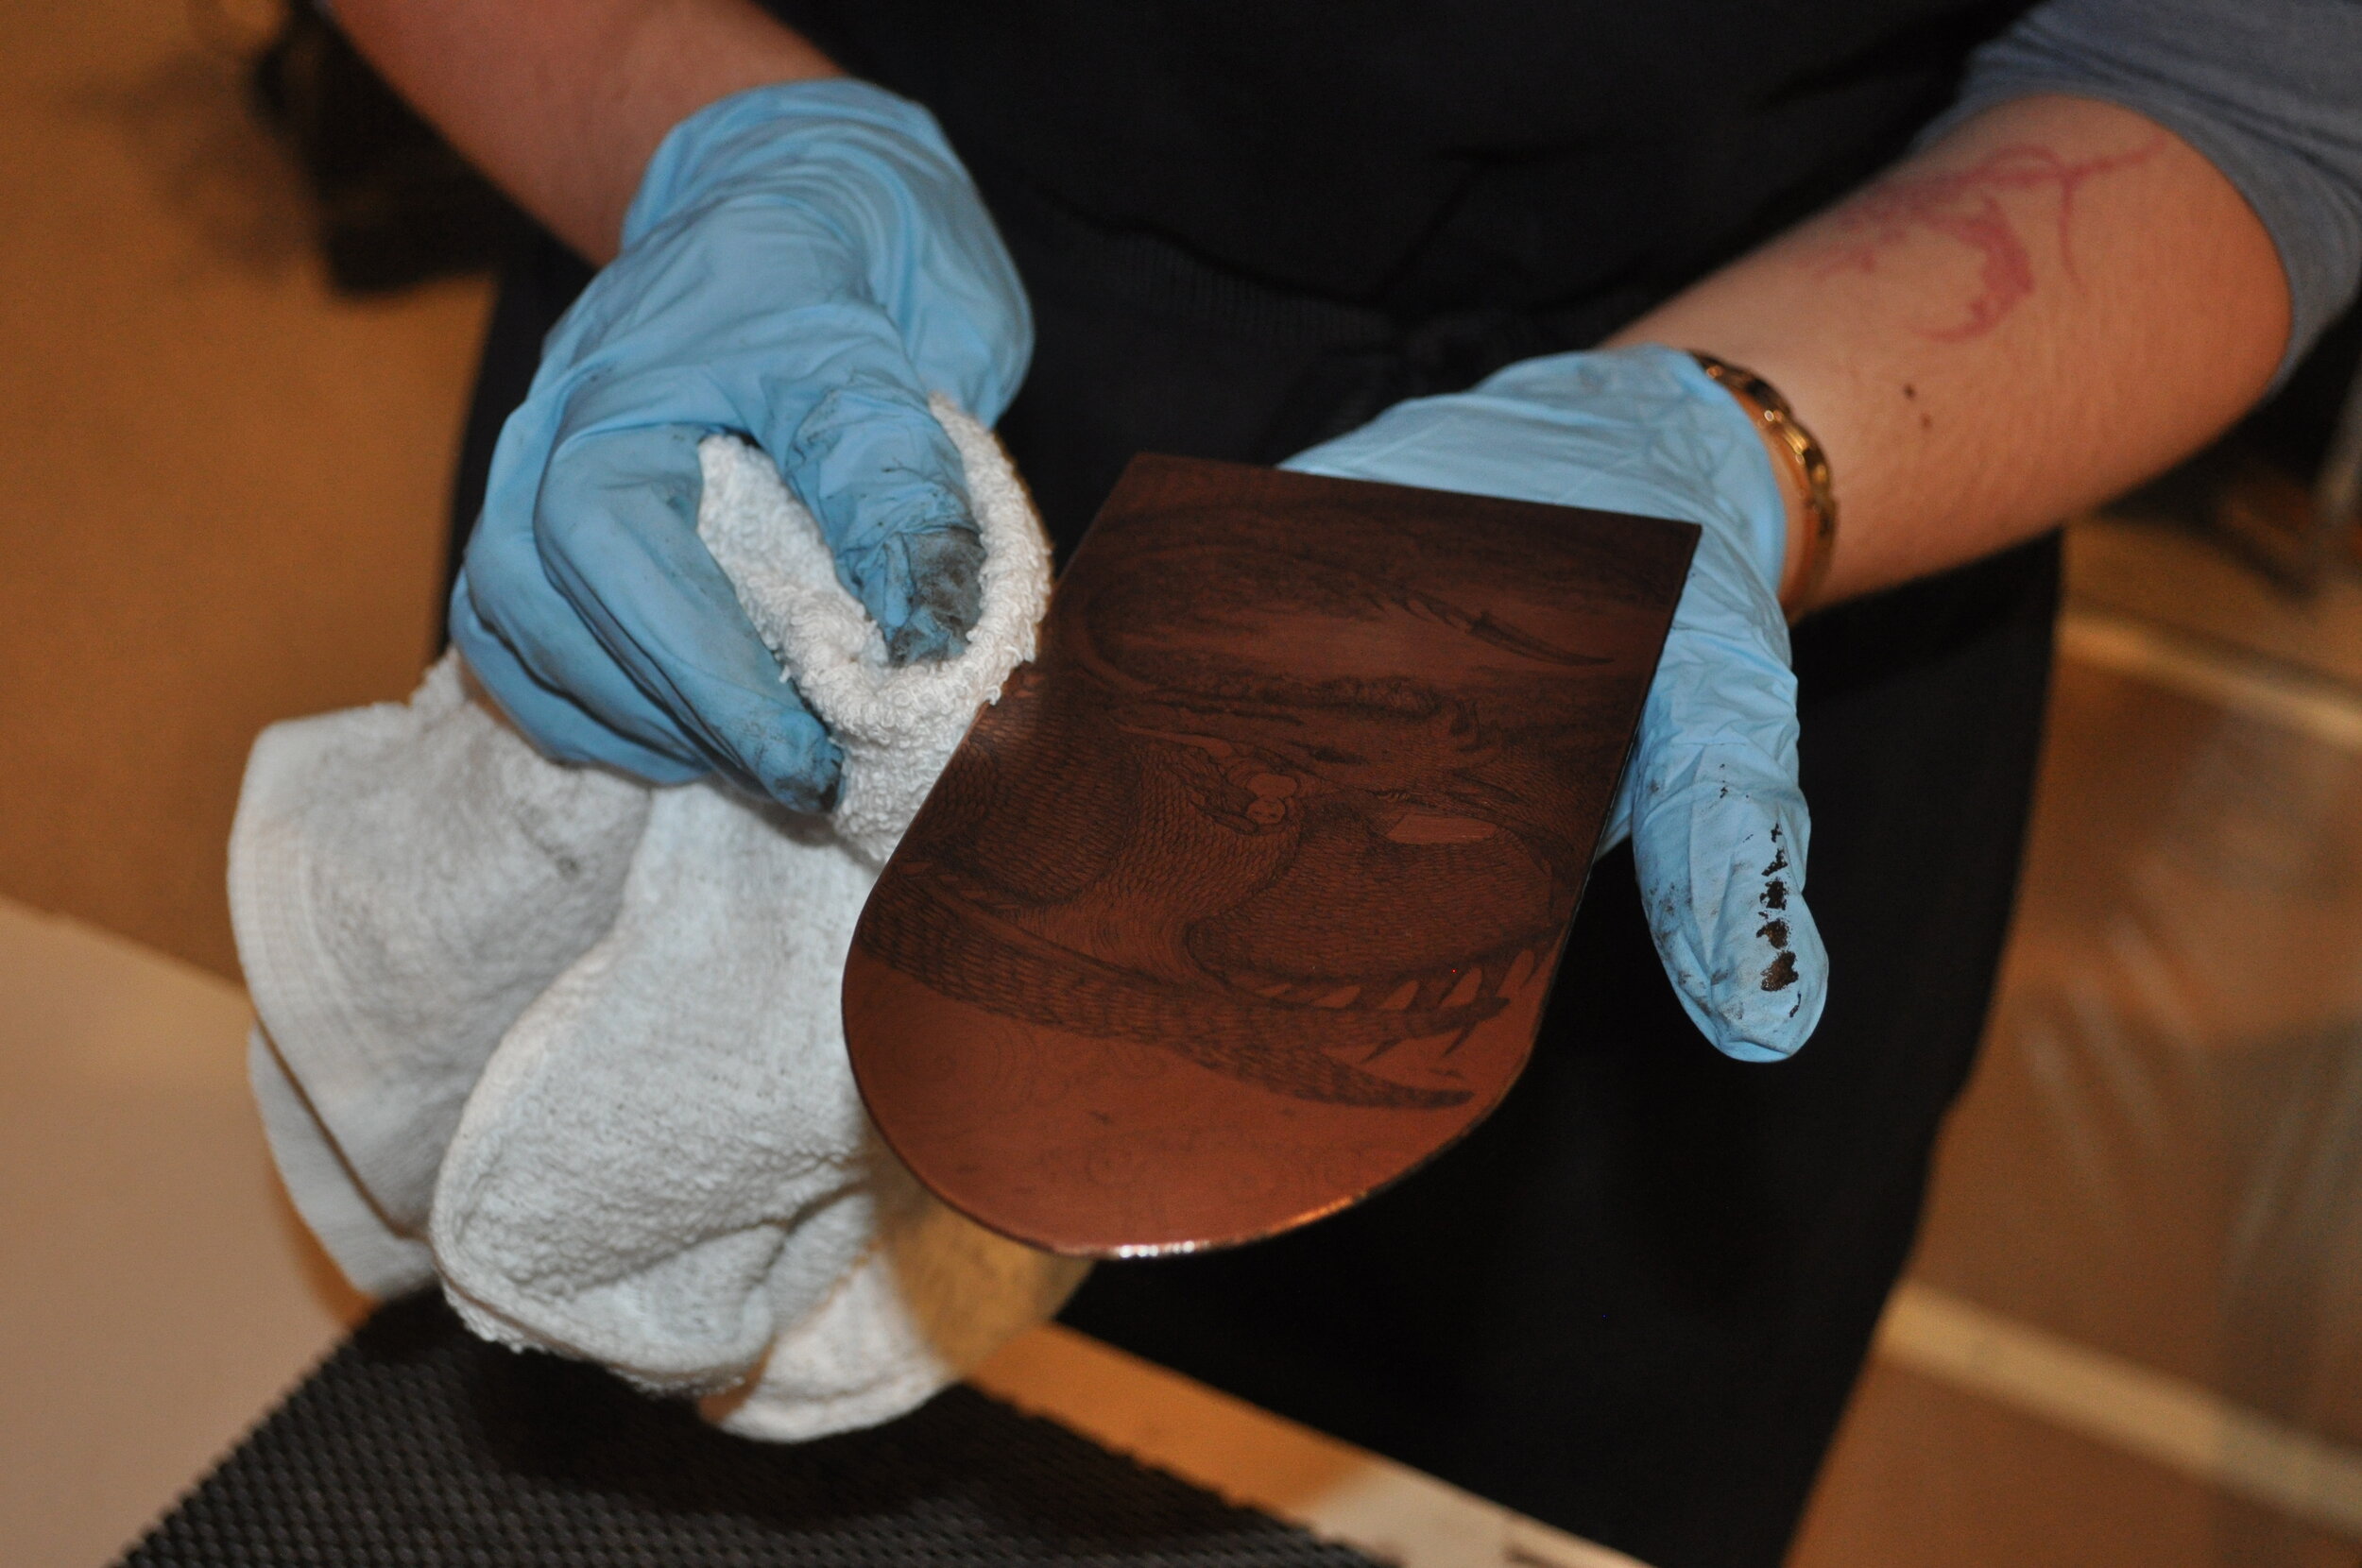
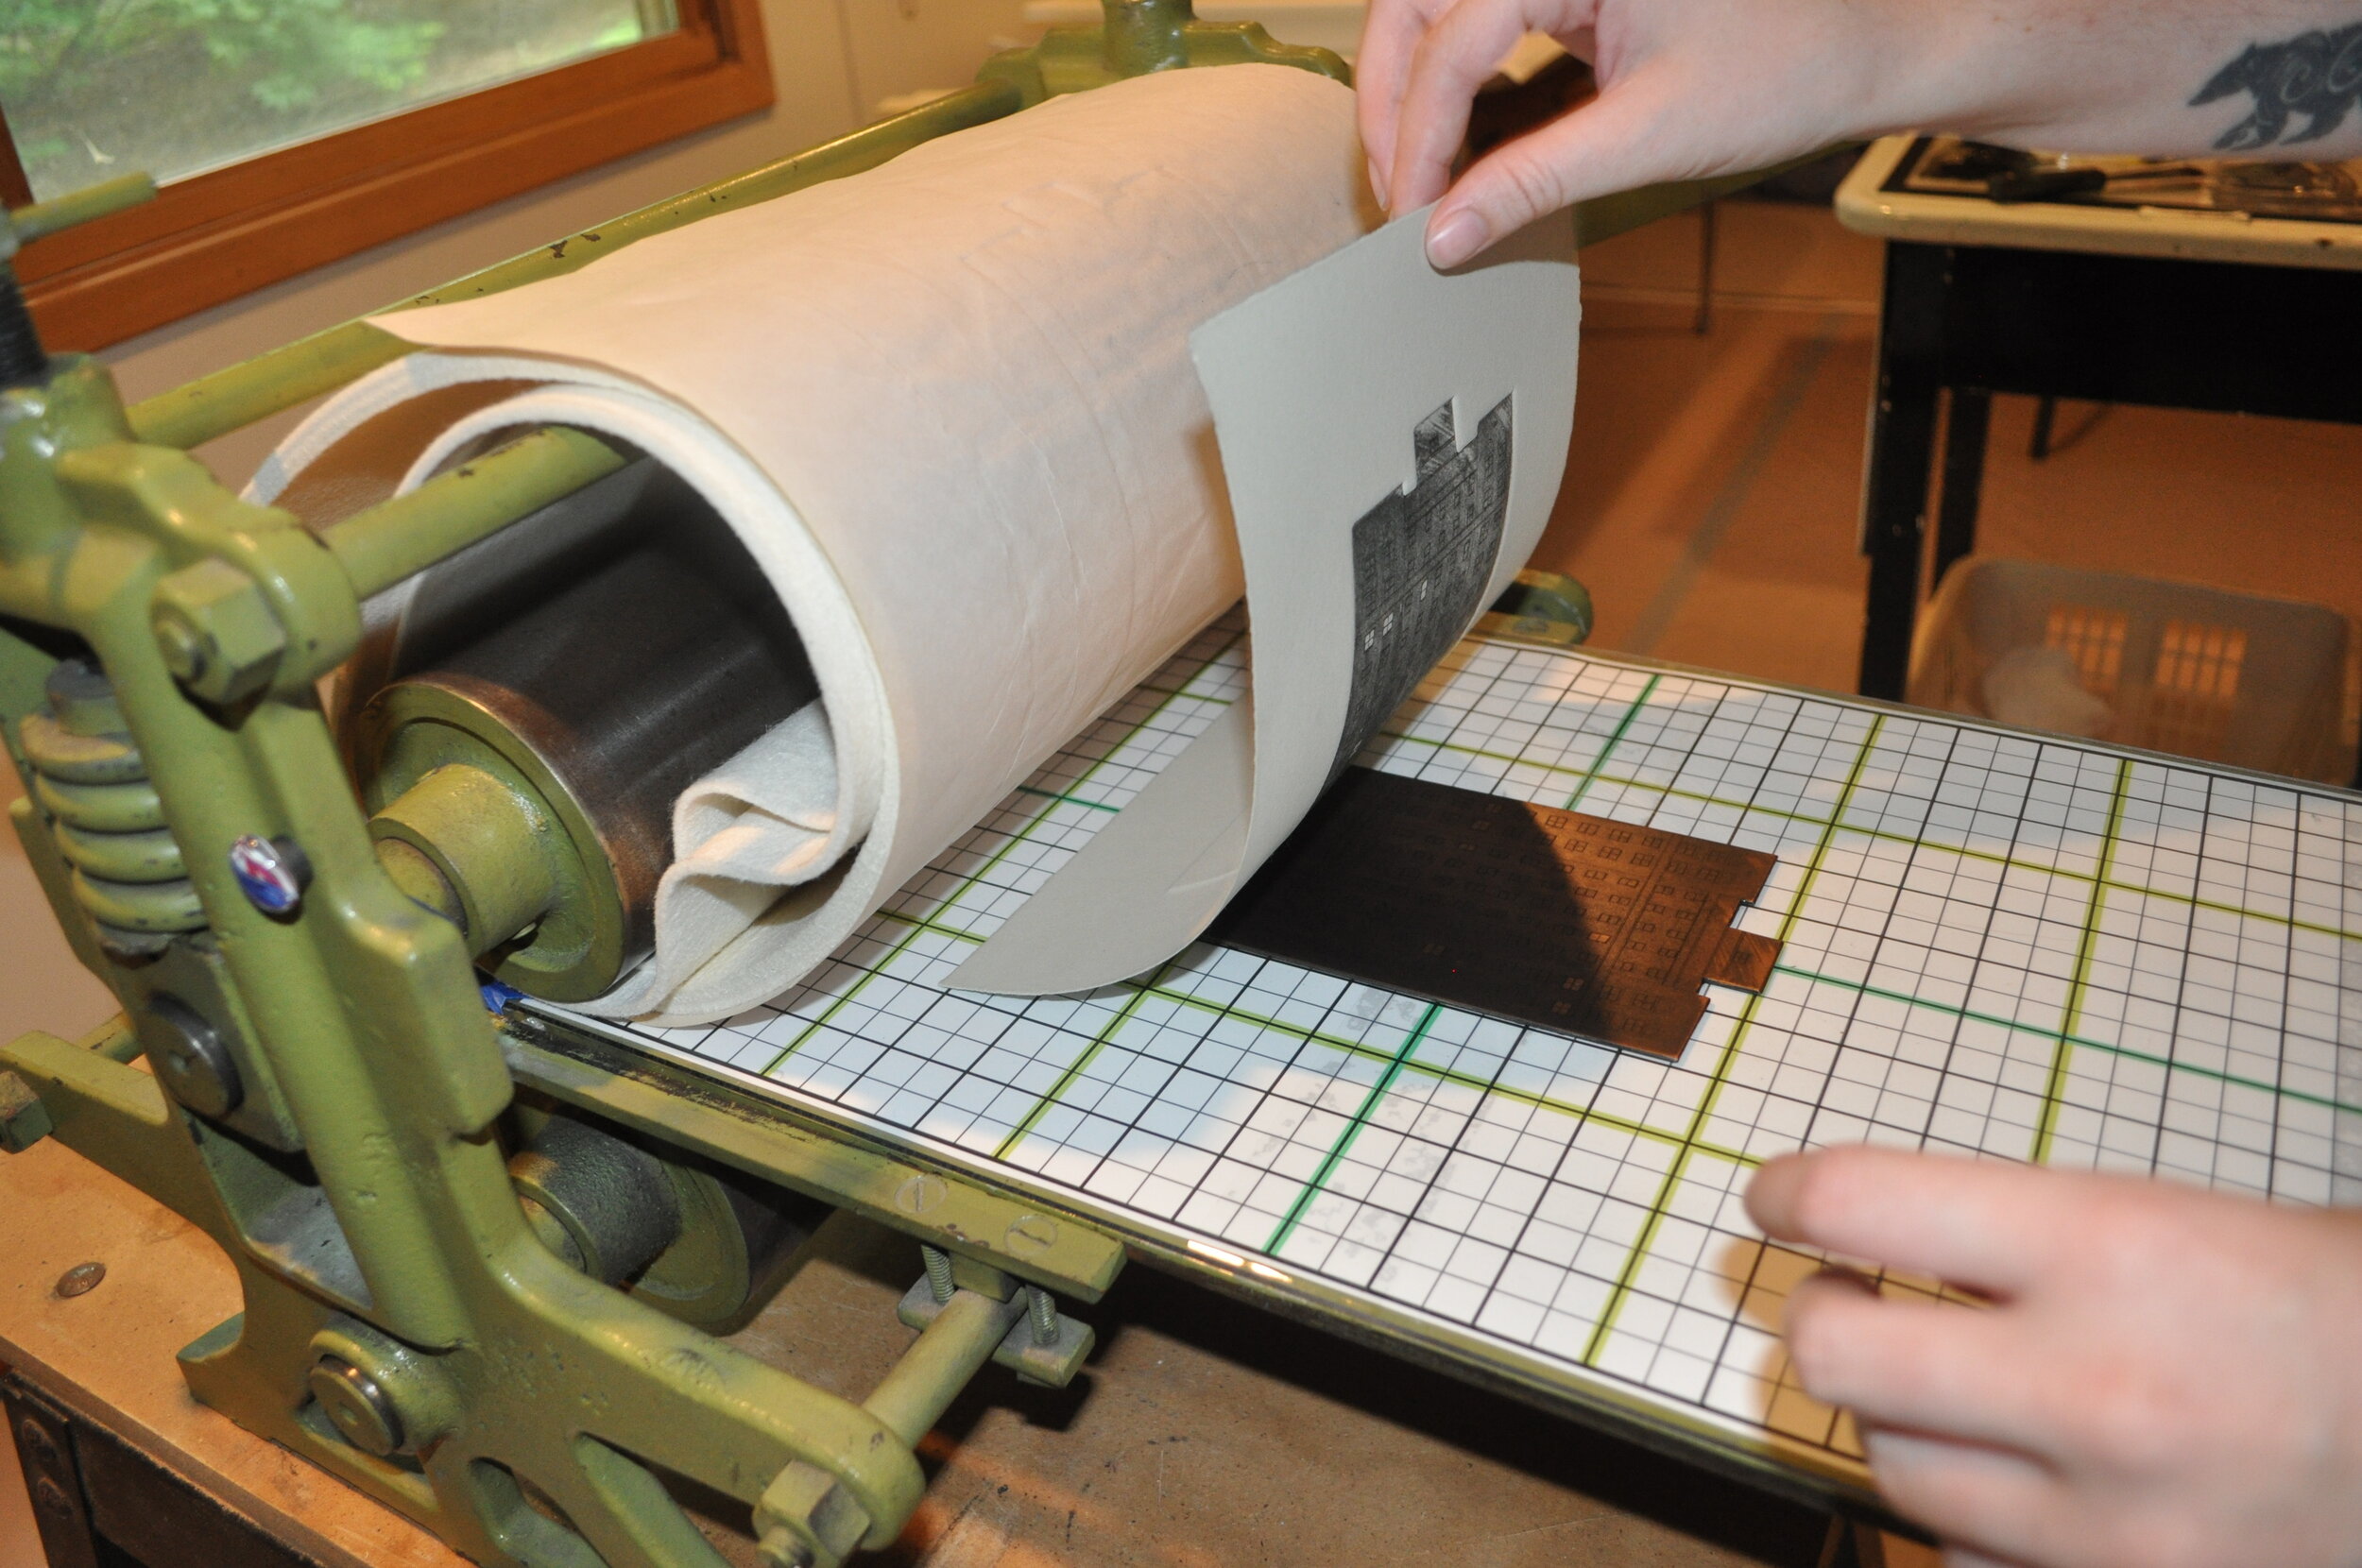
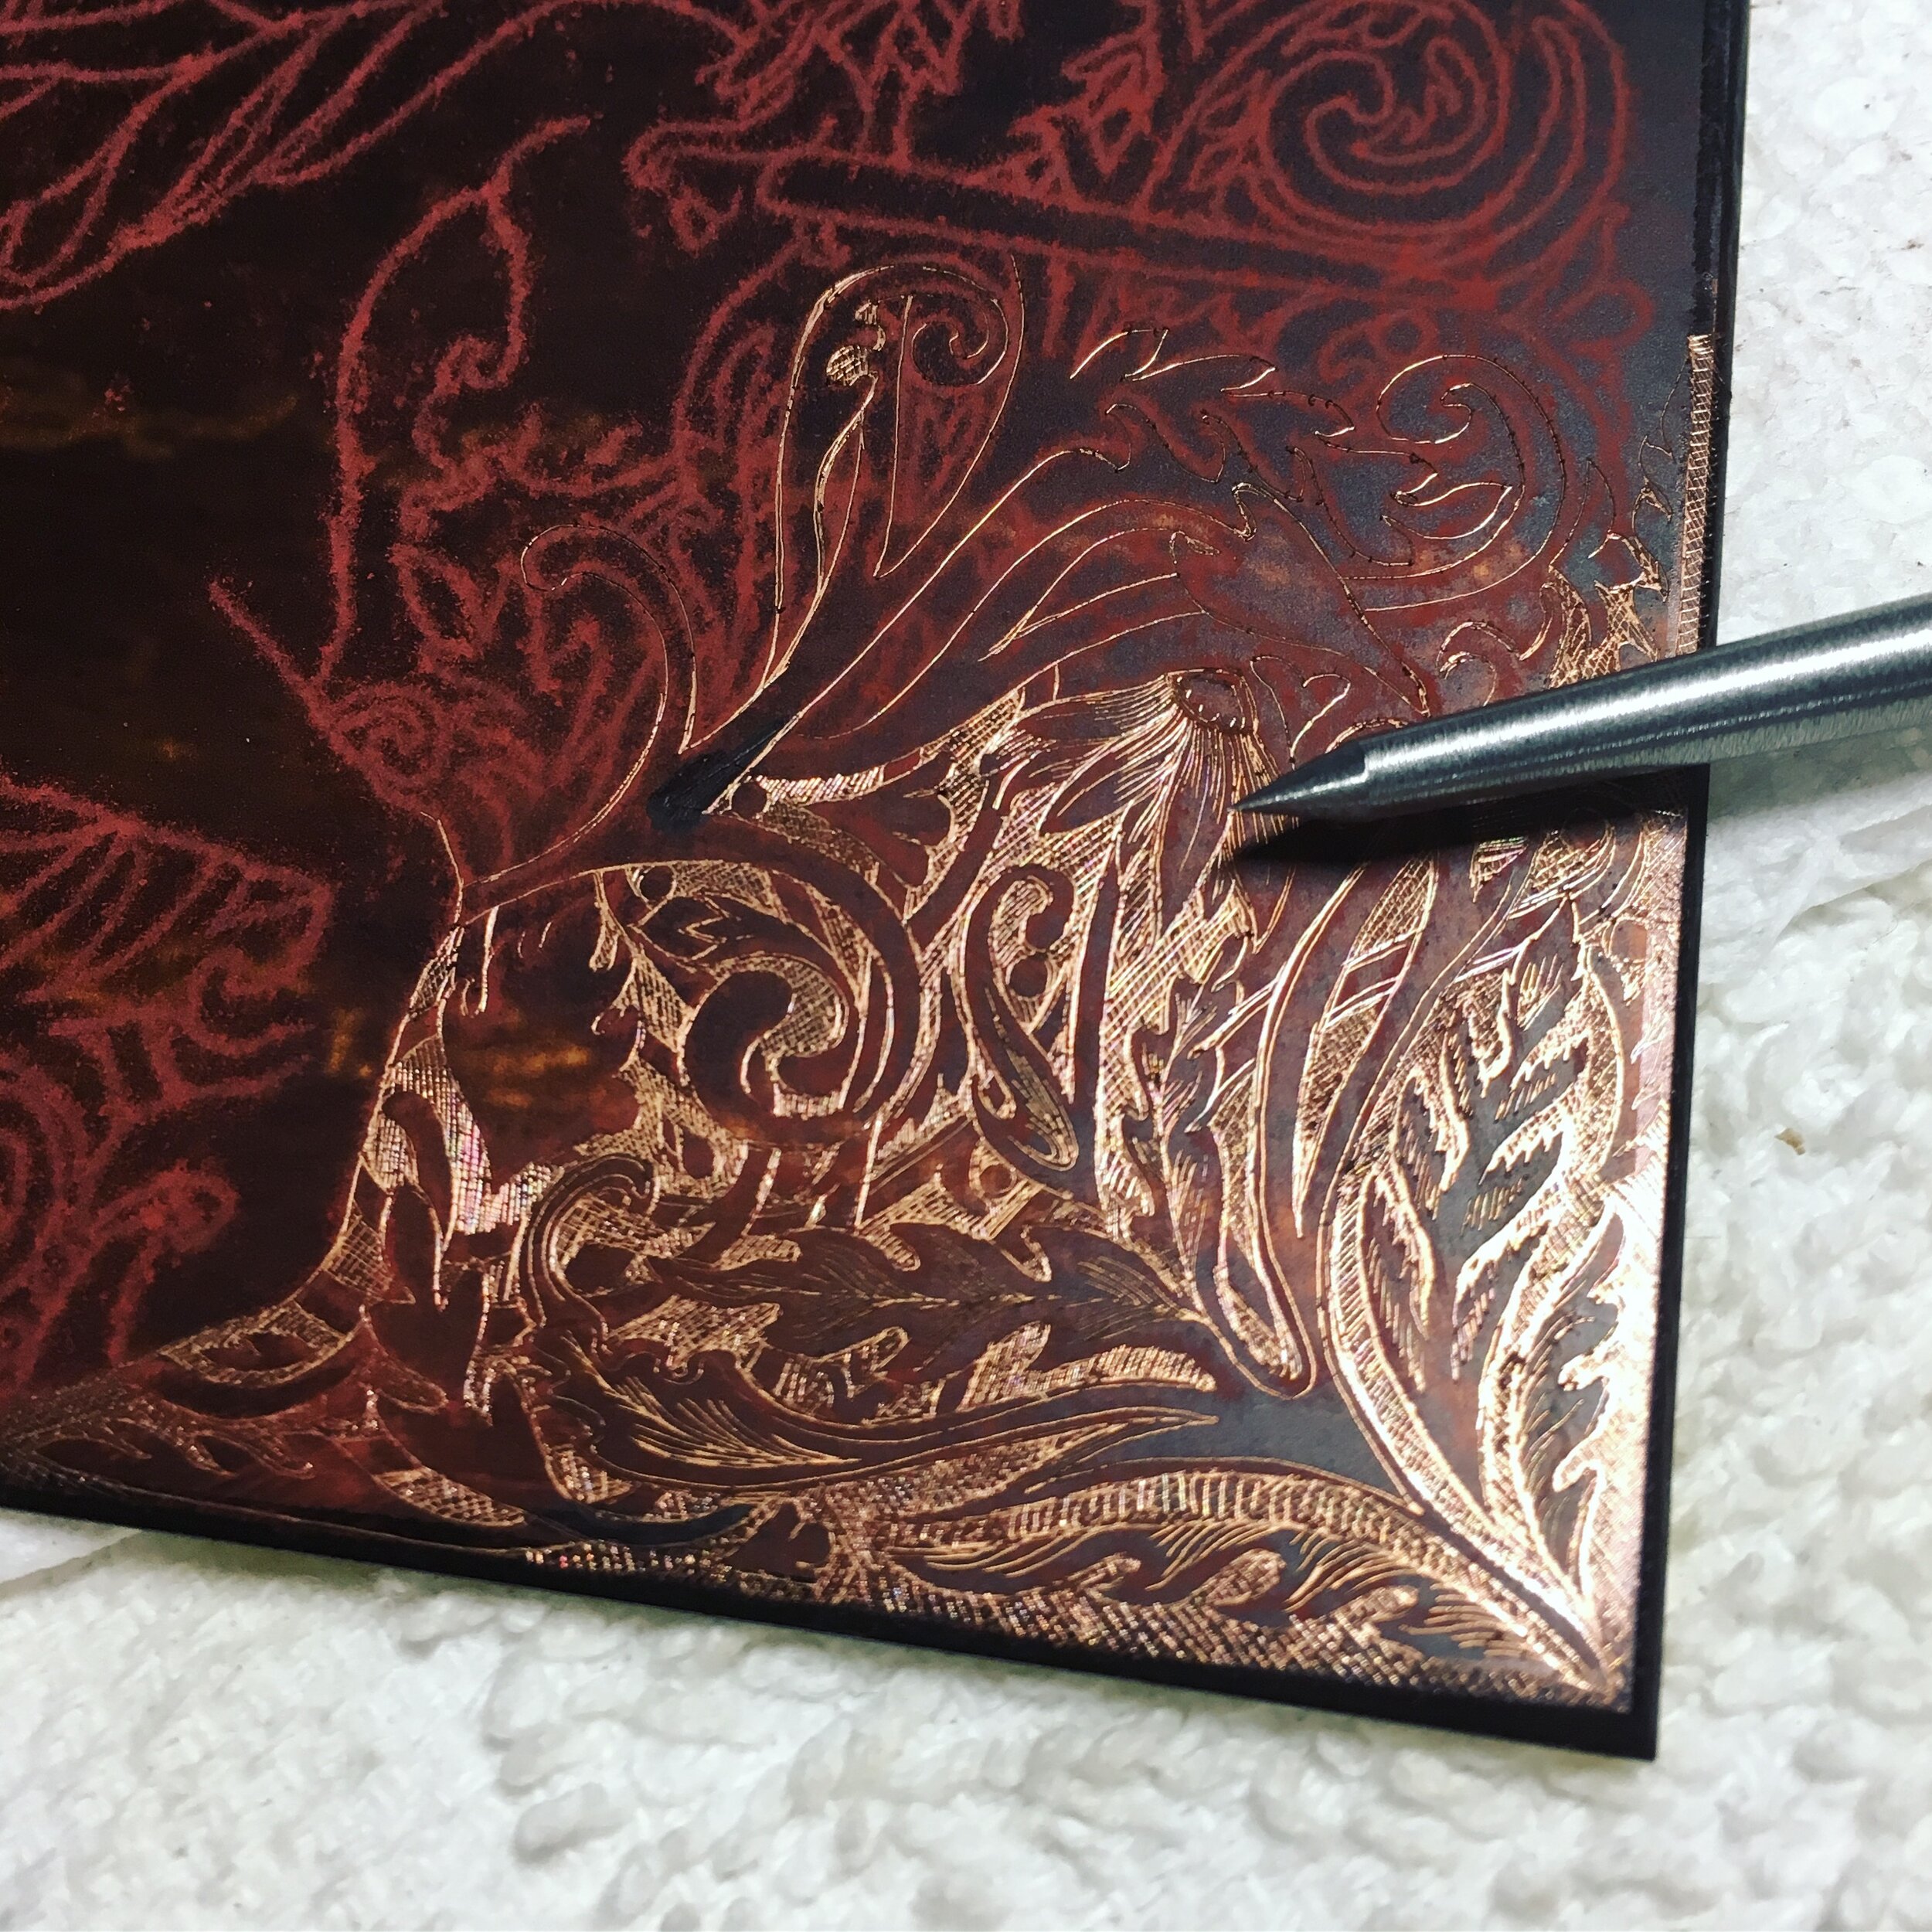
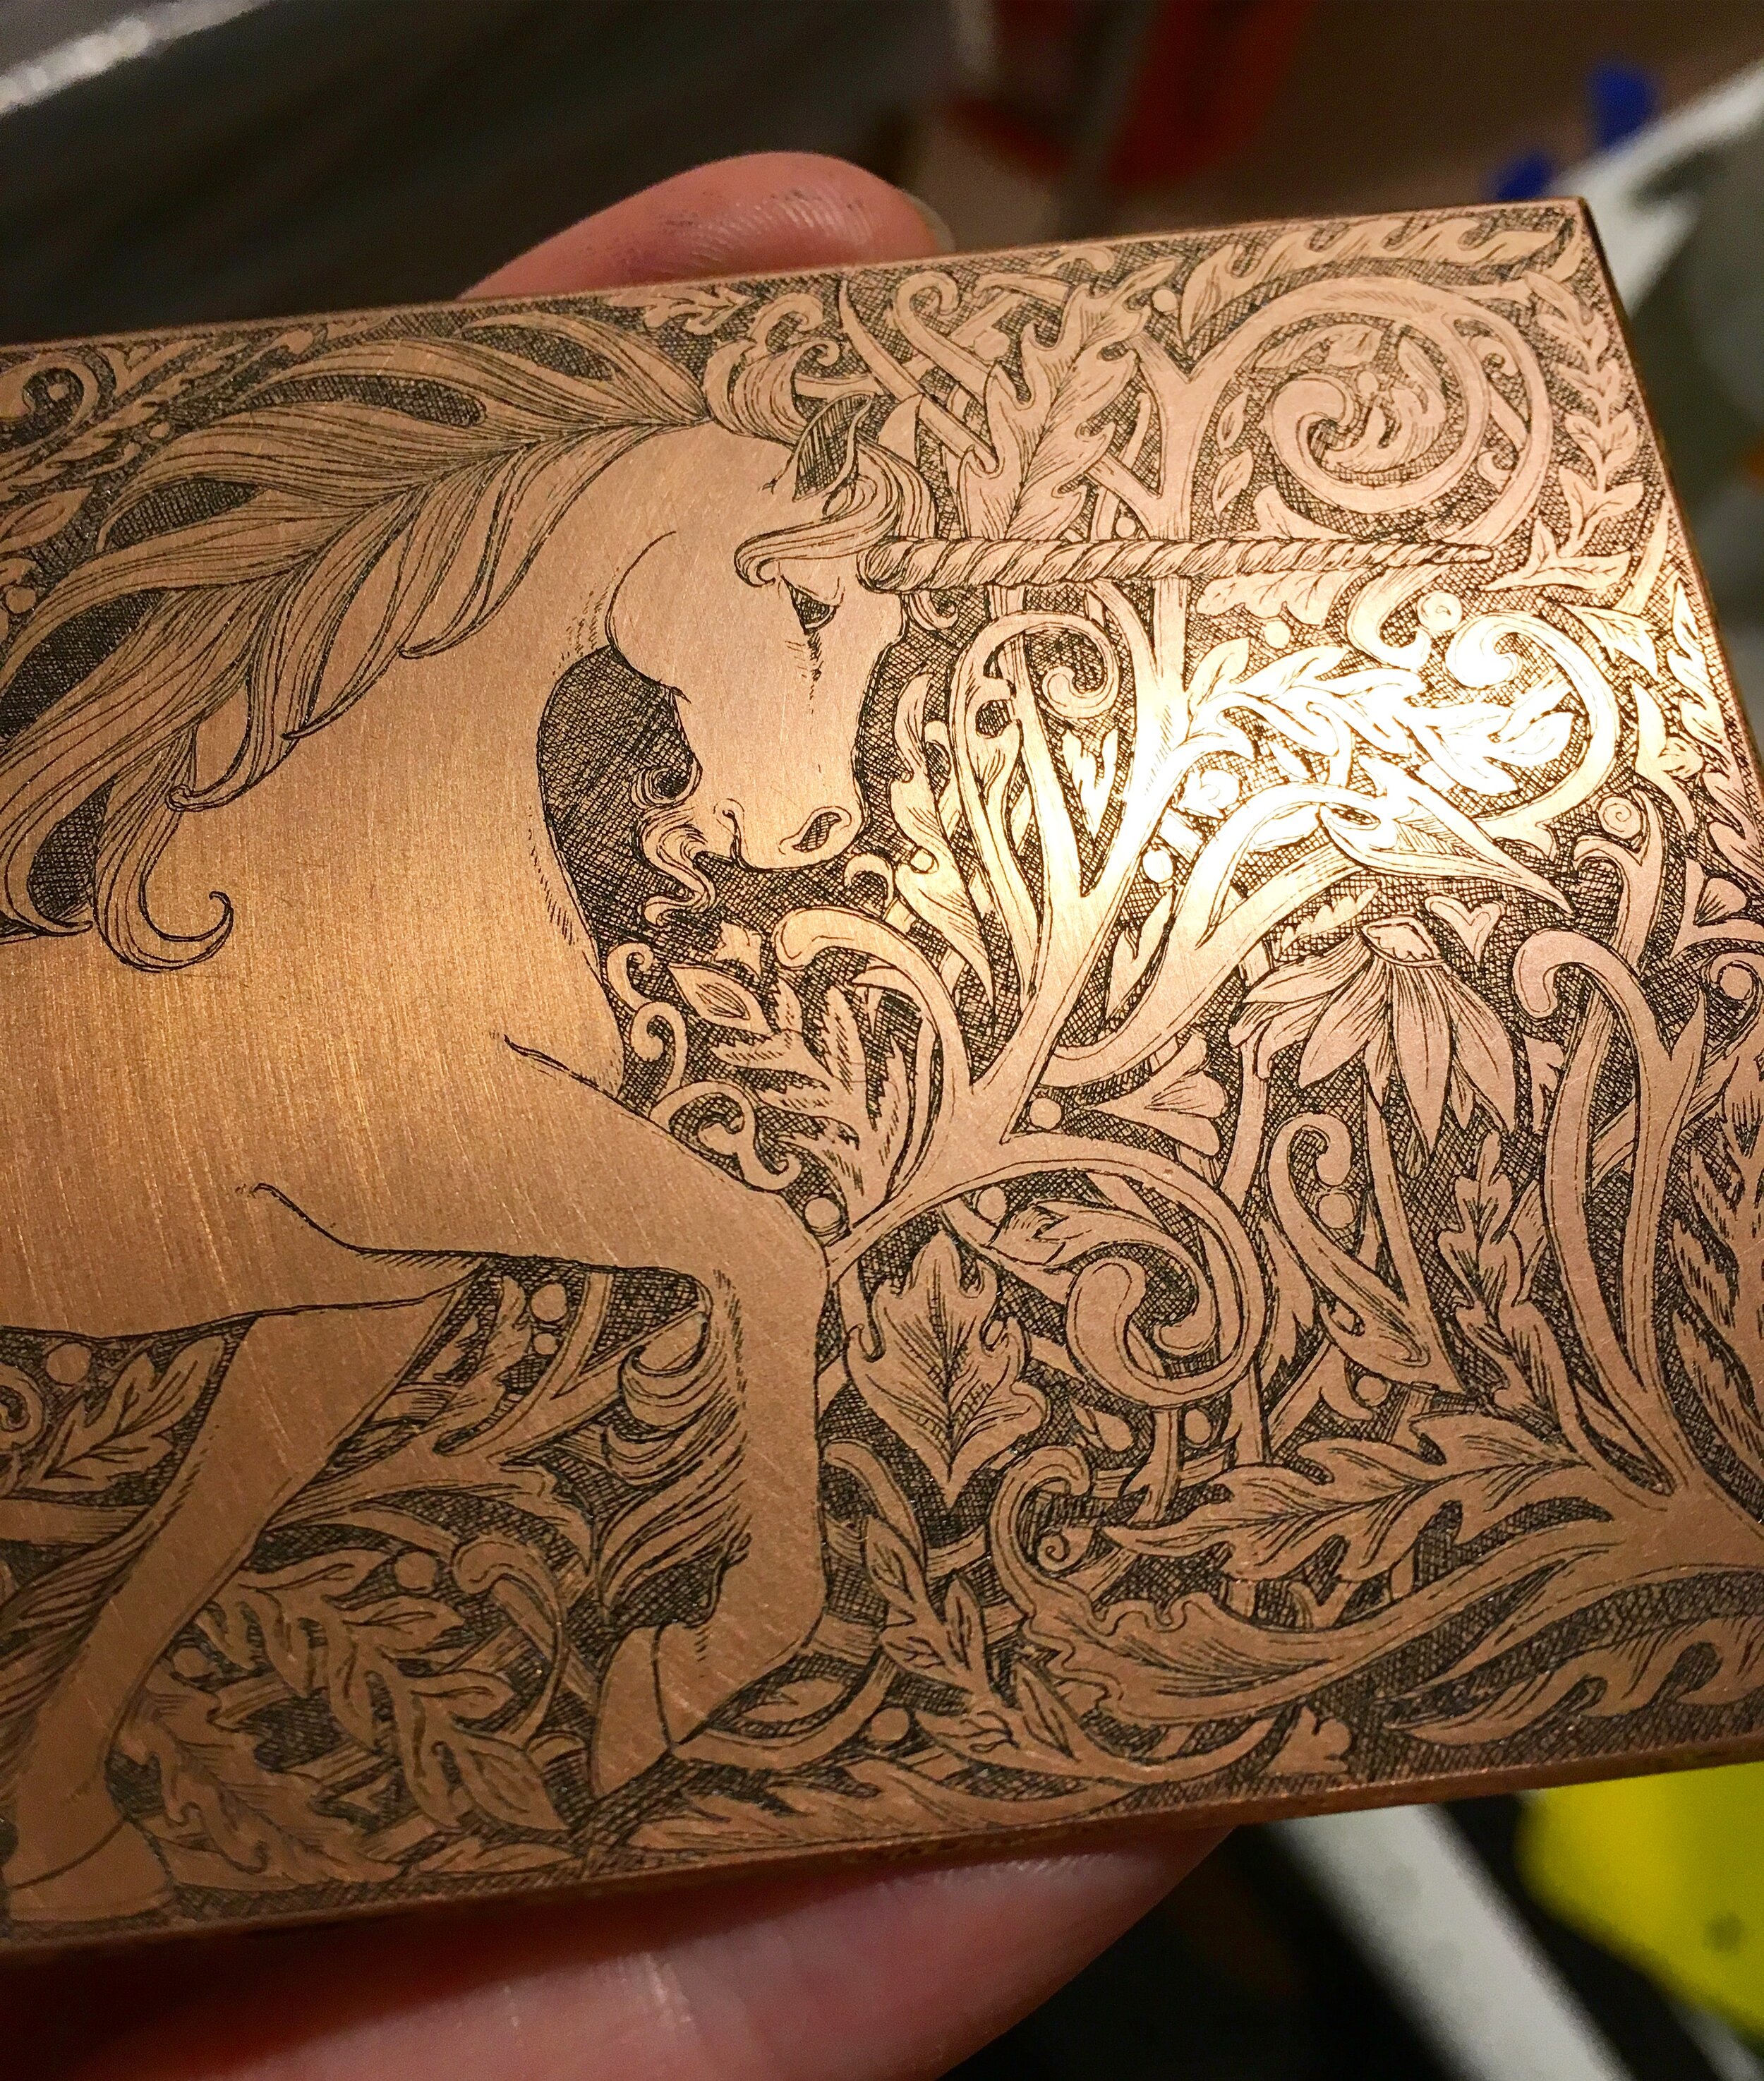
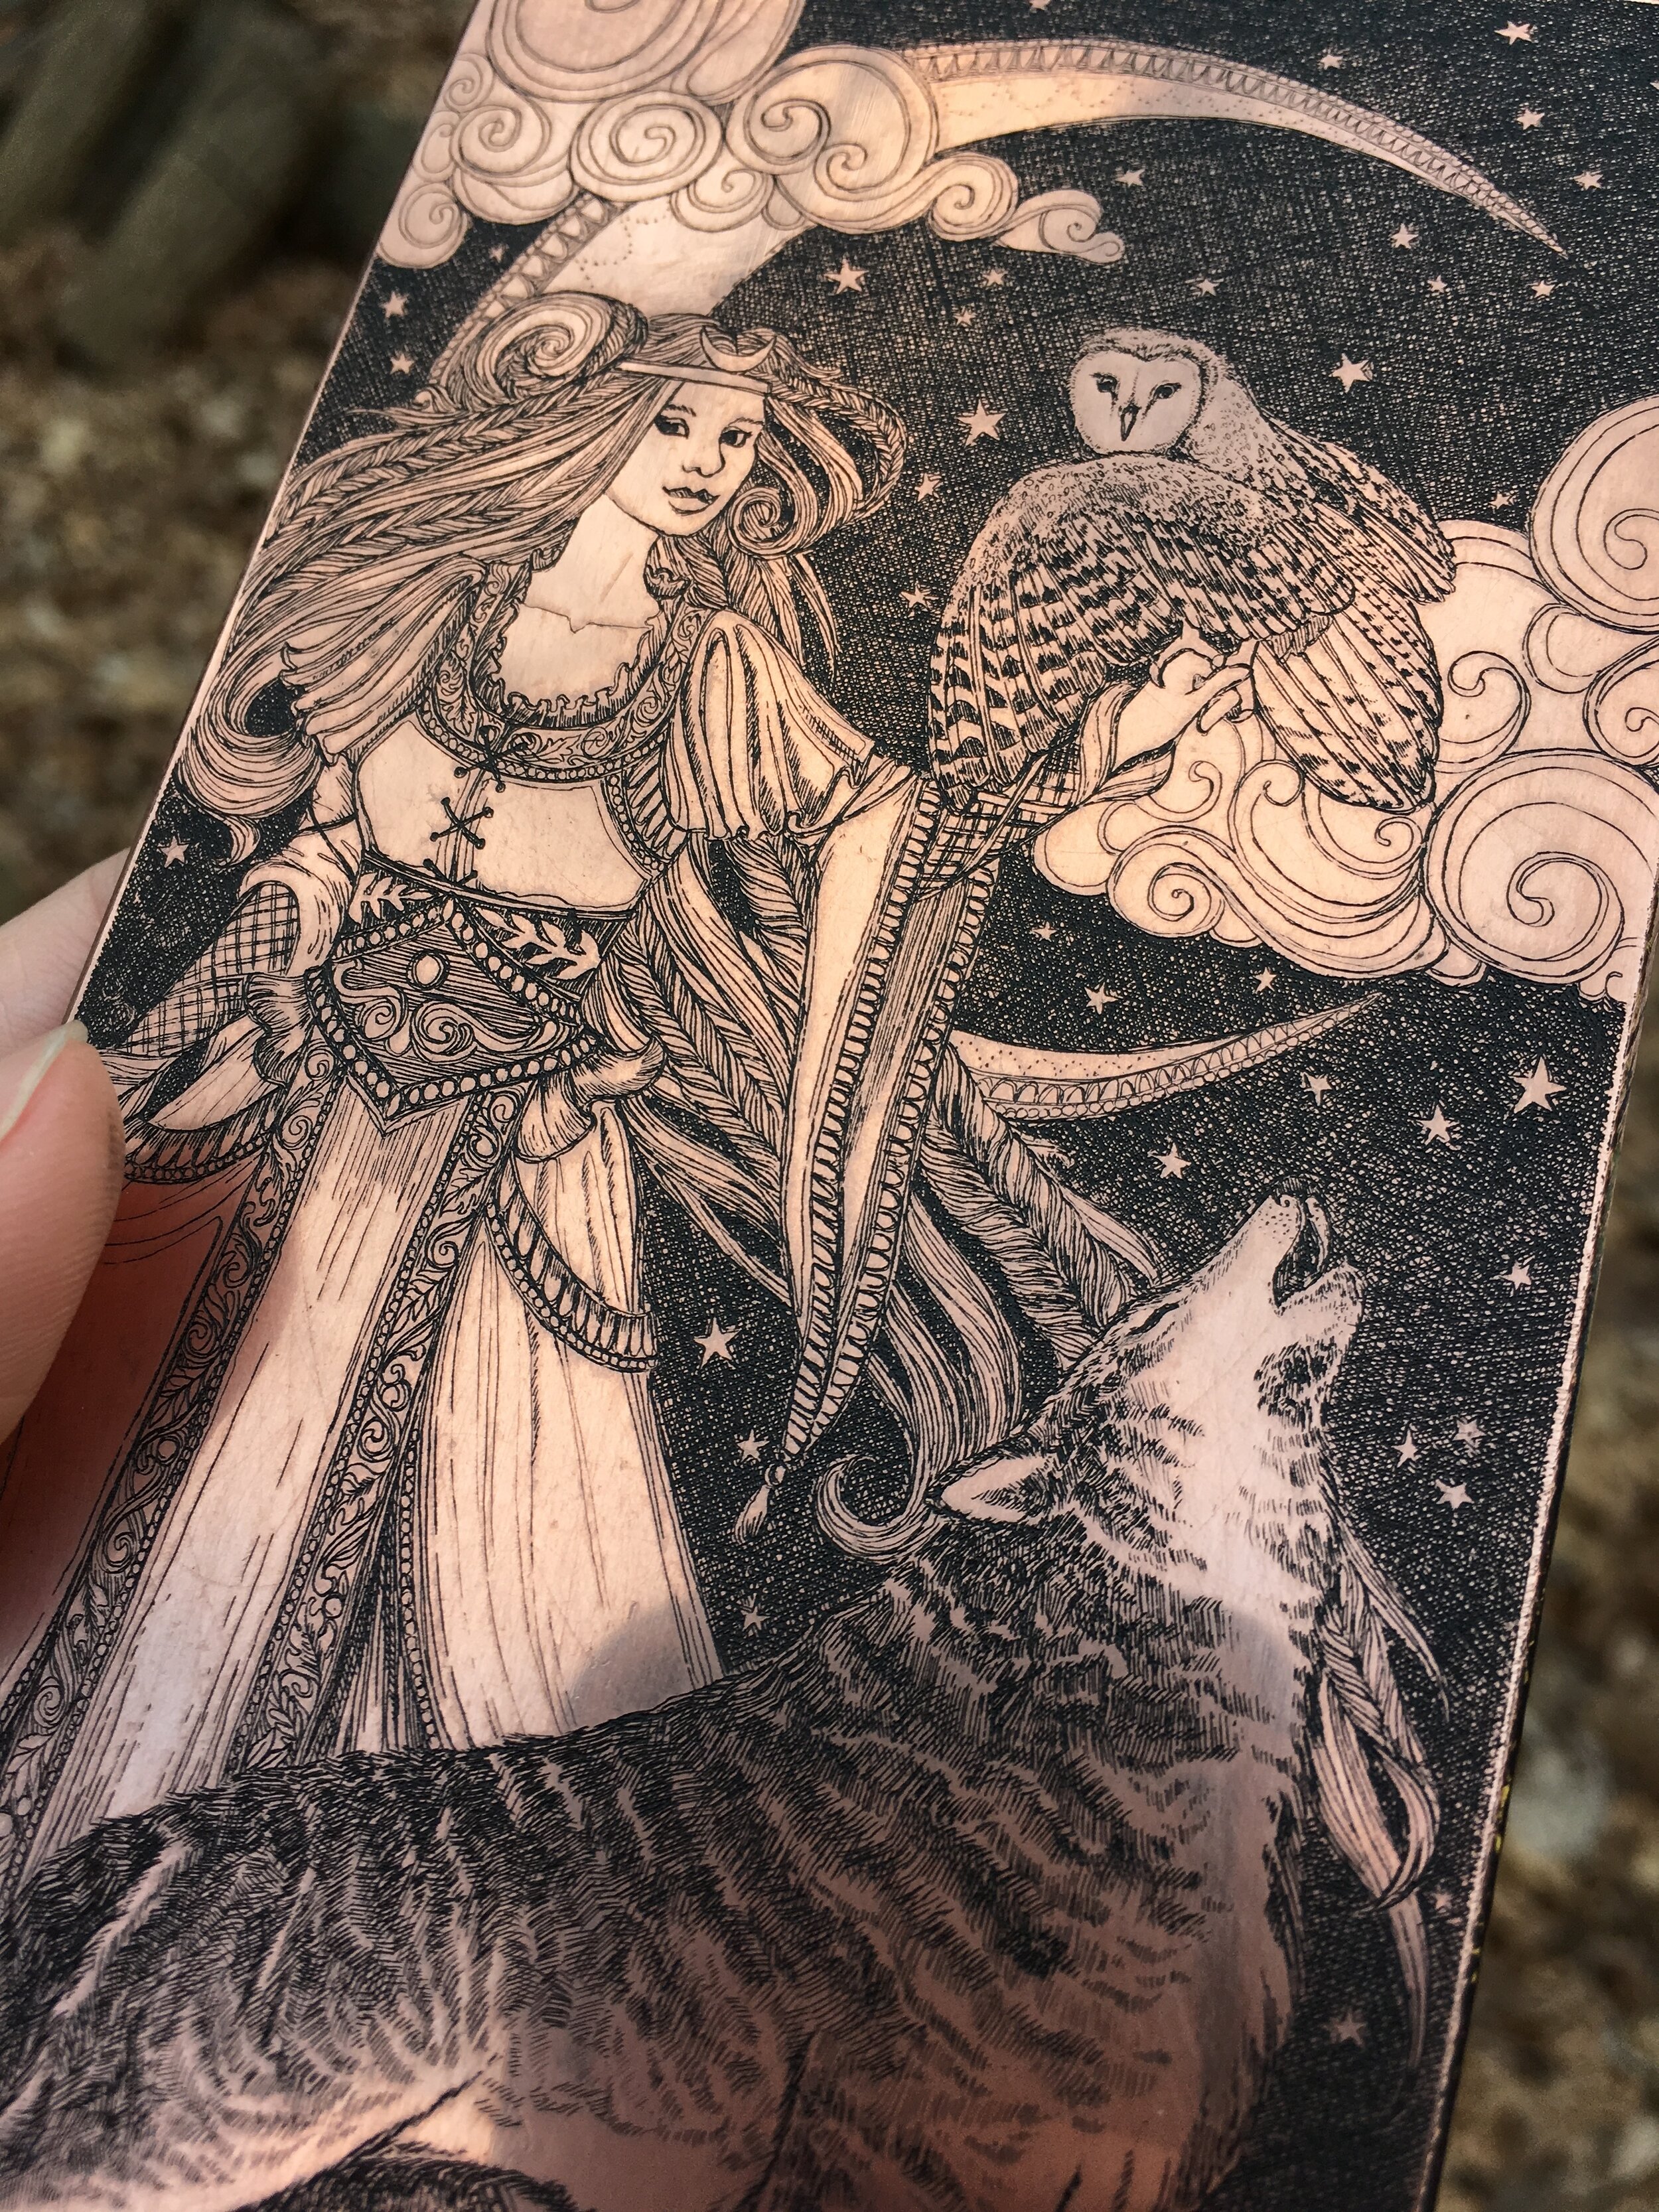
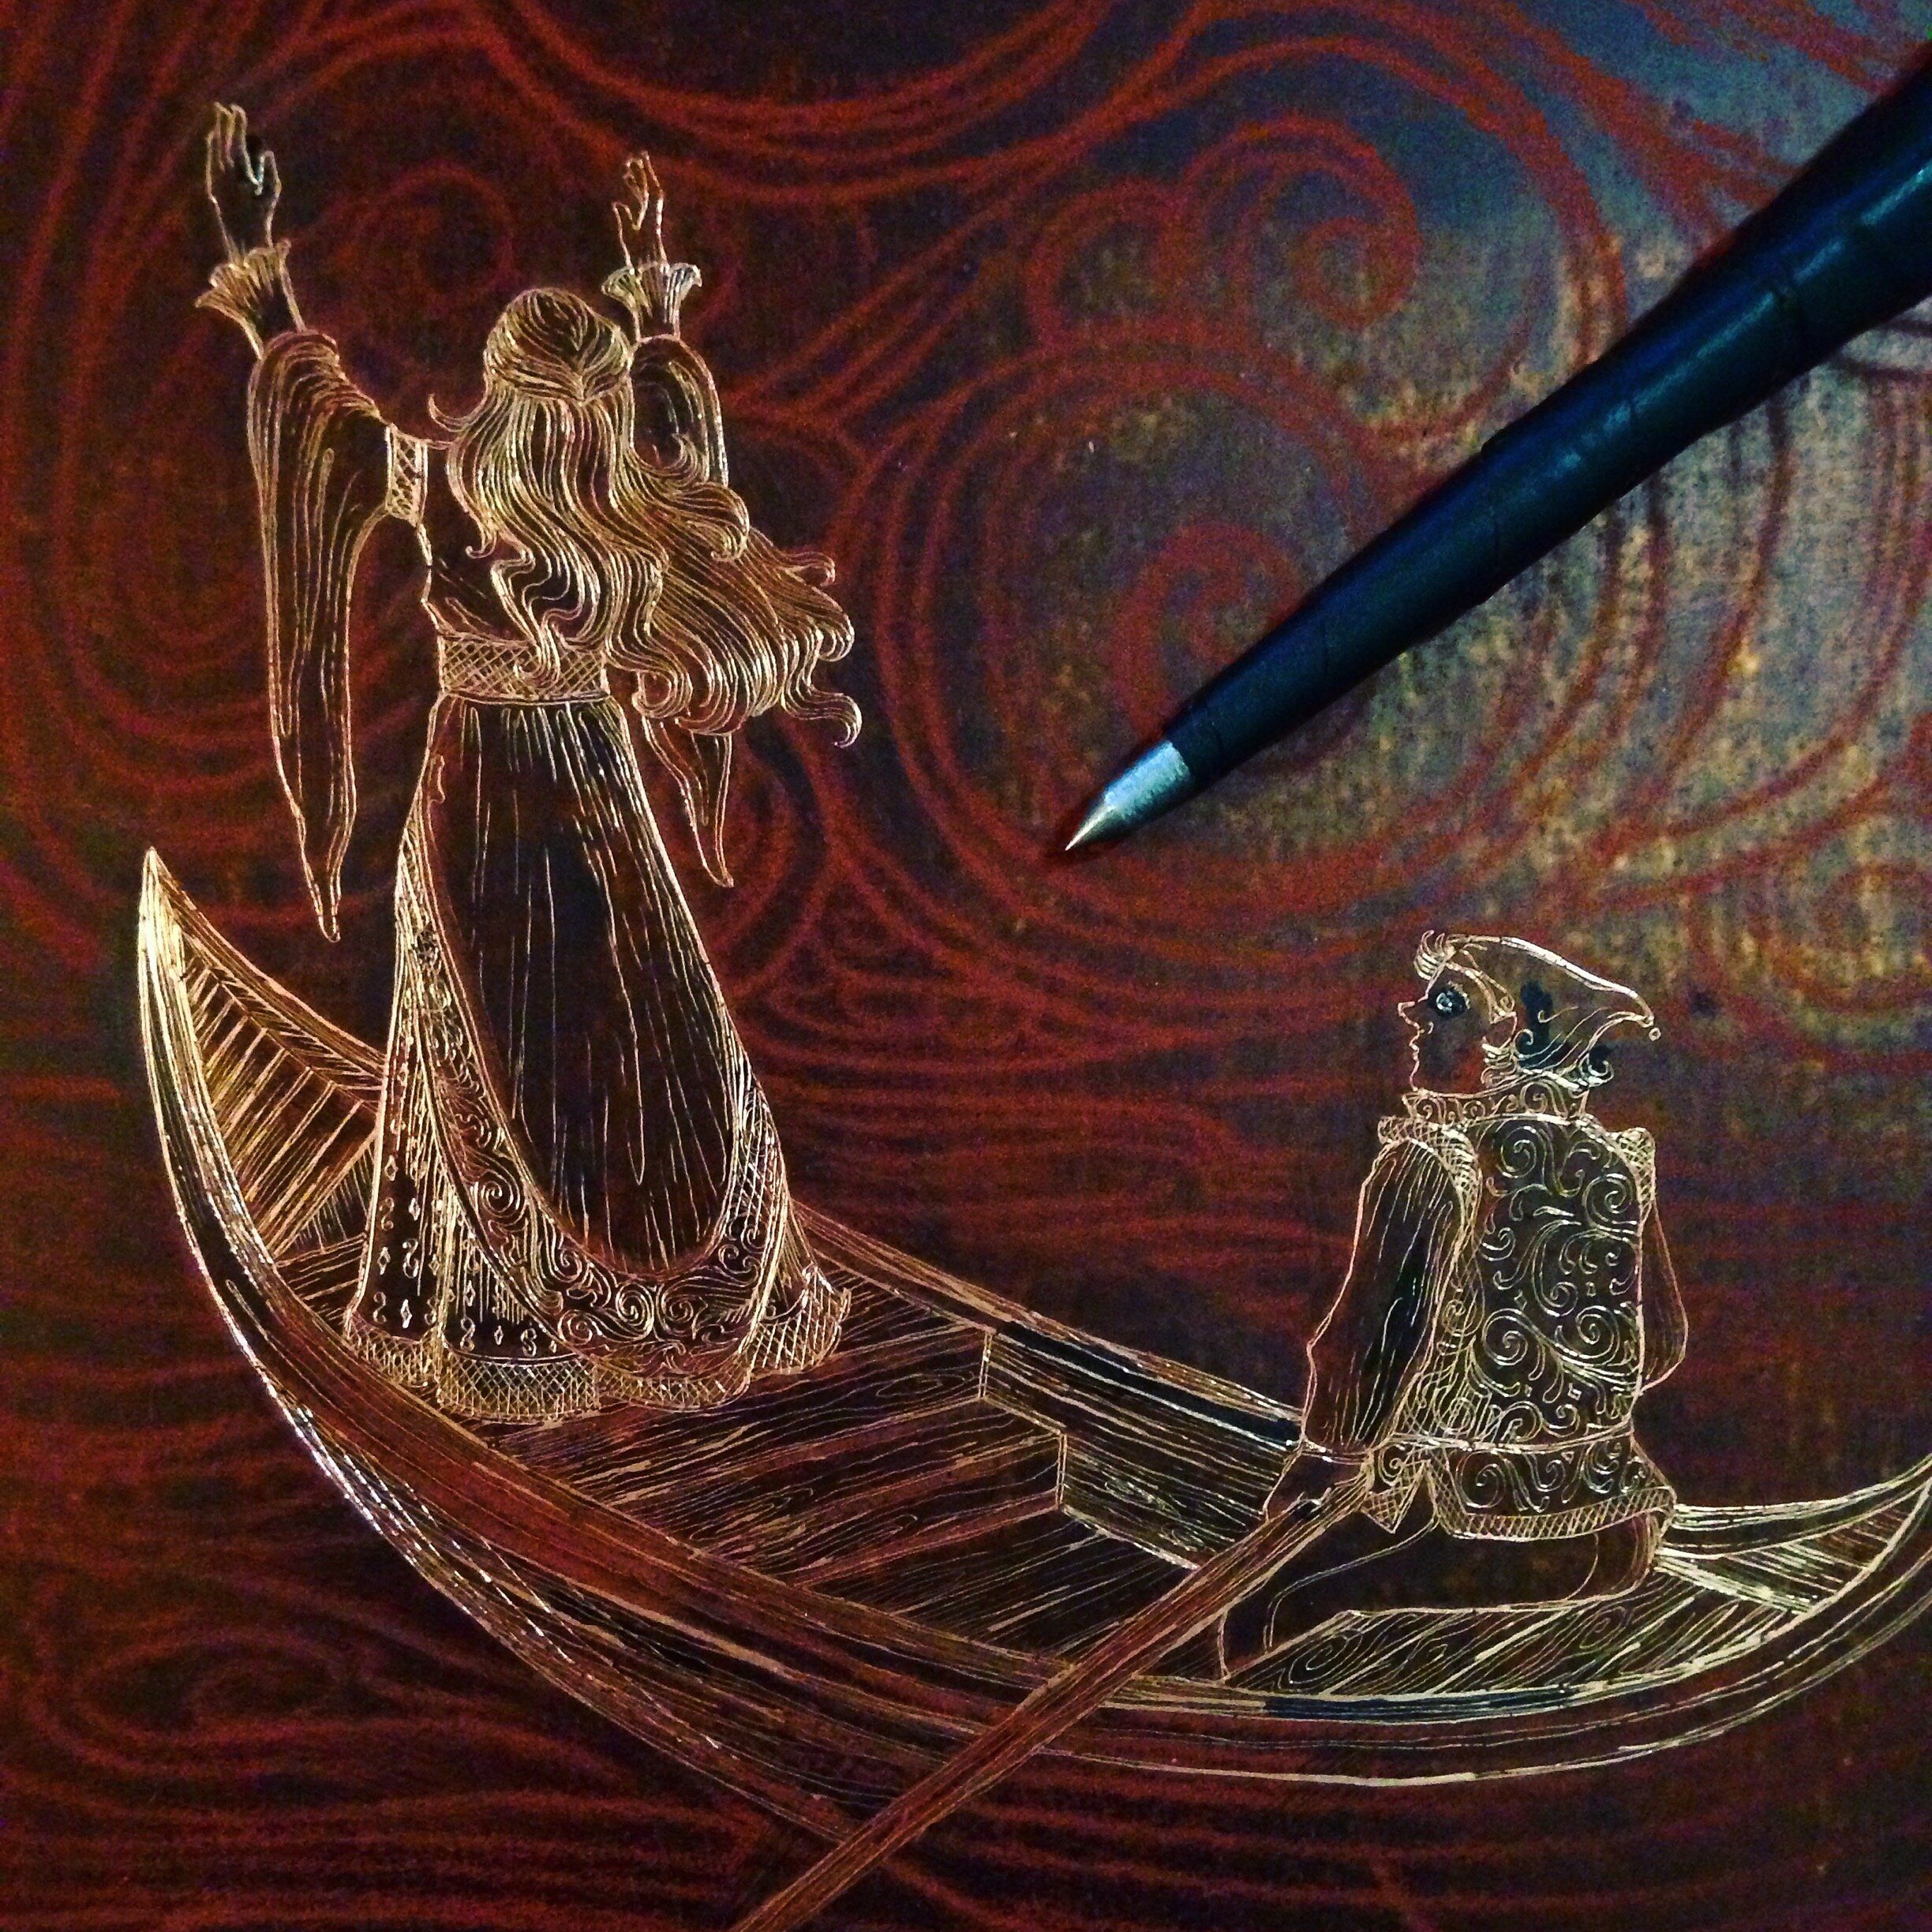
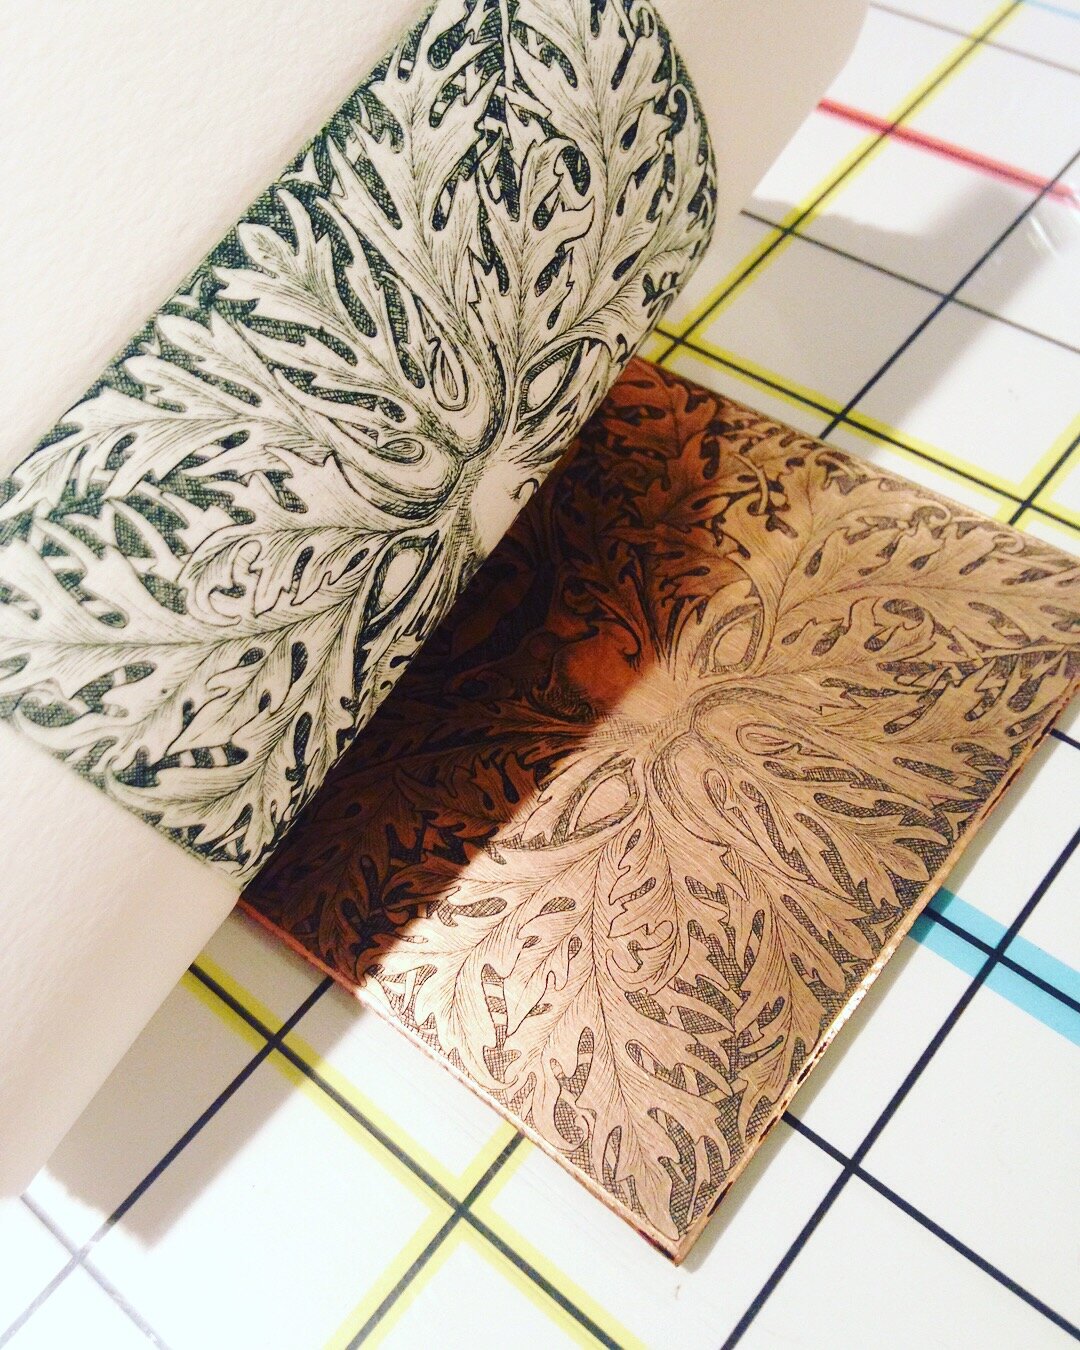
I start my intaglio etchings with a detailed pencil drawing on paper. I then transfer the drawing with red oxide transfer paper onto a copperplate prepared with a hard ground that creates a waxy resist. This creates a faint red copy of my drawing in reverse on the ground covered plate. Next, I use my etching needle to remove the ground to expose the copper underneath, essentially drawing my entire image again with a needlepoint. Once the drawing is done, the plate gets dipped in an acid tank for specified amounts of minutes to etch the image into the copper. The ground protects the whole piece of copper from being etched away. Ink is then scraped over the plate and wiped away so that the ink only stays in the lines that have been etched. The copper is pulled through the printing press with the presoaked paper. The high pressure from the printing press pushes the paper into the ink filled lines and transfers the image onto the paper. This process is long and involved, but that is also what makes it extremely fun and rewarding.
Click on the photos below to see them larger!
Scroll down to see photos of the etching process as well!


Etching process
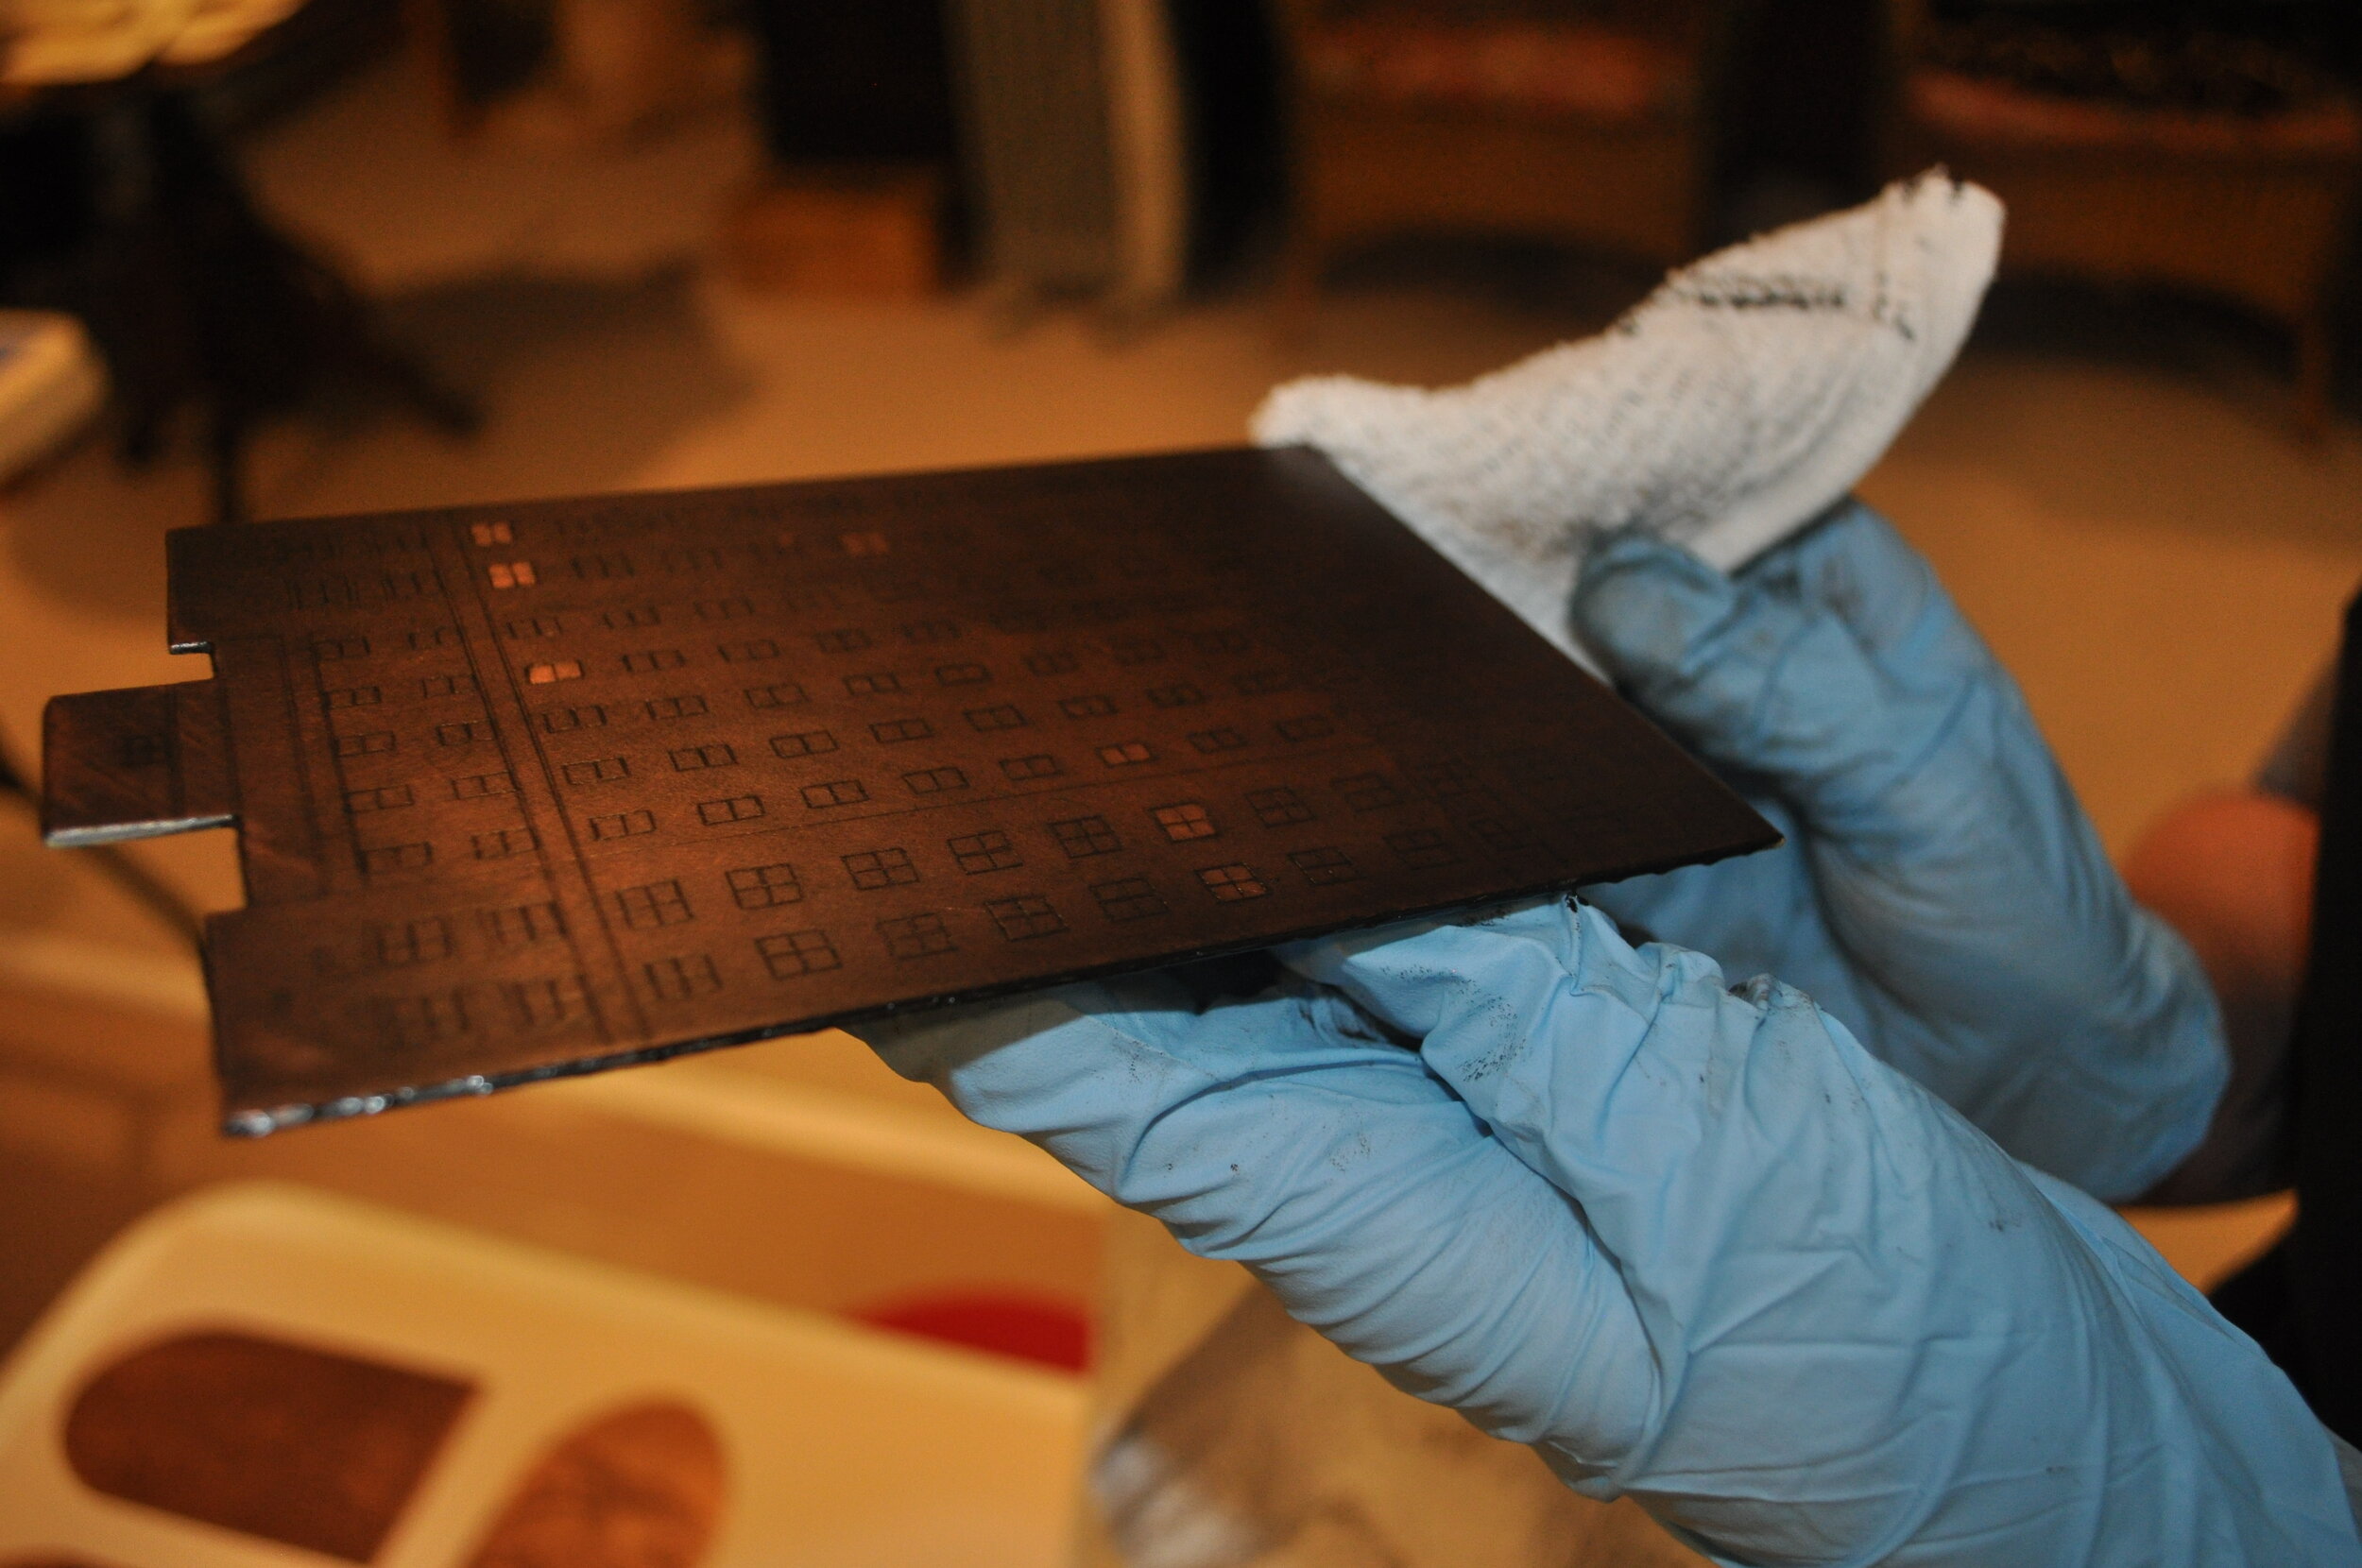
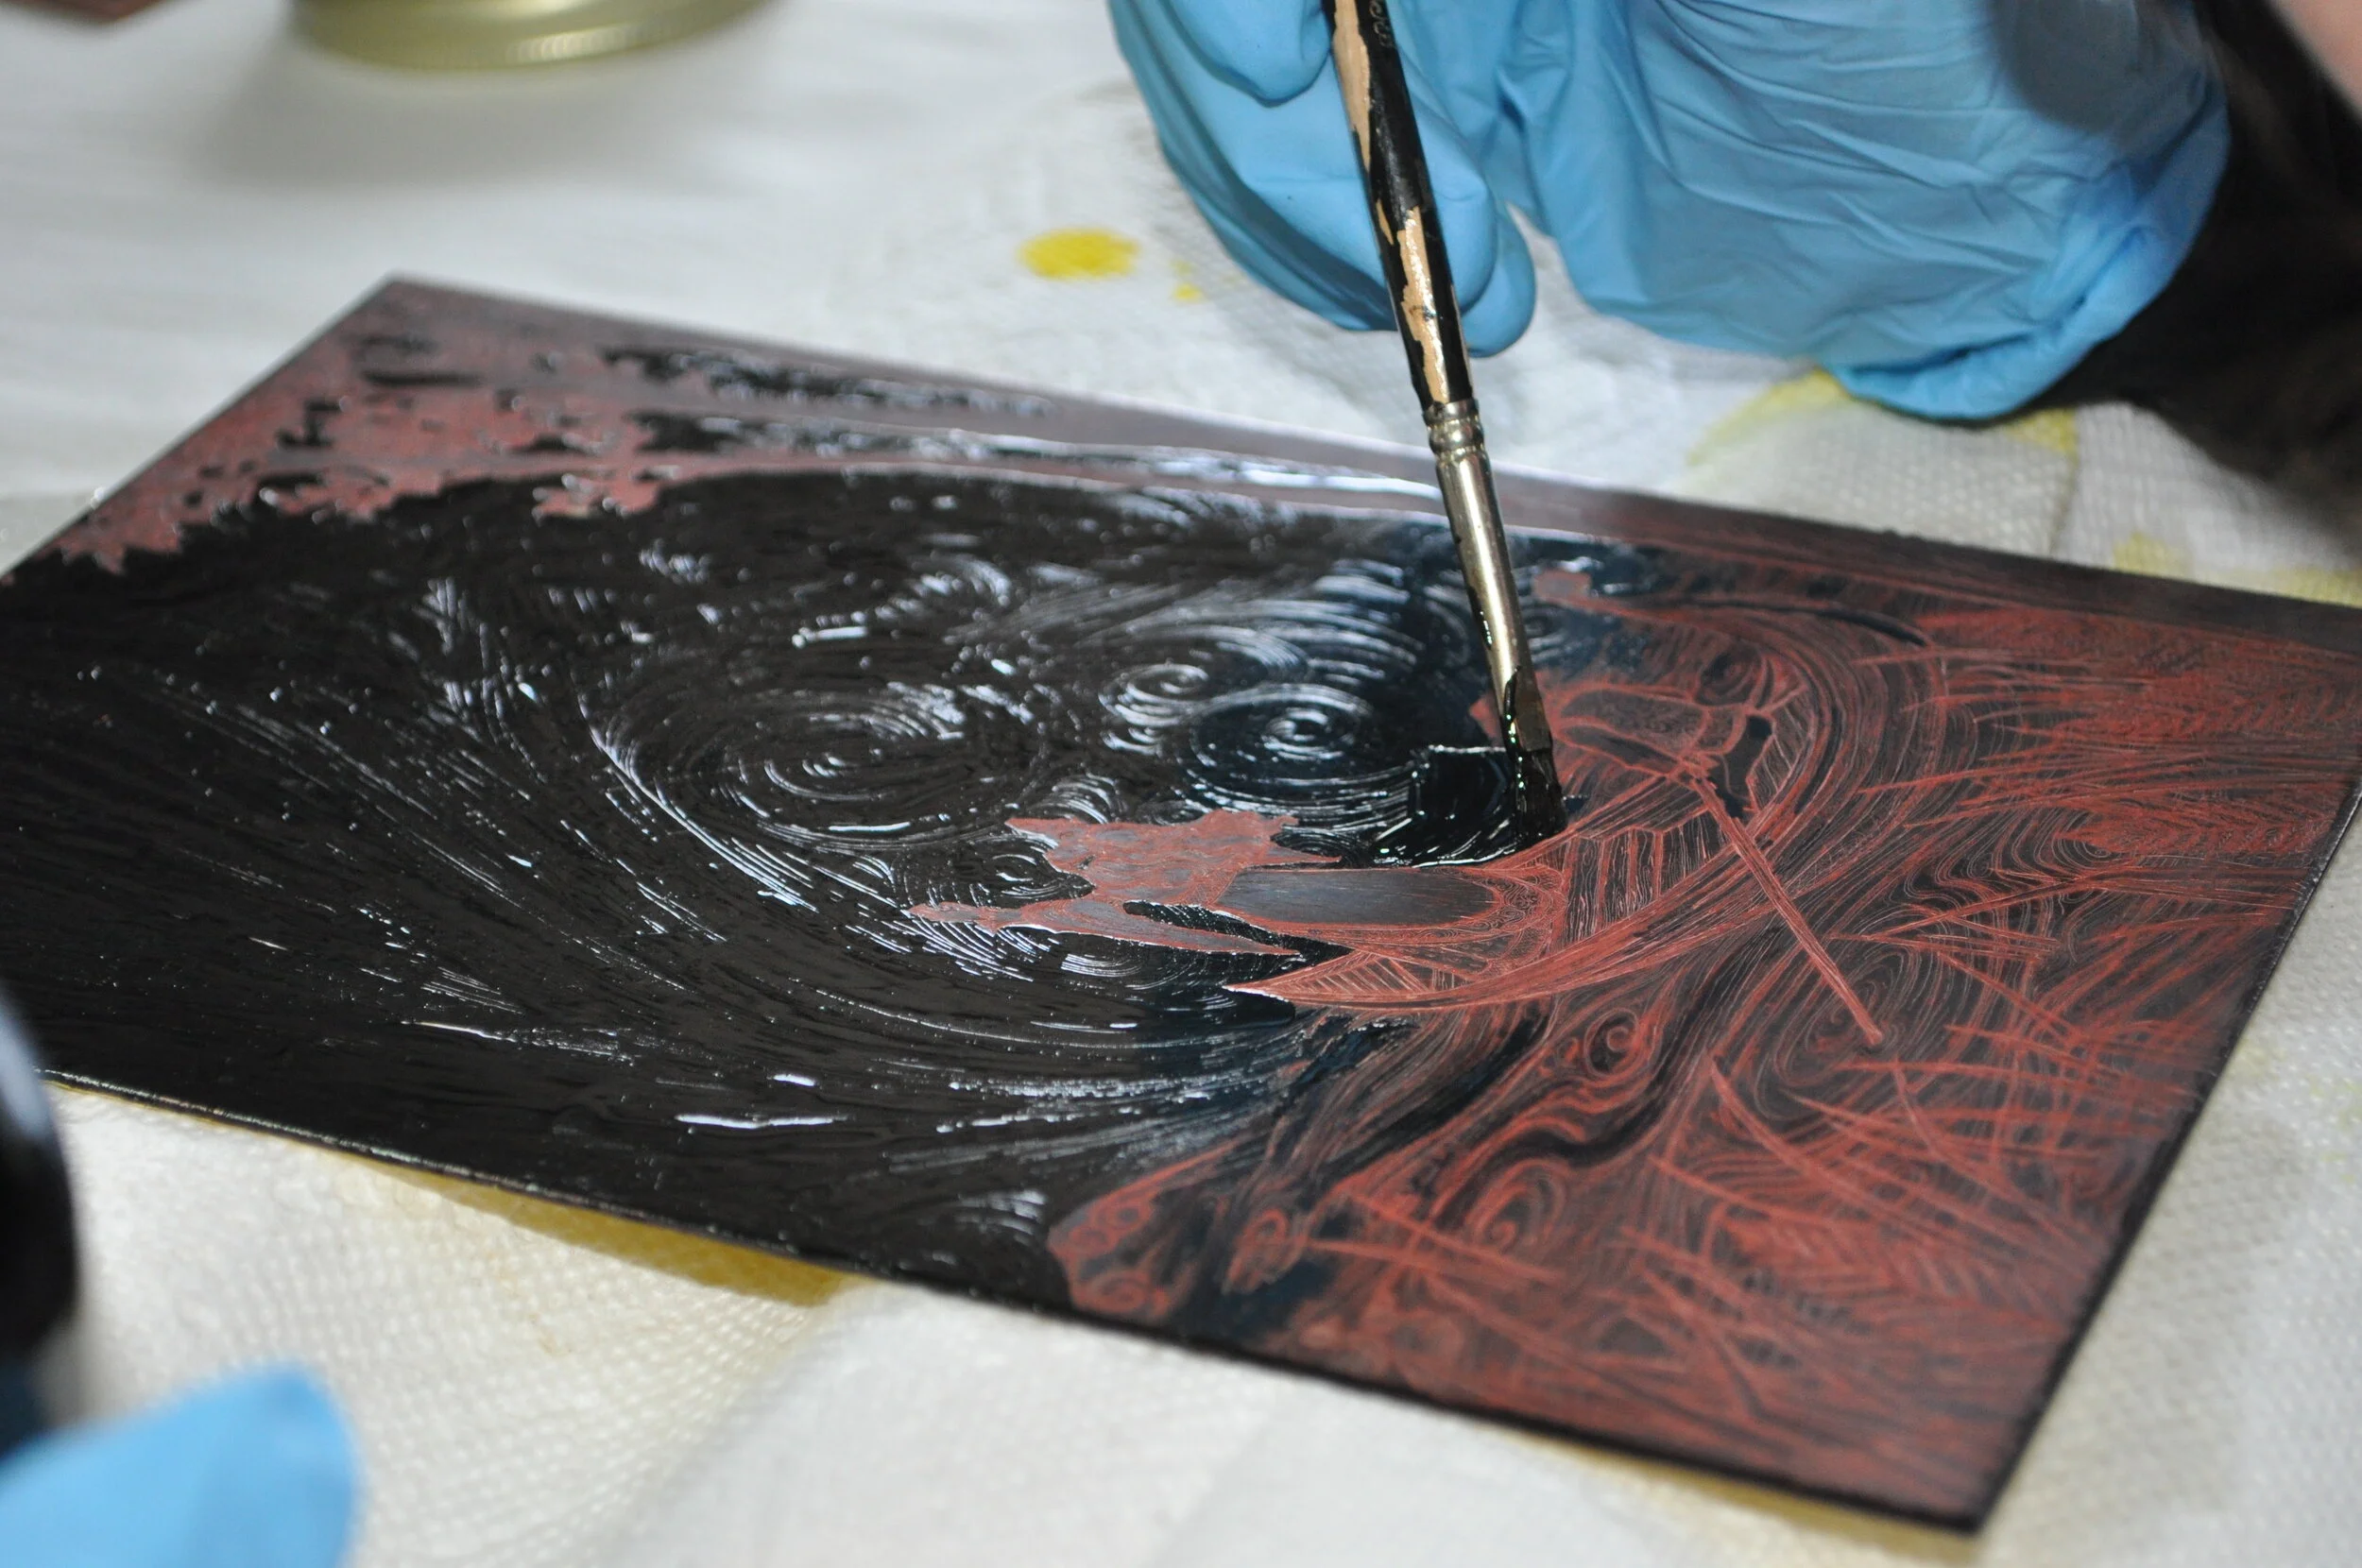
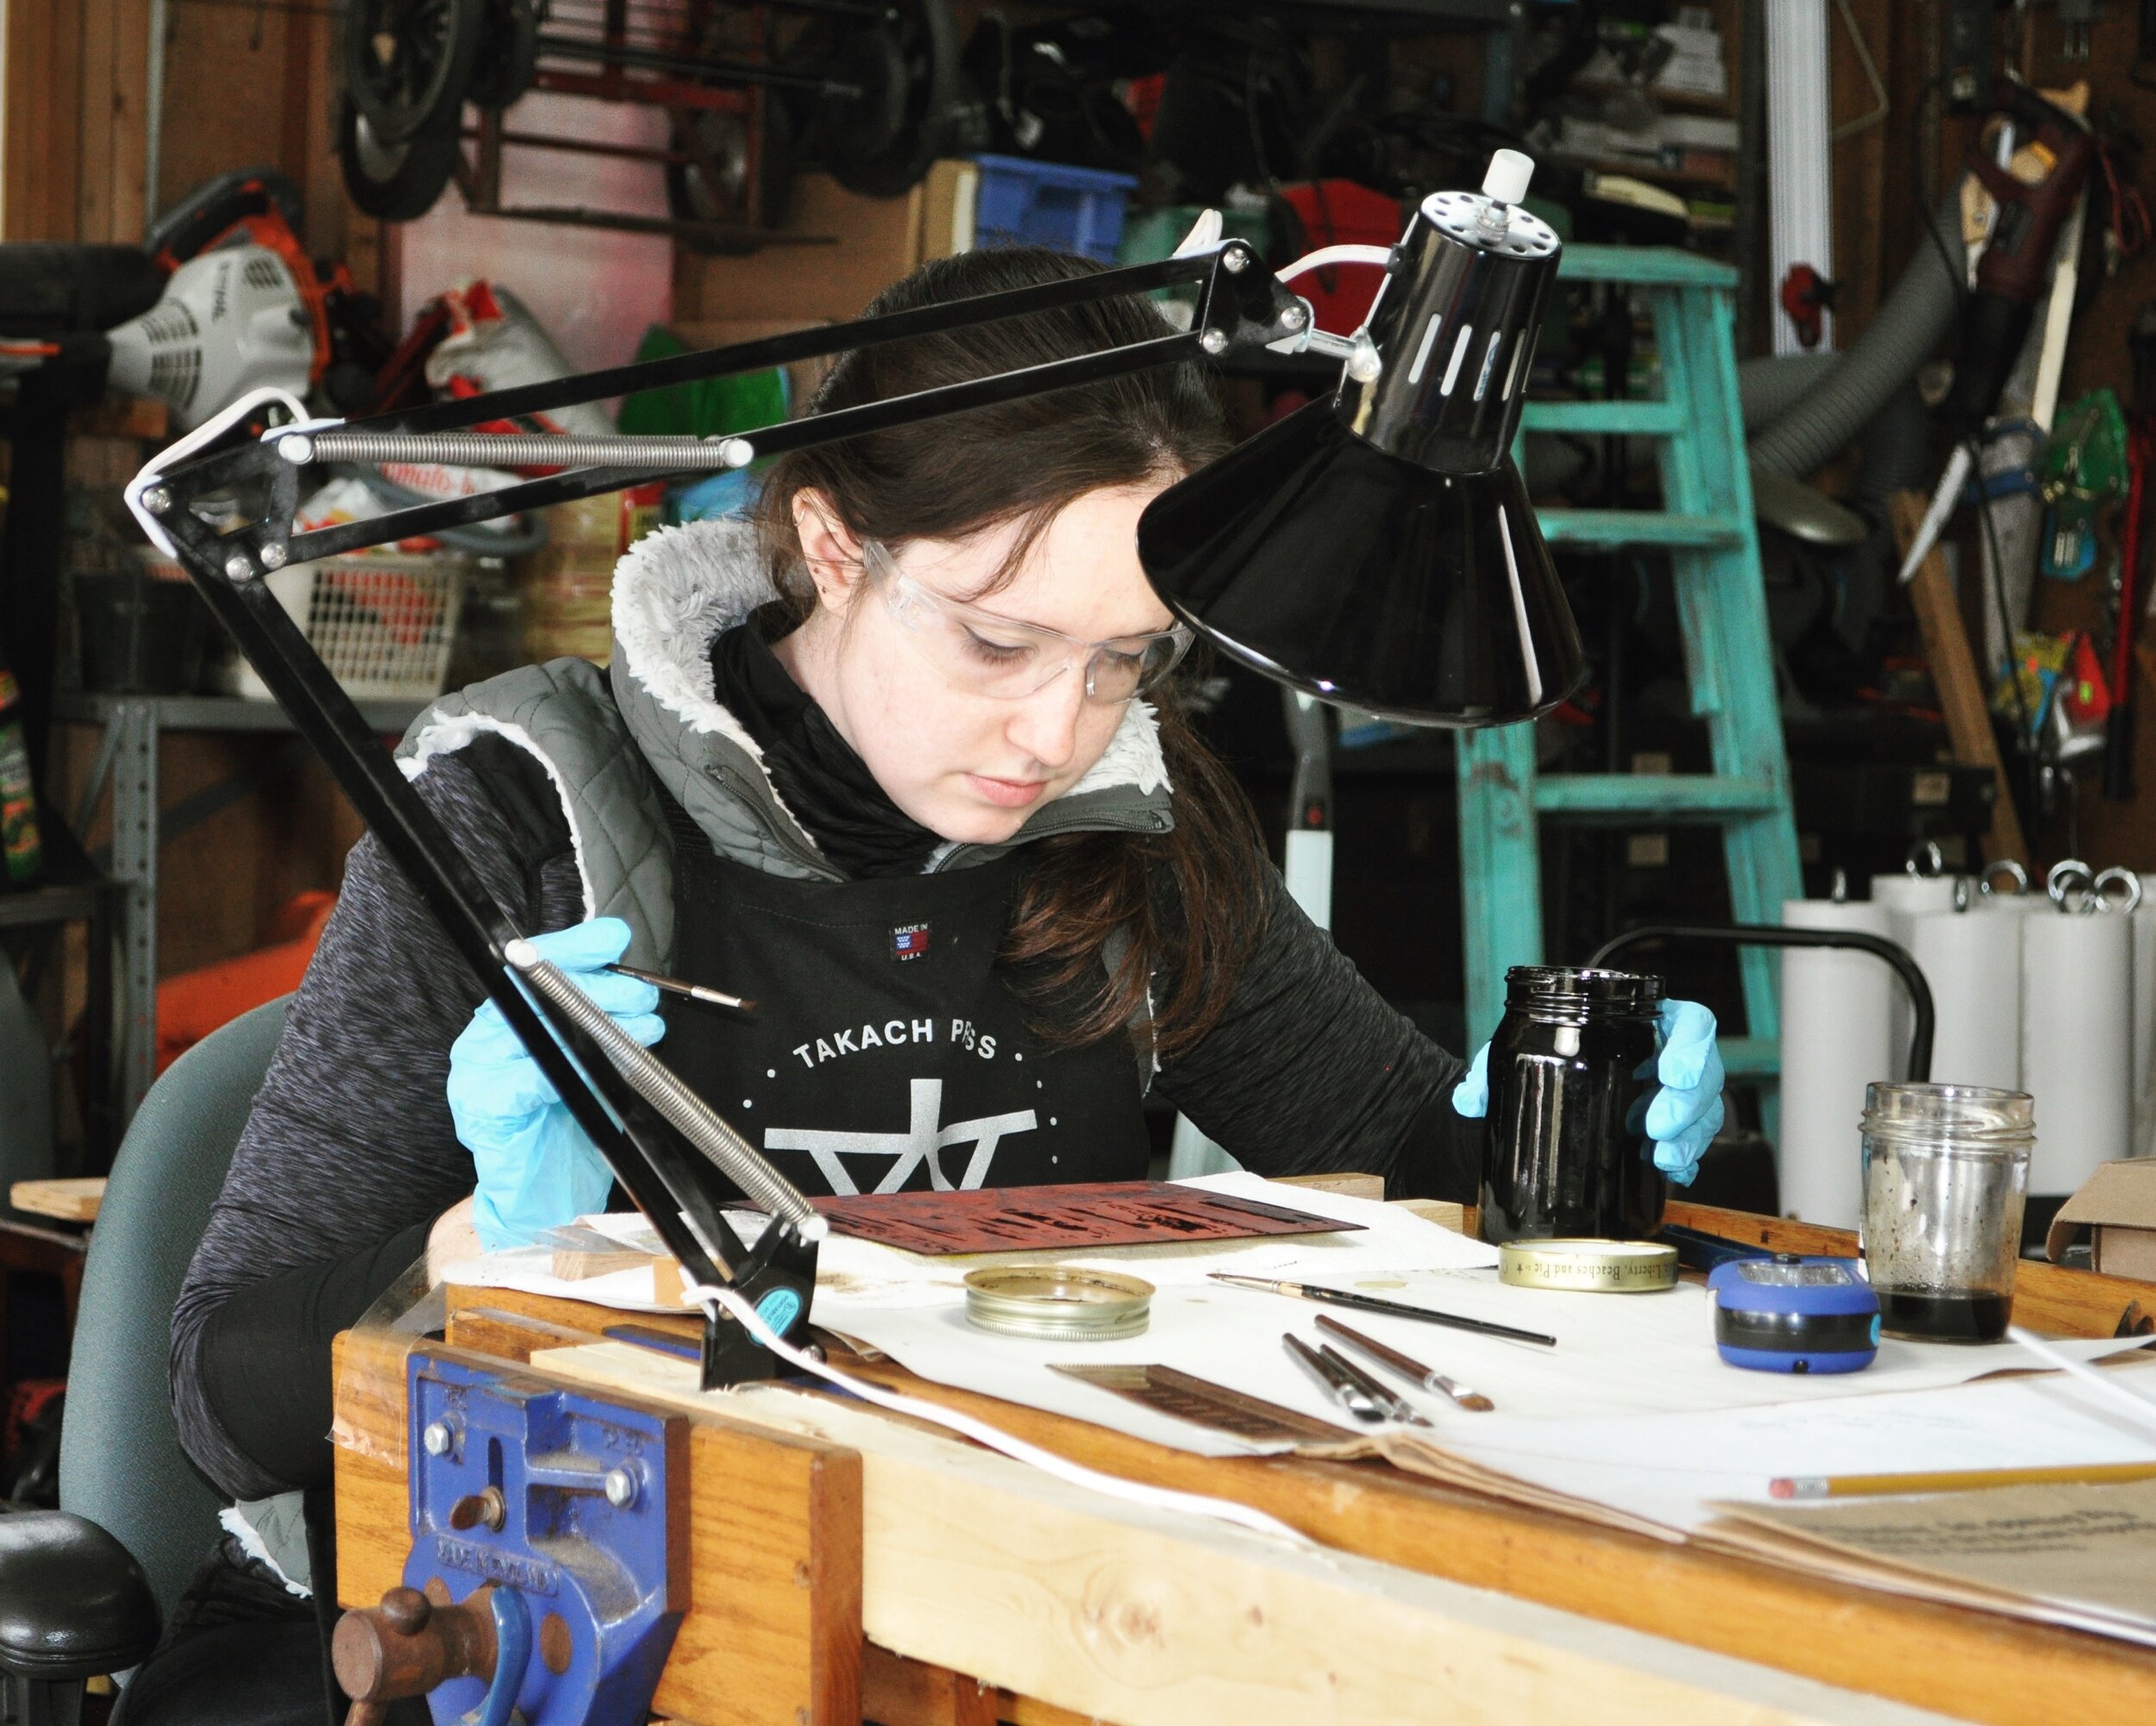
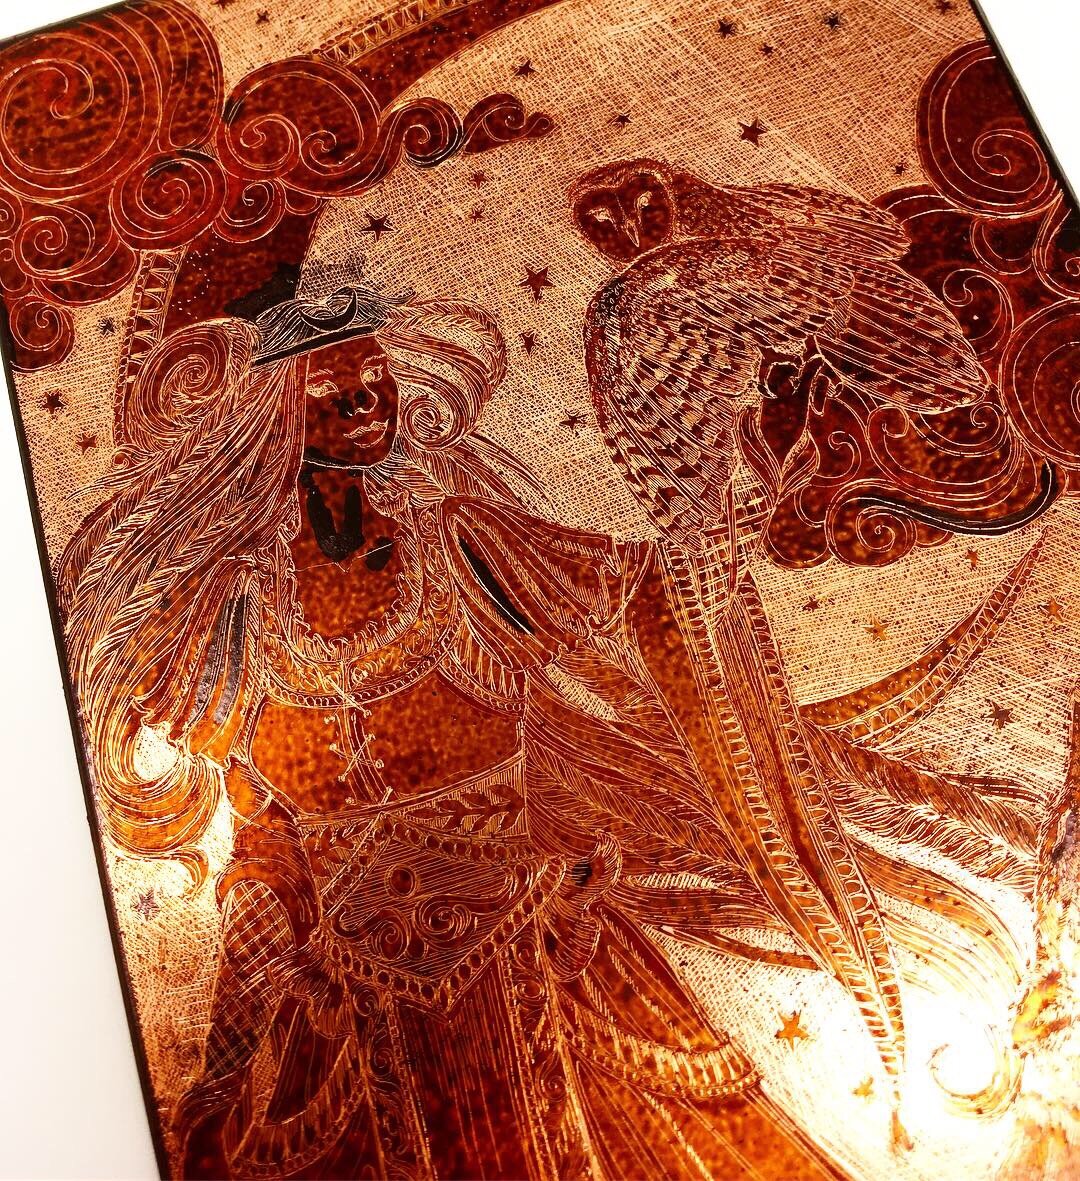
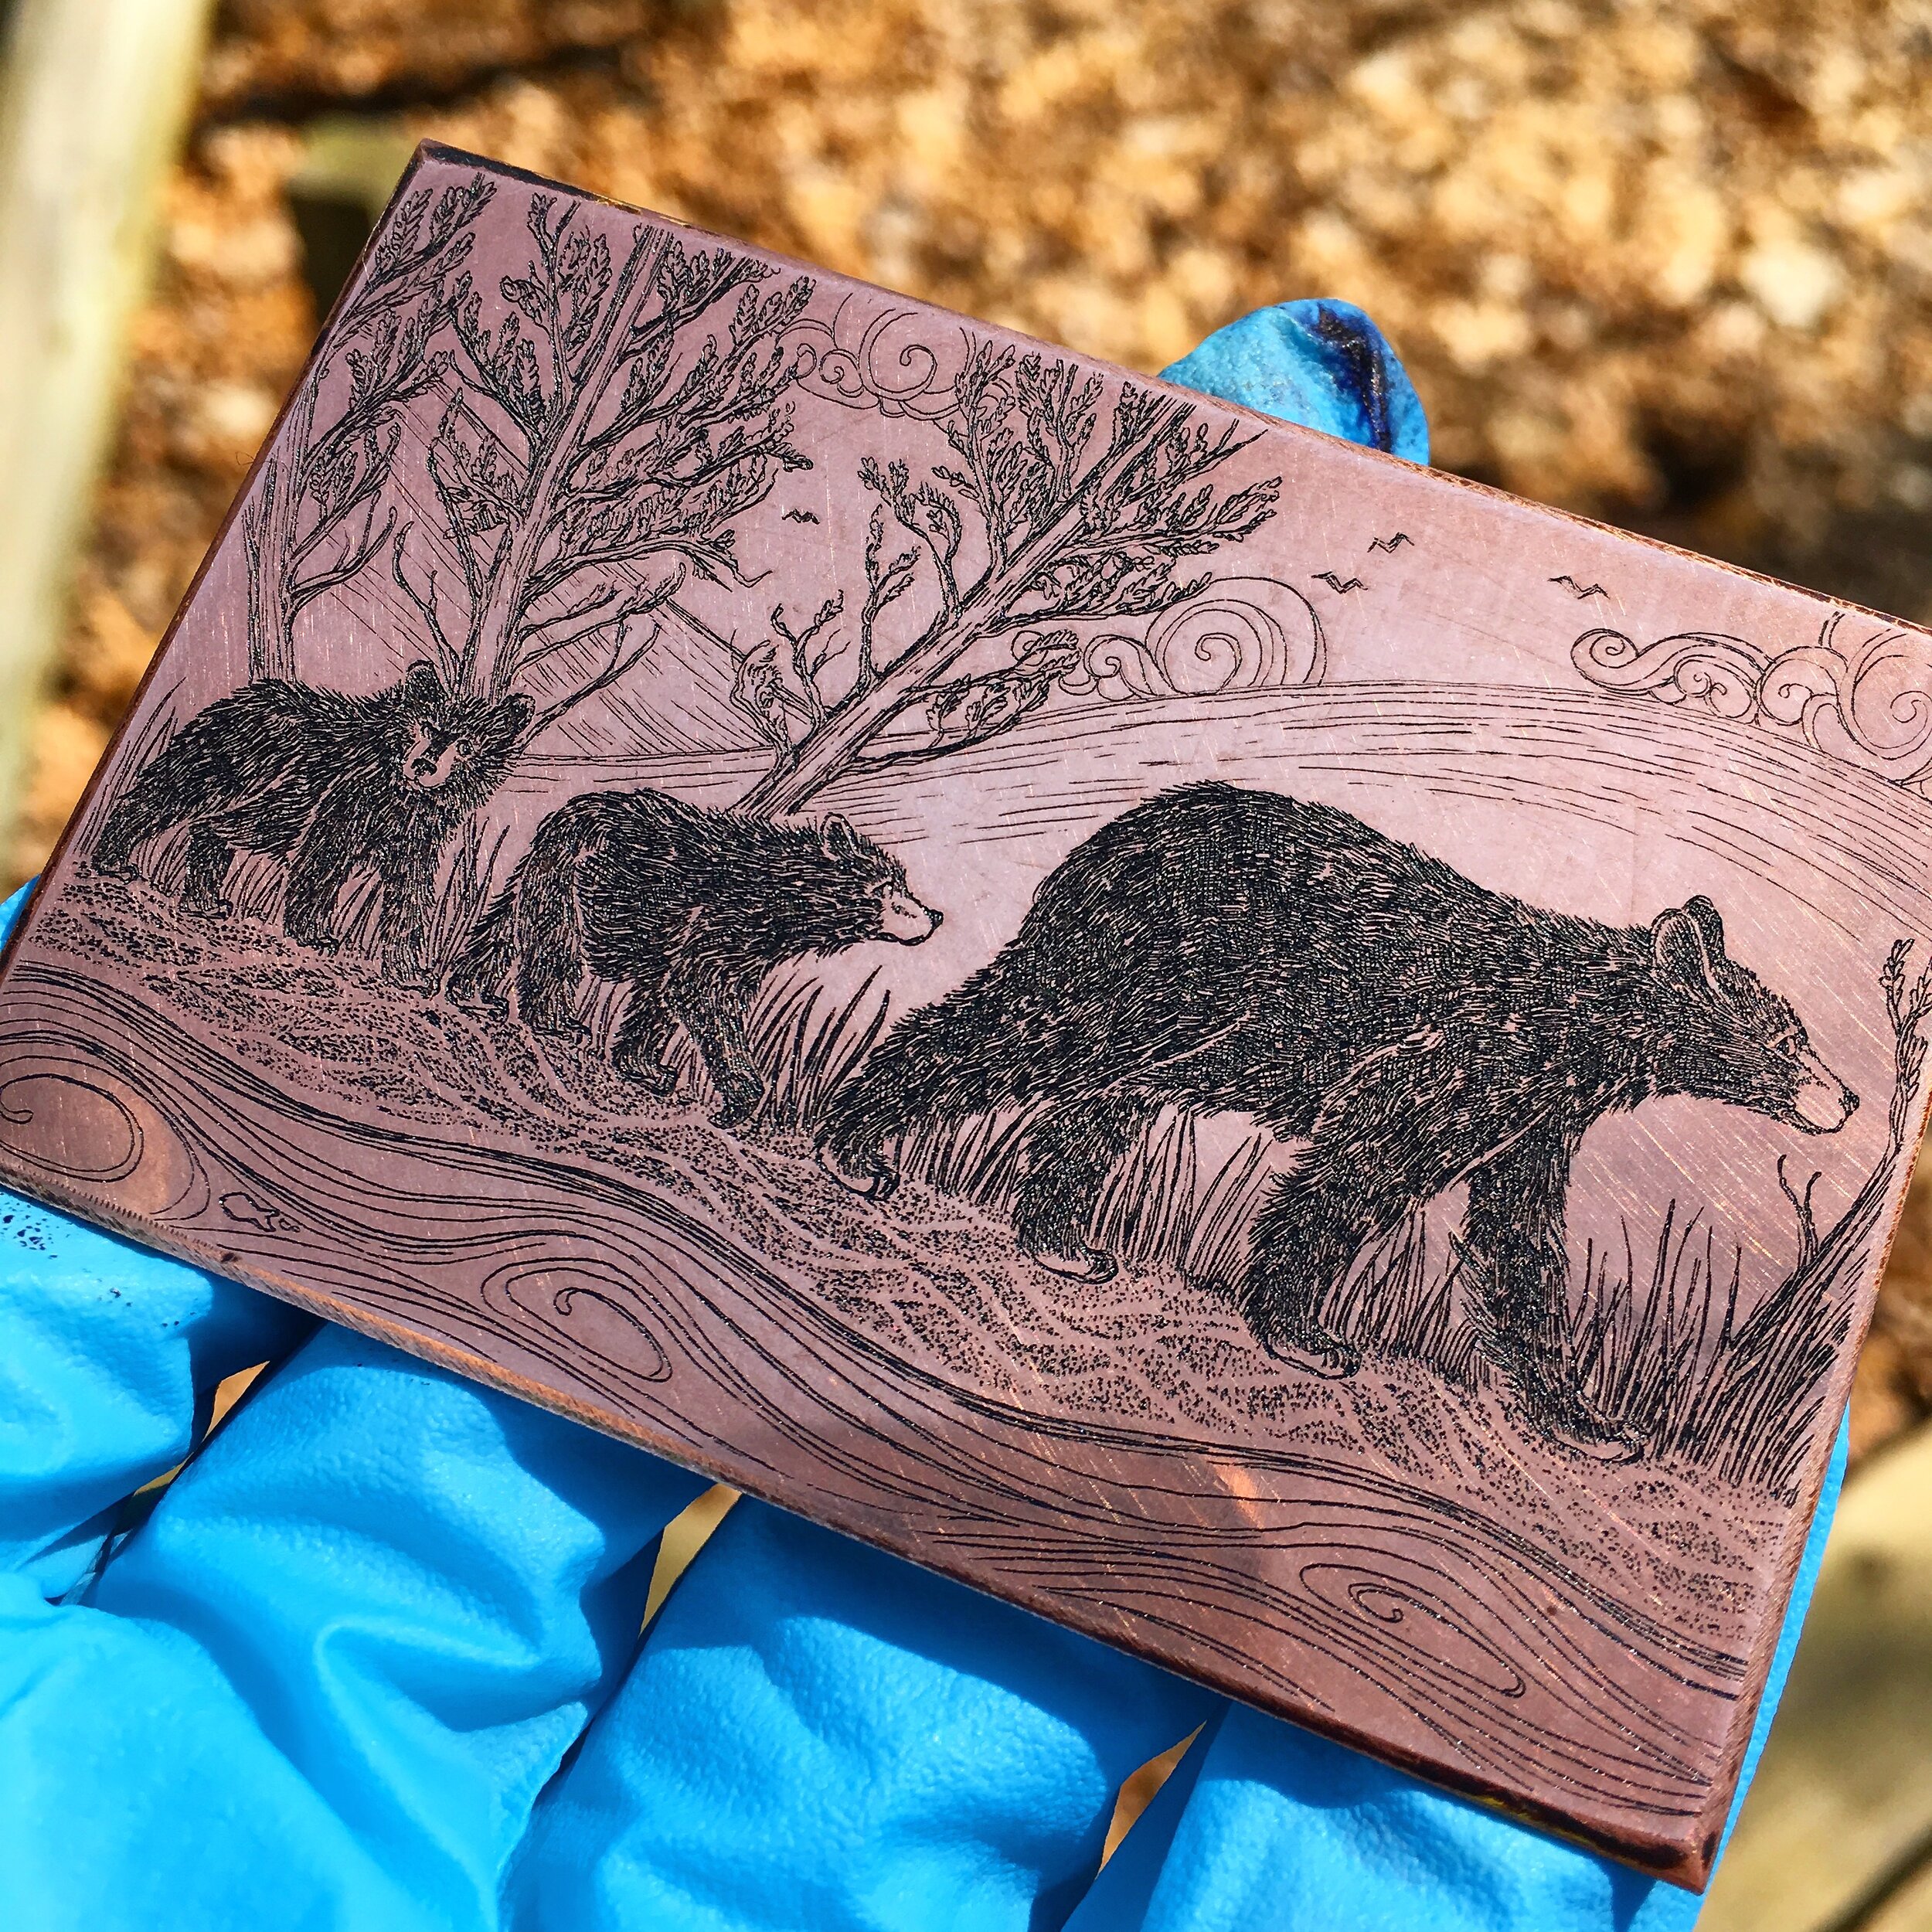
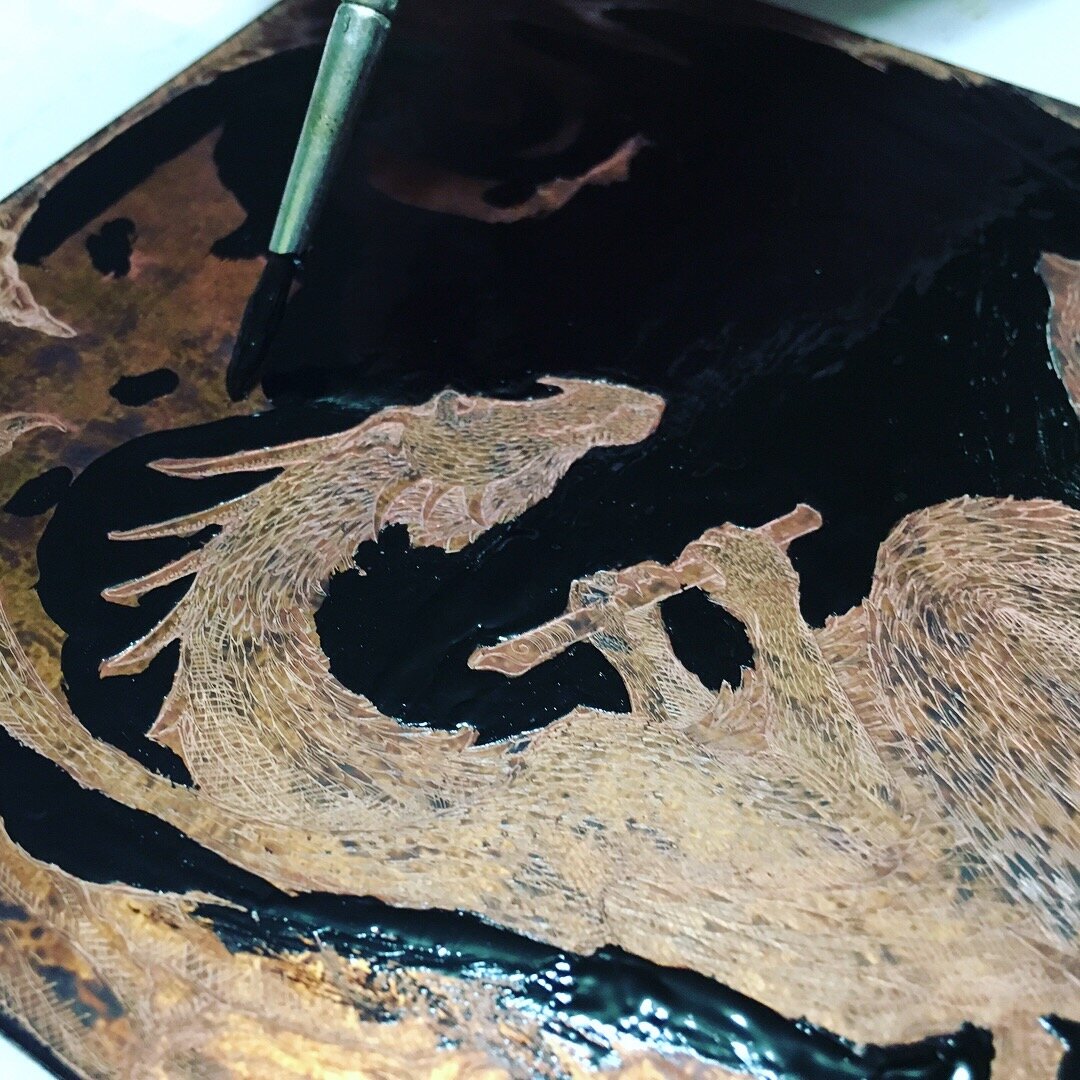
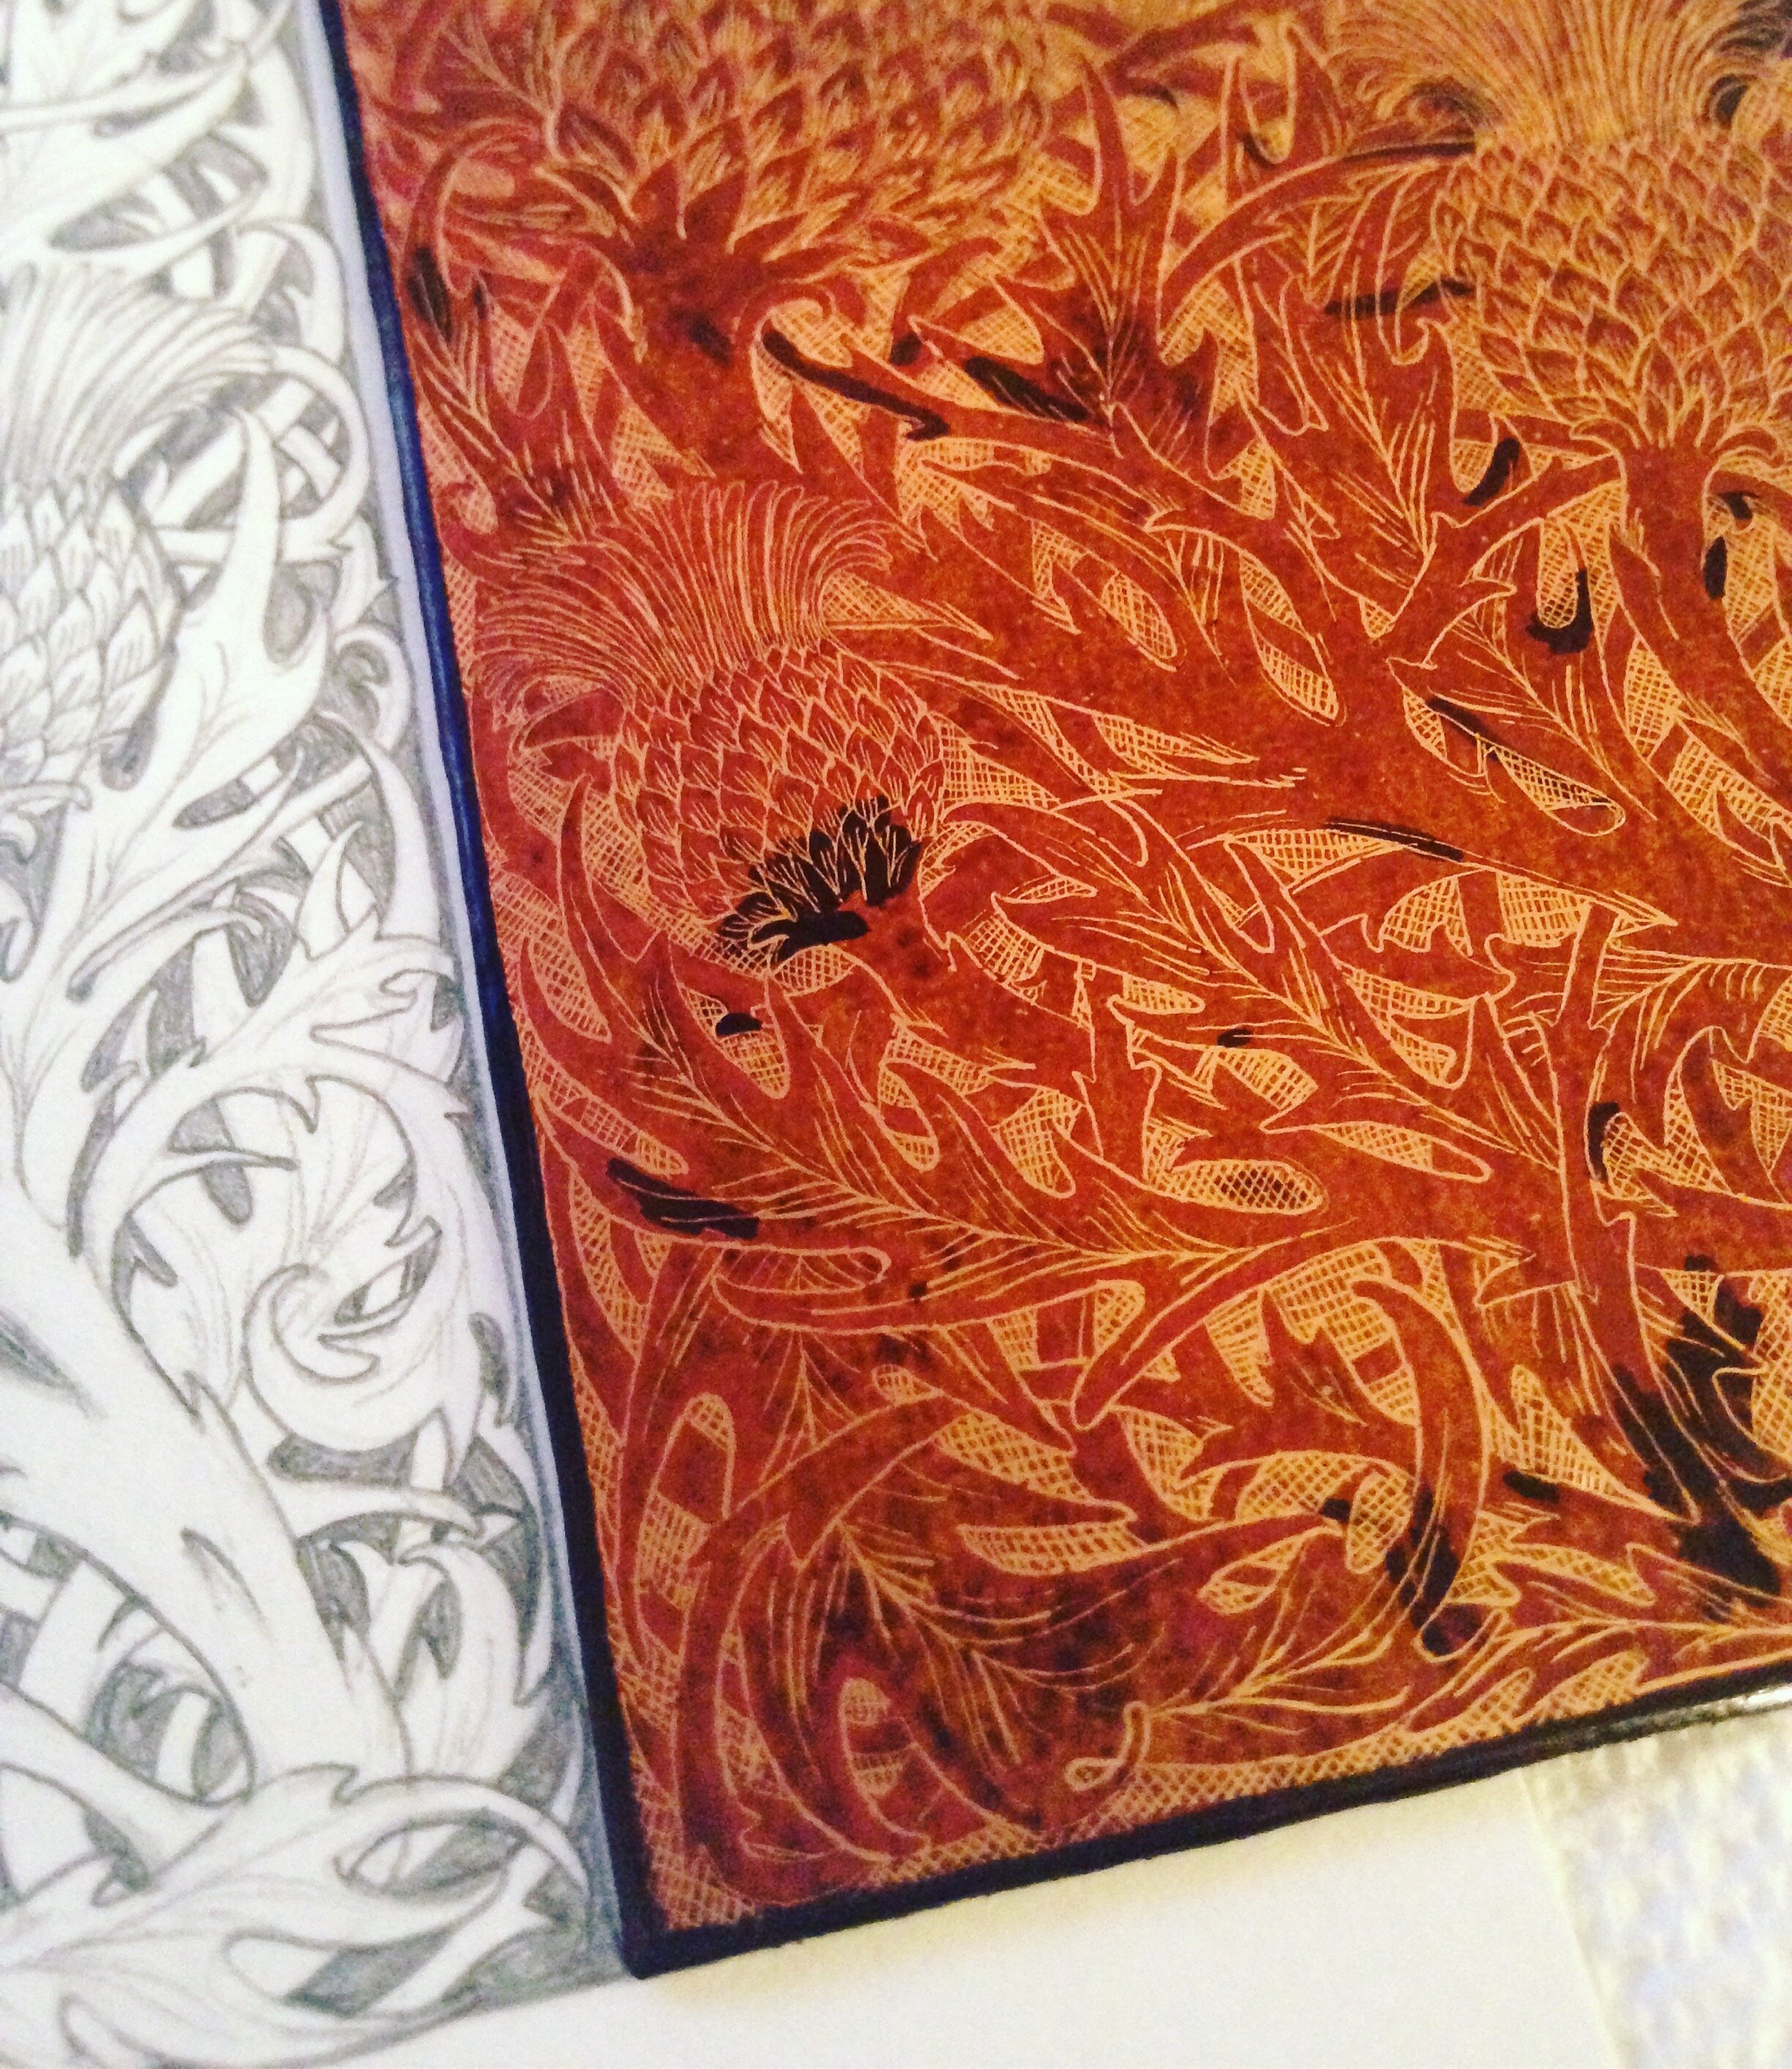
Below are photos of the etching process! Also some of copper plates while I’m drawing the image onto the plate, and after they have been inked, with ink wiped over the surface. The photos that look like they have black tar covering parts of the plate, that is called asphaltum. This is used to “stop out” portions of the illustrations that I want to print lighter than the rest. It stops the acid from eating away any deeper, and allows for the portions of the illustration that are not covered to keep etching. Once painted onto the plate it doesn’t get removed until the whole plate is done being etched in the acid.
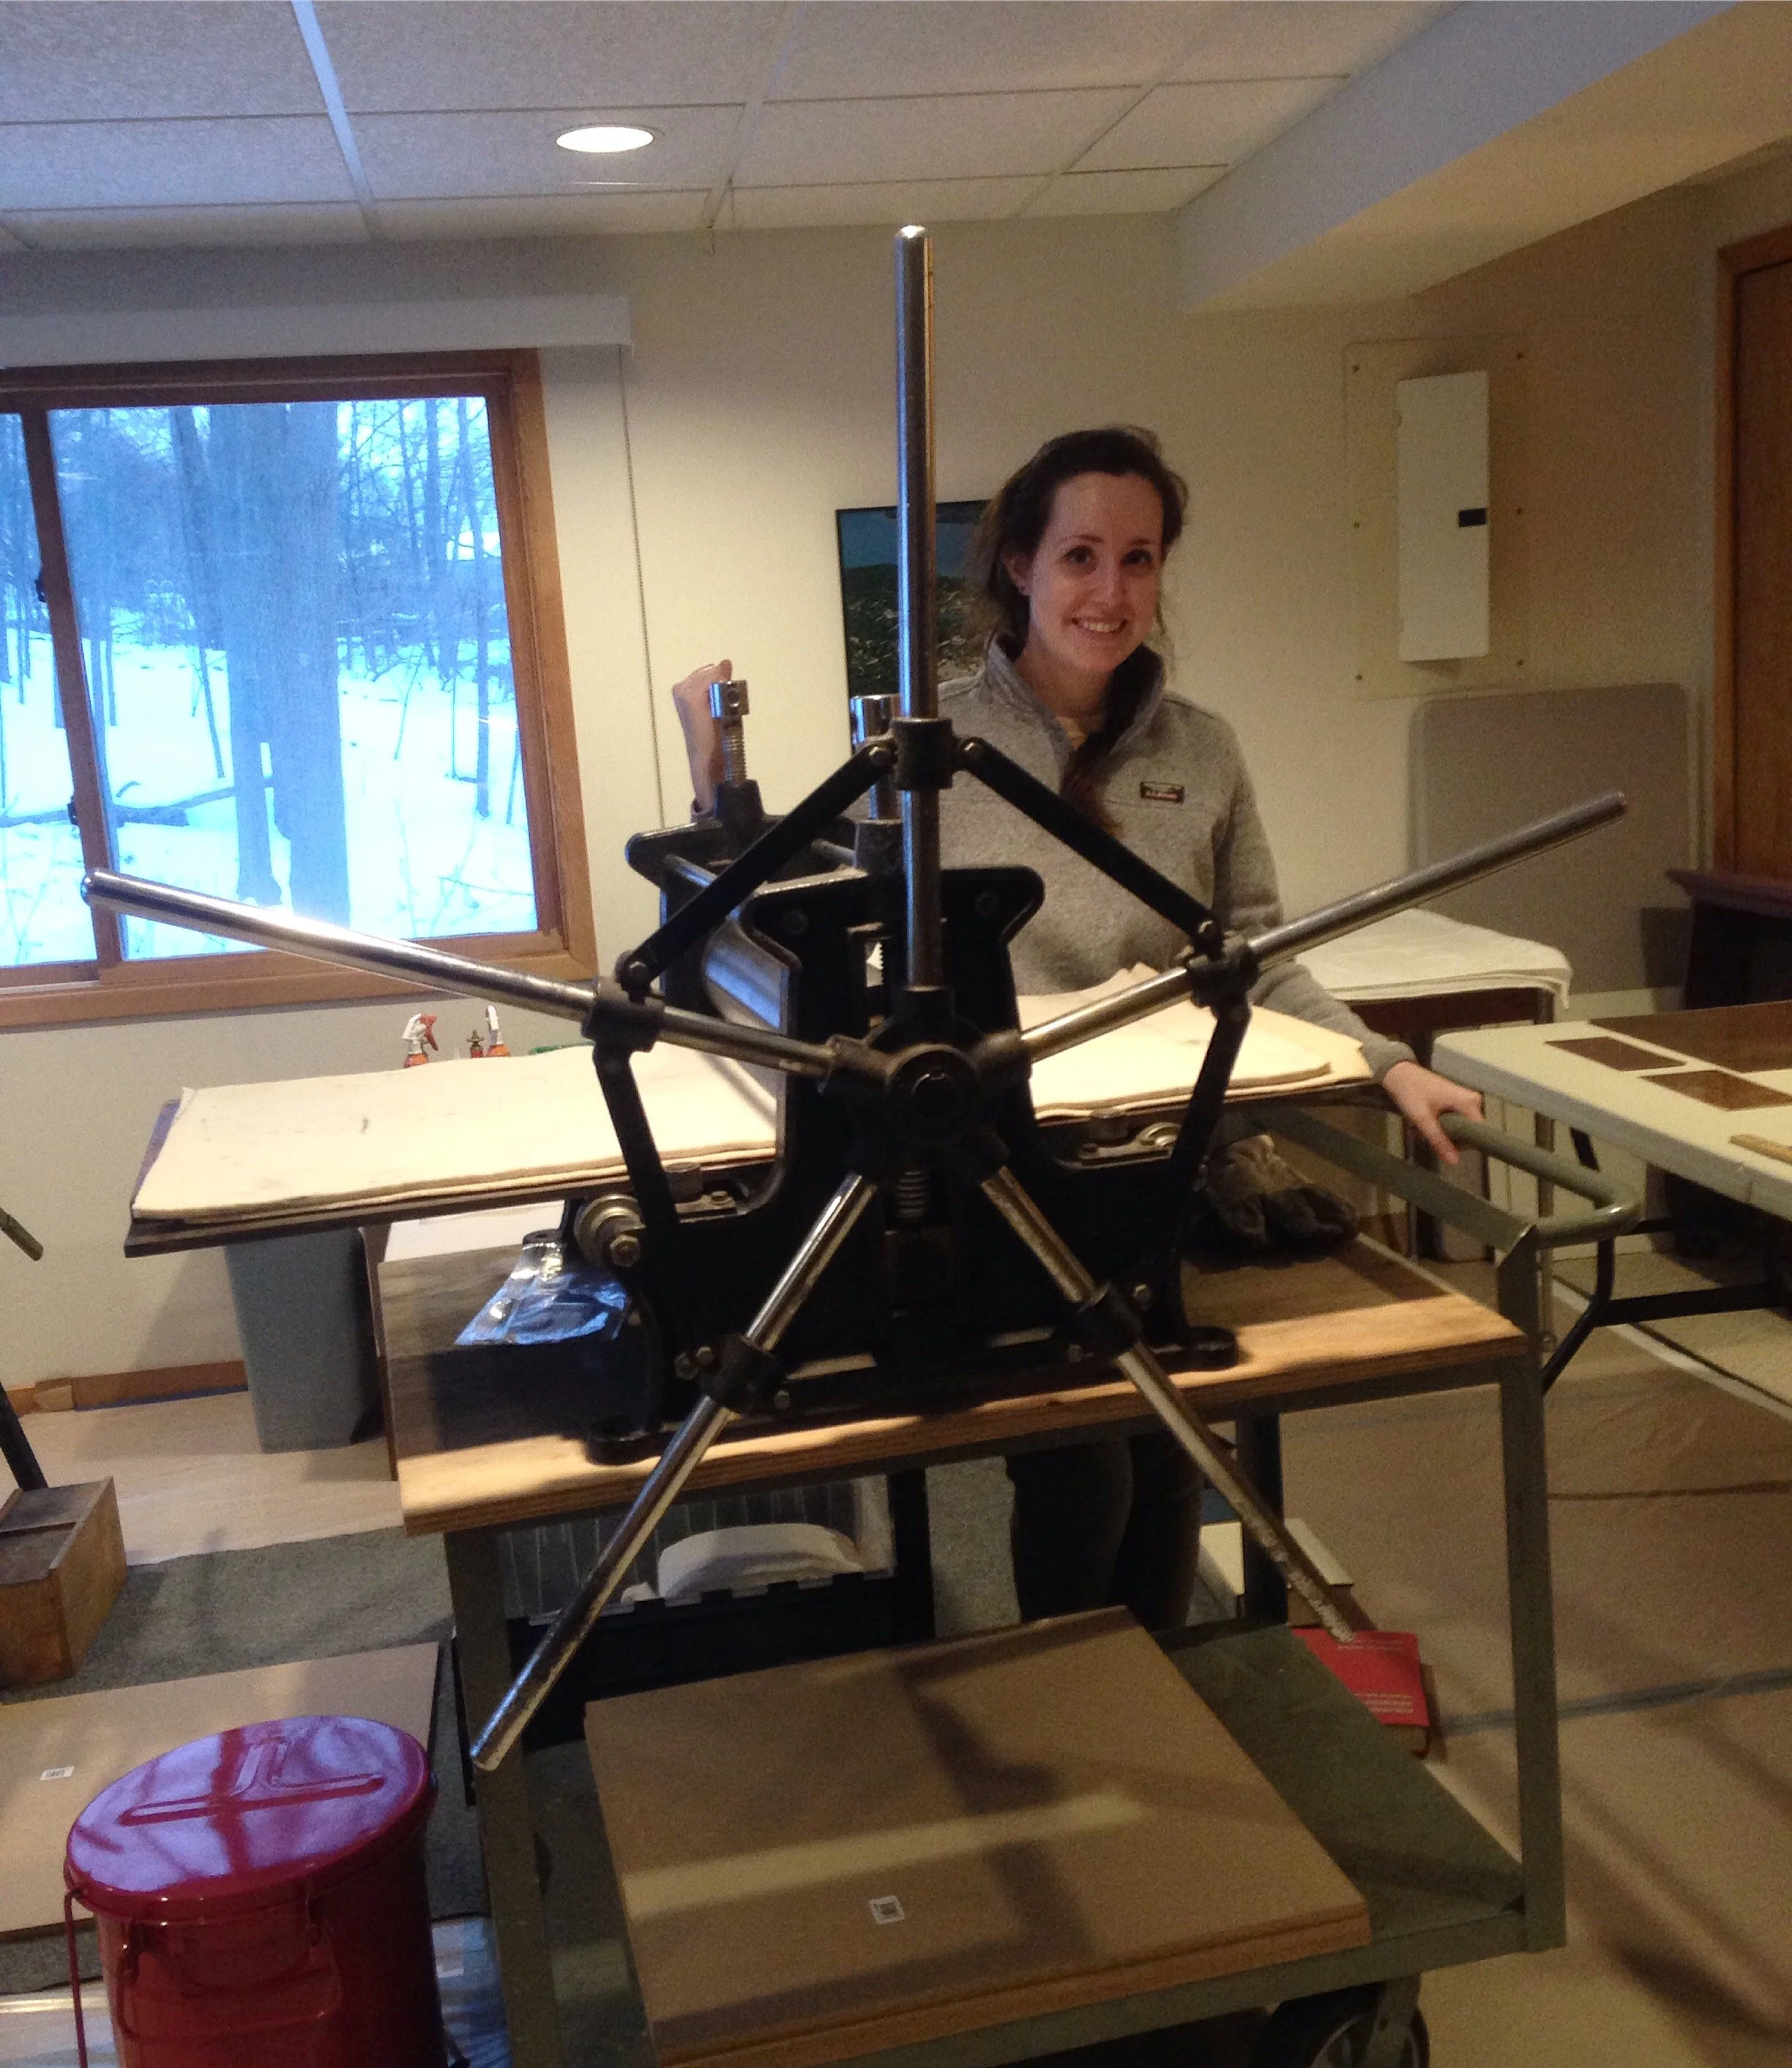
I currently have two table top etching presses. My first one was very small, and painted pea green as seen below. This press works, just not as good as my larger one, which I acquired in 2017. The press shown below with the 5 point star wheel is a Bumpodo press, and its larger size means the etchings I pull are created with more even pressure. The larger the press, the better chance the prints will work out since etching prints require such heavy pressure to create. With the small press, sometimes the prints would come out with half printed dark, and half printed too light due to uneven pressure.
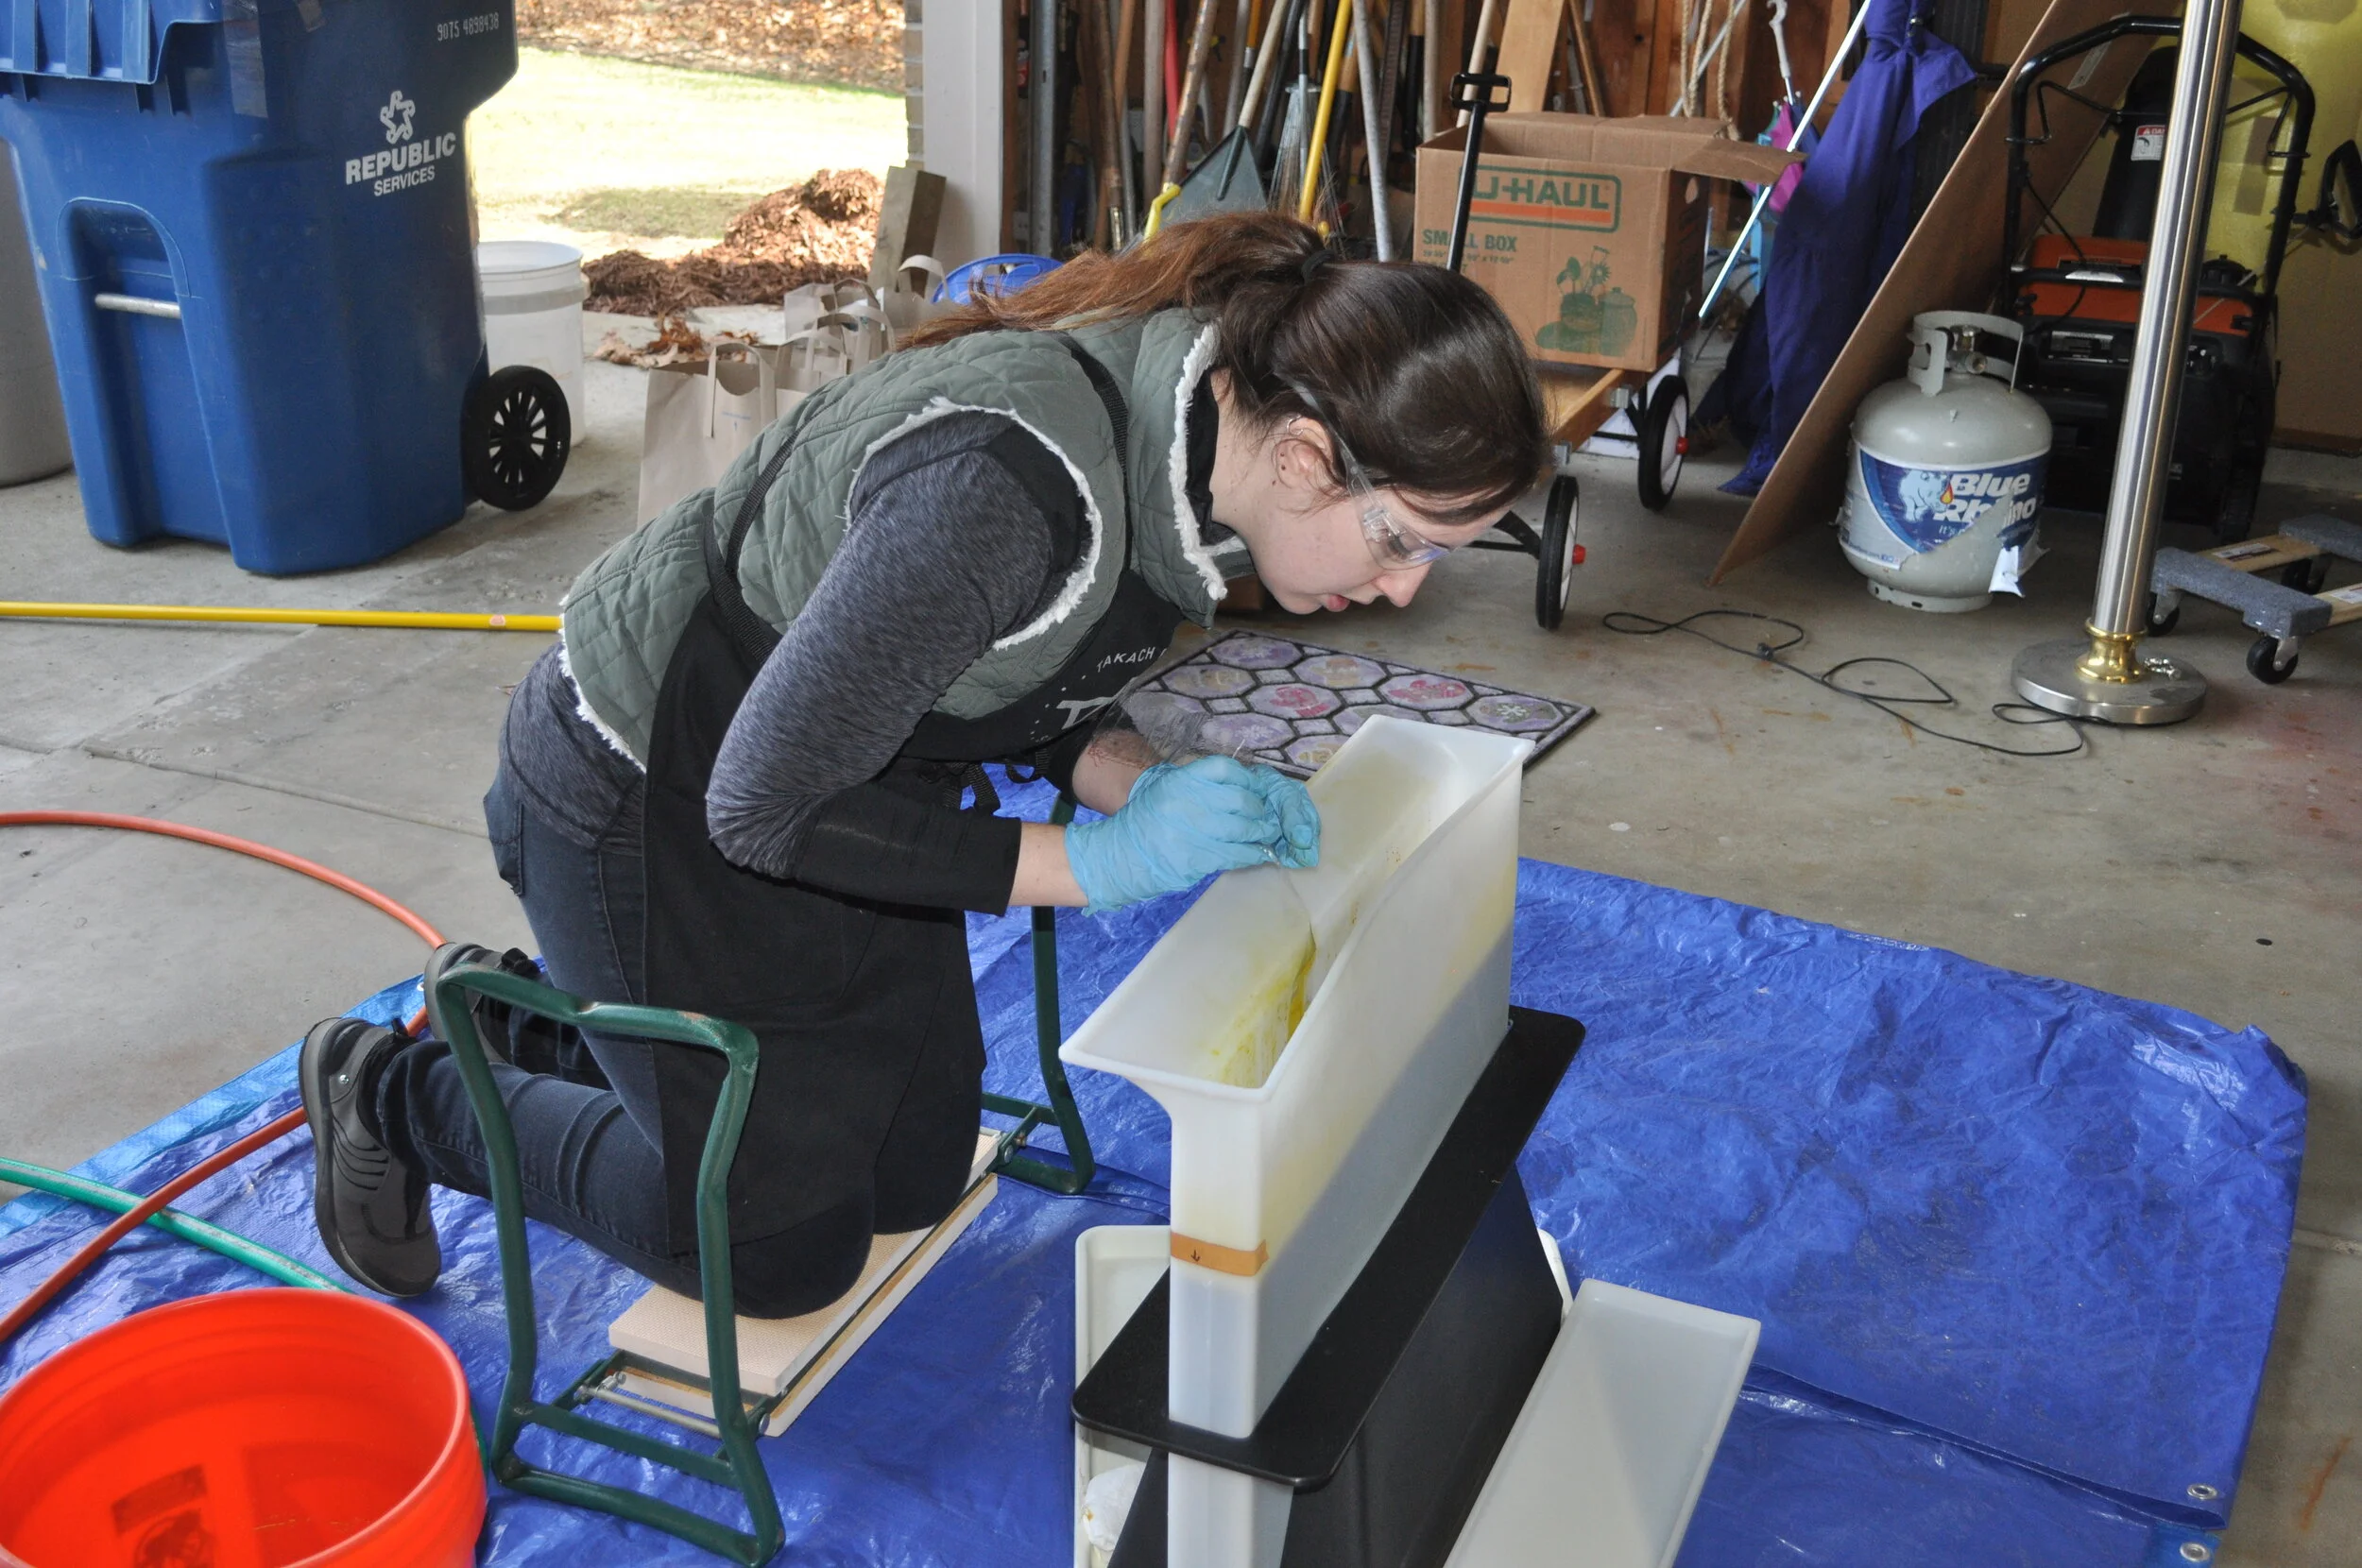
There is also a photo of my vertical acid tank, I use a vertical tank because it allows the copper that is etched away to drift to the bottom of the tank. It also acts as a storage tank for my acid bath. Please note that I don’t exactly recommend acid etching in a garage, it’s just the only way for me to continue etching. Some day I’d love to have a state of the art, ventilated print studio, but I’m grateful my parents let me continue my practice in their garage and basement!